


Trying to think of a Halloween costume year in year out can be pretty taxing? For those who love simplifying their decision making there a a few standard pieces that can go a long way,
For example having a range of face paints and makeup can easily transform your face but what about your wardrobe? A good place to start and a Halloween staple; the simple hooded cape. This cape can be used as part of a costume for a witch, demon, red riding hood and the list goes on. Phantom of some sort of theatre event perhaps?
Halloween Science Fact: Cloaks make every costume 100% sexier, 115% more mysterious and 200% more cloaky! Just ask Aragorn!
Here’s my very own tutorial on how you can make a hood in only a few very easy steps.
Materials
What you’re going to need:
- Scissors
- Needle and thread or a sewing machine
- Fabric 2m x 1.5m
- Ribbon or rope
Steps
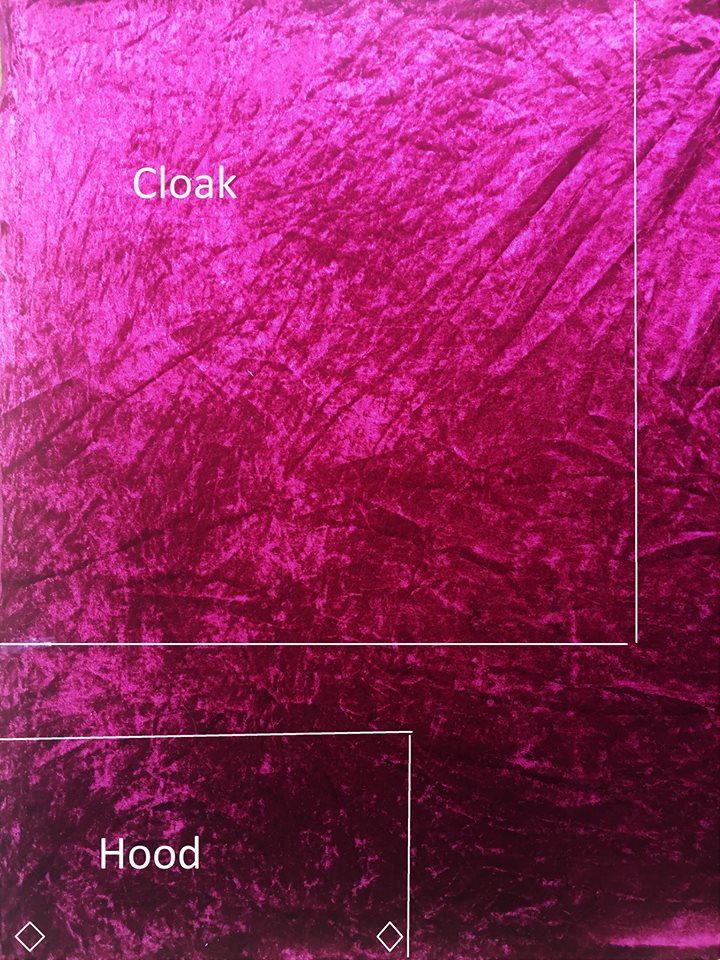
- Lay your fabric out straight.
- Mark how long you want the cloak to be. I wanted mine to be ankle length so I went for 143 which gave me some hemming too.
- Mark out the dimensions of the hood I made mine 34″ x 20″ .
- Cut out the pieces.
- Hem the edges for a refined look but for a rough look leave them raw.
- Baste and gather the cloak until it is the same length as the hood.
- Sew the hood to the cape.
- Connect the two corners or the hood.
- Turn the cape inside out and sew the hood along the top to complete the hood.**
- Add some ribbon for ties and you are done.
 ** Alternatively if you measure half of the hood width dimension on a fold you wont need to sew along the top
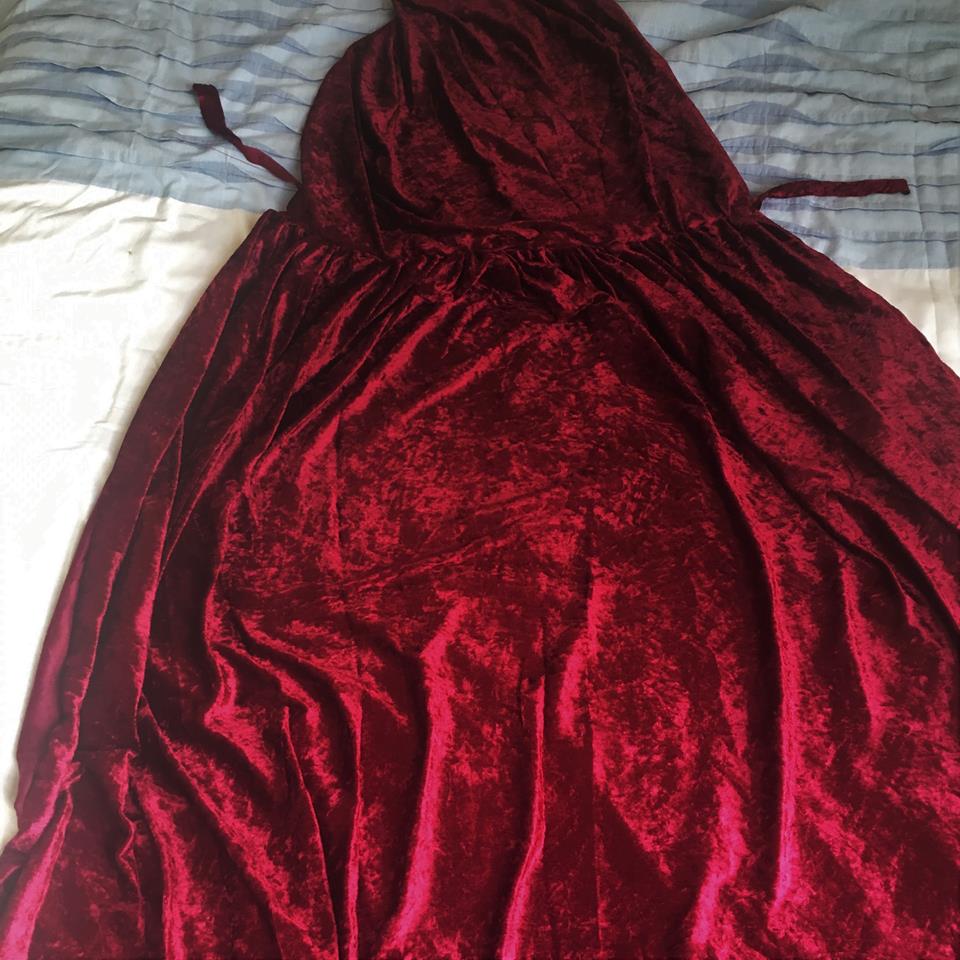
Enjoy your hood! Remember Halloween only comes once a year but your new found hood making skills are transferrable! Plenty of characters out there can now sit comfortably in your own cosplay closet!