


Ready? Set? Gore!
Actually hold those horses, make sure before you start playing with latex that you check out my guide and the list of tips, tricks and things to avoid when working on your wounds. In this guide we’ll be looking at applying the latex, ripping it, colouring and how to safely and easily remove it once you’re done with your cosplay/costume. So again make sure you’ve checked out the first part and let’s kick this off!
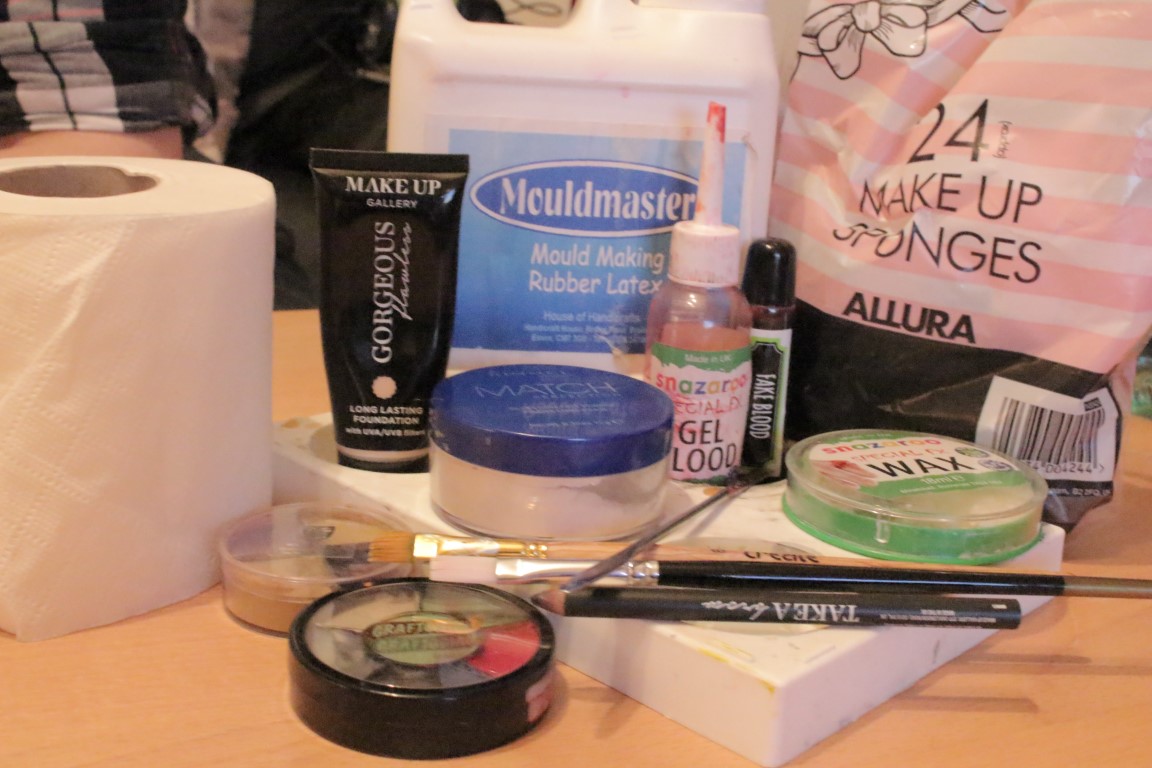
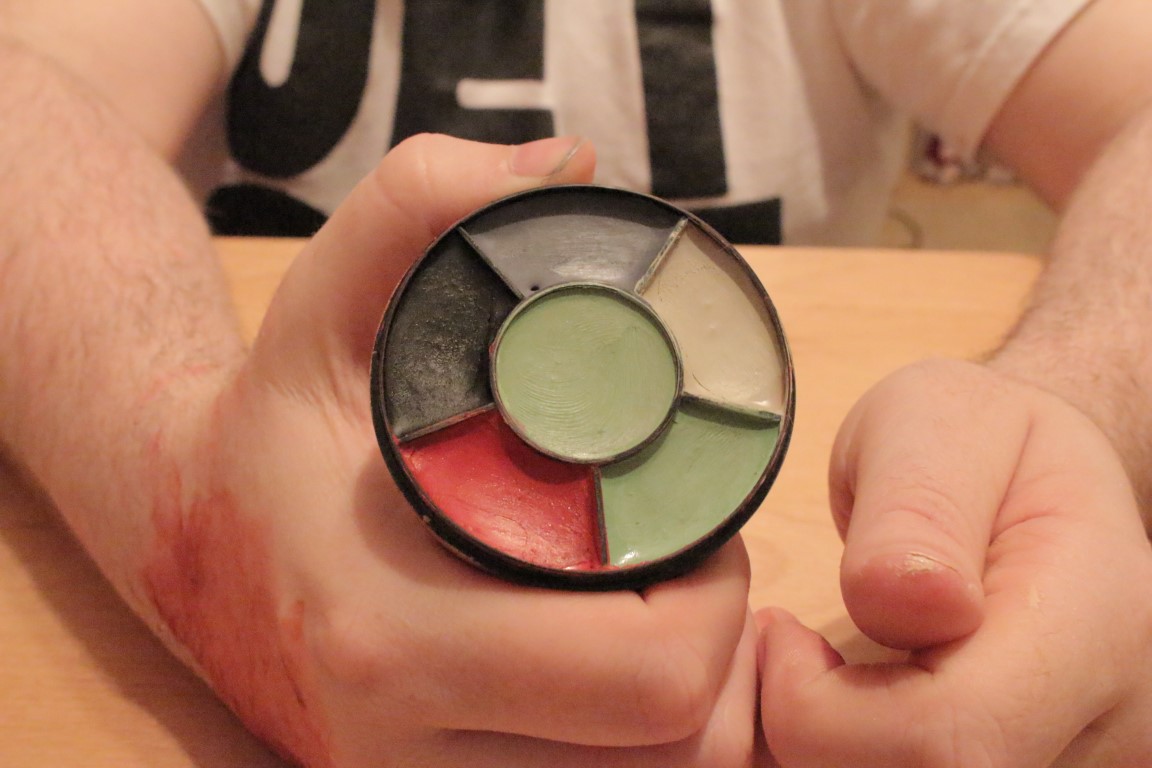
Now you’ll see some materials here not all of which are necessary in particular the two grease wheels I’m using are not necessary for you to pull of this look but I’ve used them to add a bit of depth to the final wound.

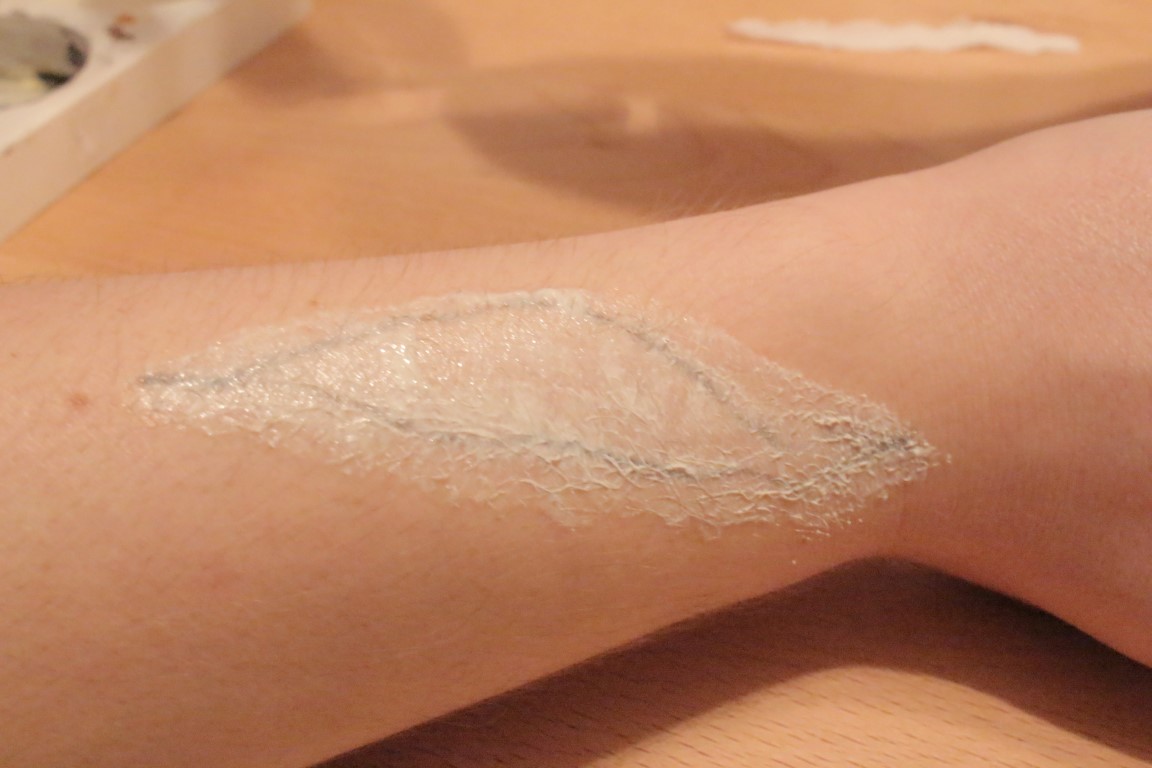
To start with you’re going to want to outline where you’re putting the wound, while latex is non-toxic you’re going to want to keep it out of your eyes and away from your mouth. Be mindful that where there’s hair, the latex will get caught and is the equivalent of being waxed once inch of your body at a time – so if it’s into arm hair or even leg hair you’re going to have fun peeling that off.
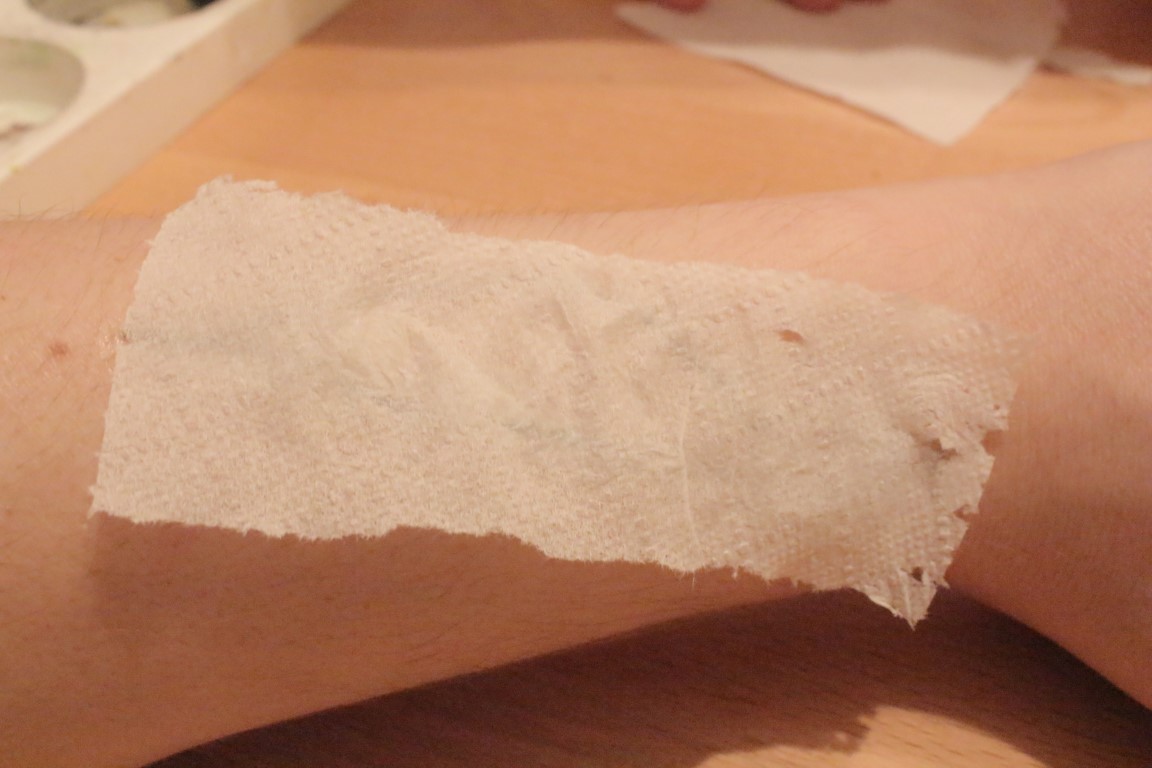
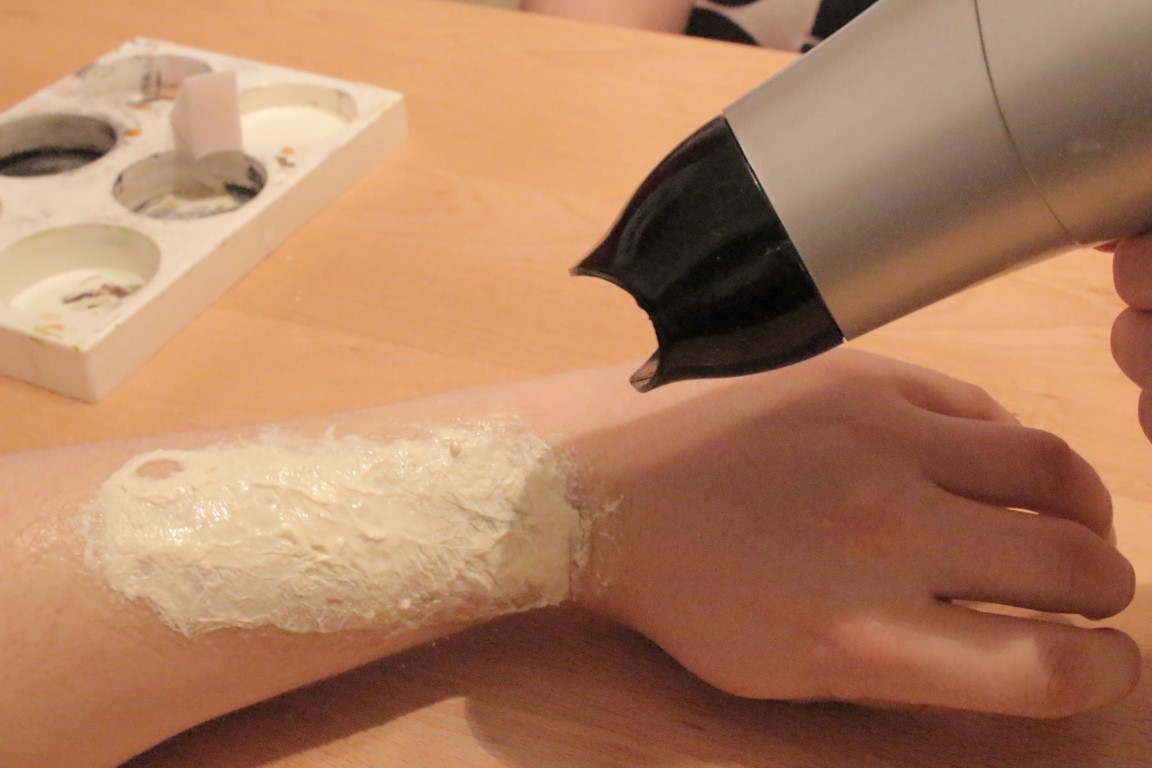
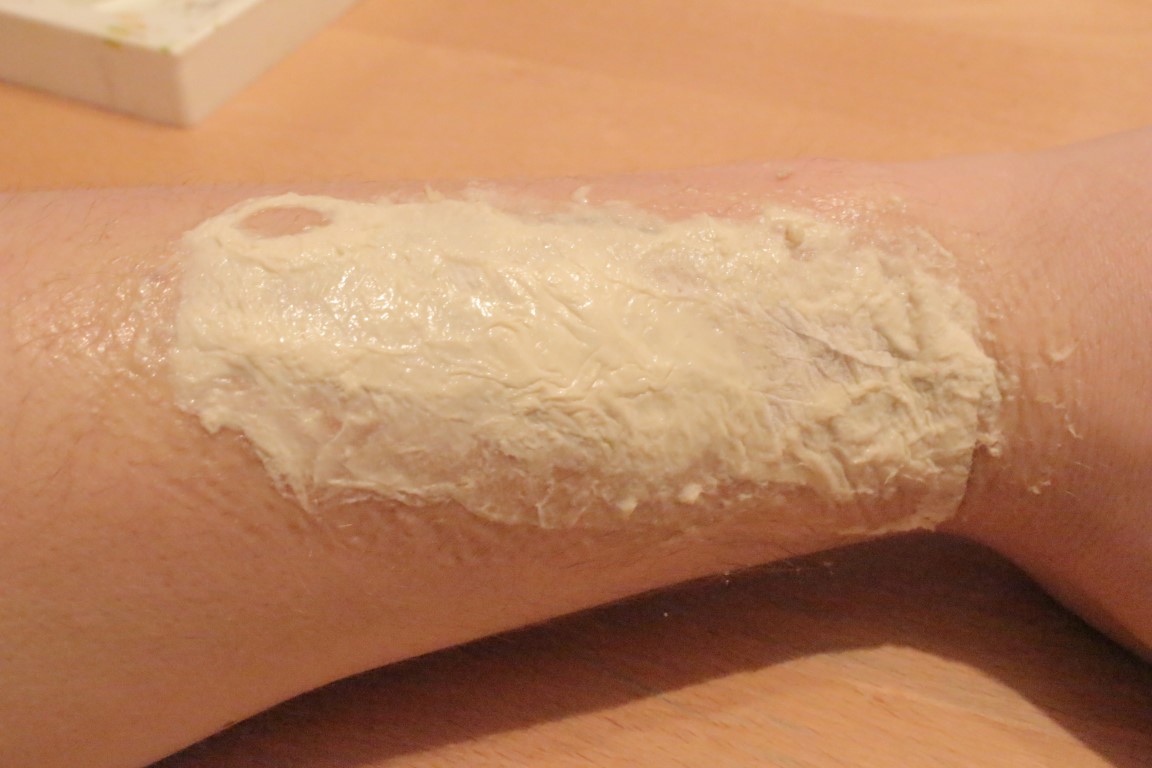
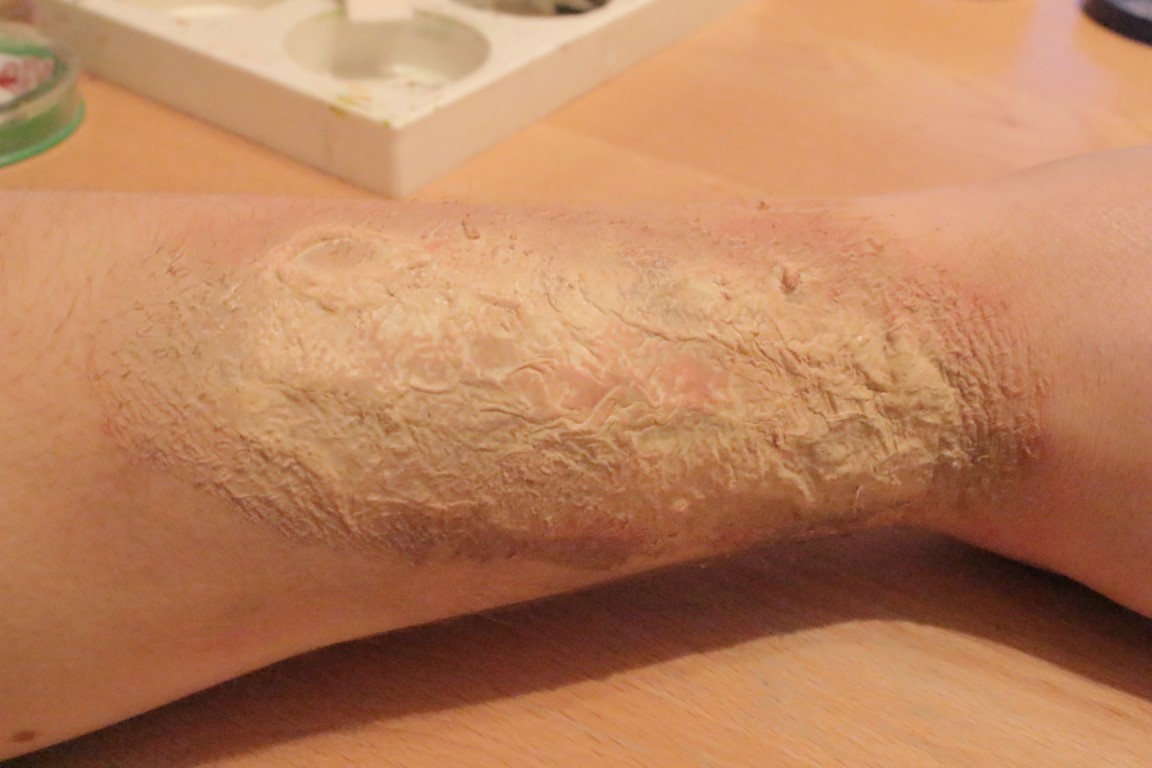
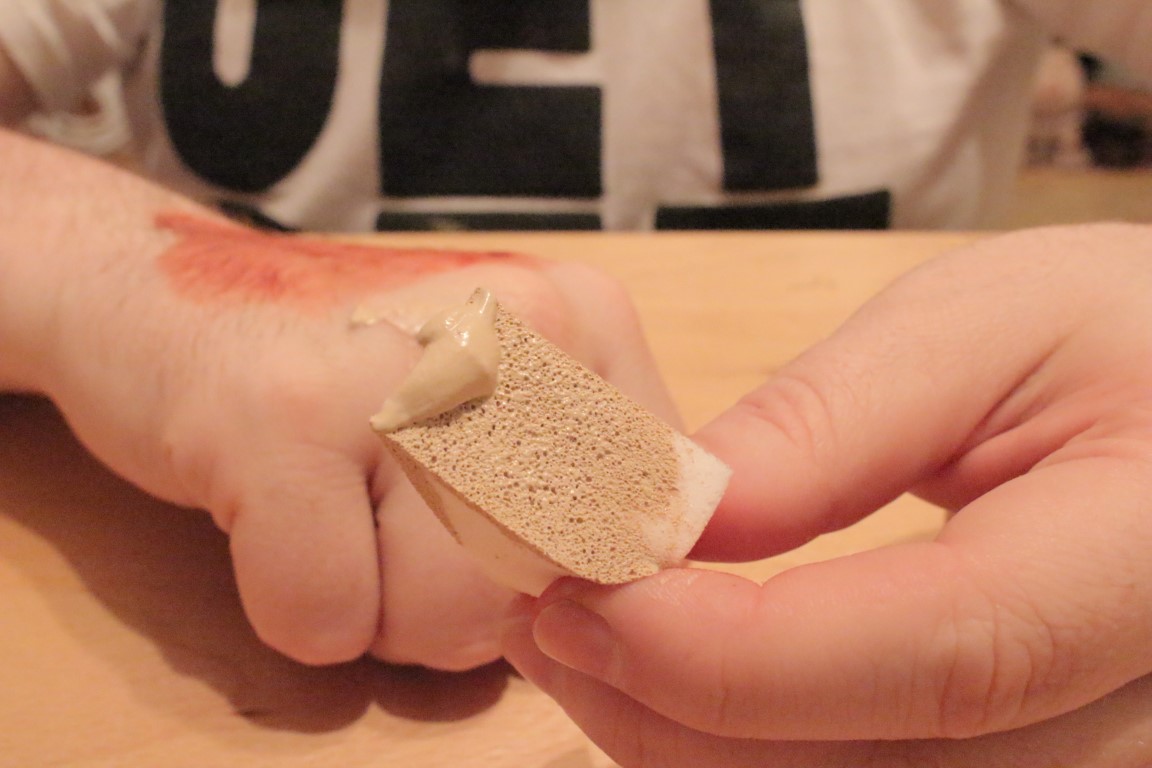
Make sure the skin is clean and dry before applying the first coating. You’re going to spread the latex a little further outside the initial area of your wound. While the latex is still wet, separate the tissue paper into a single ply, tear it to fit the length of the wound you’re creating and press it into the latex. As you build on the wound, latex – paper – latex etc. you’ll work the paper into the centre of the wound – you’ll need to build between three to four layers. Using a hair dryer you speed up the drying process and make sure each layer is dry before applying the next coating of latex.
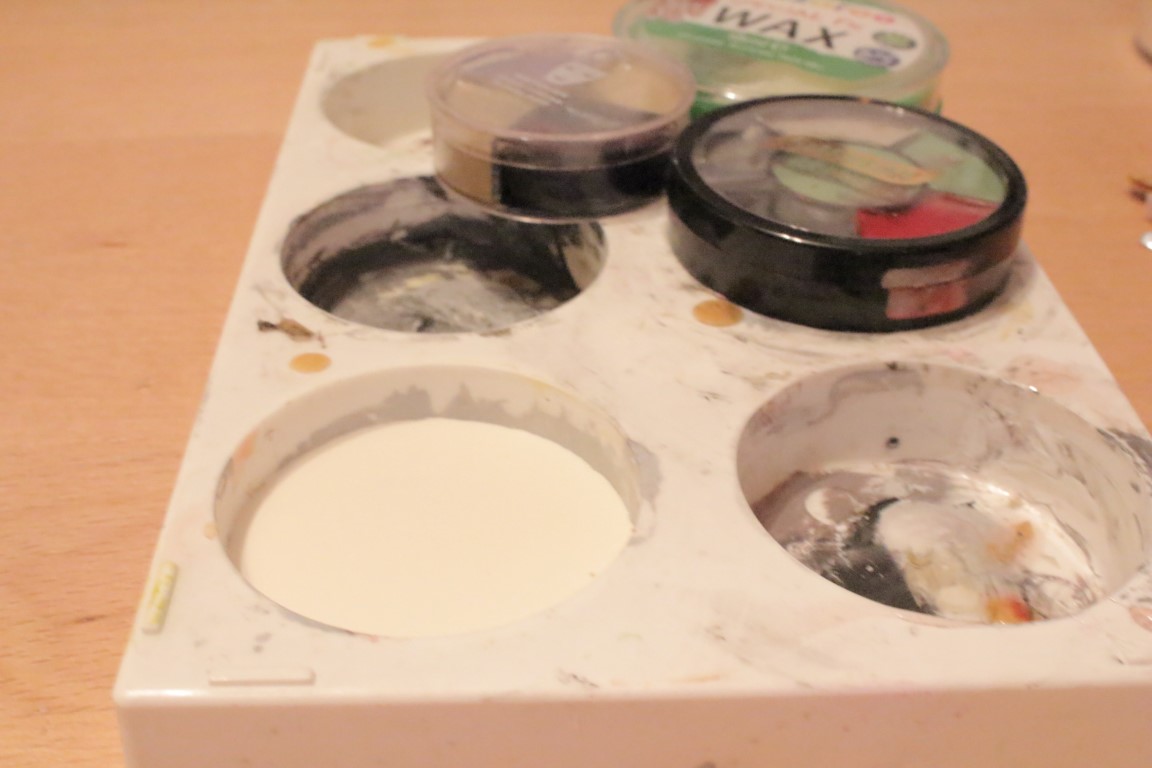
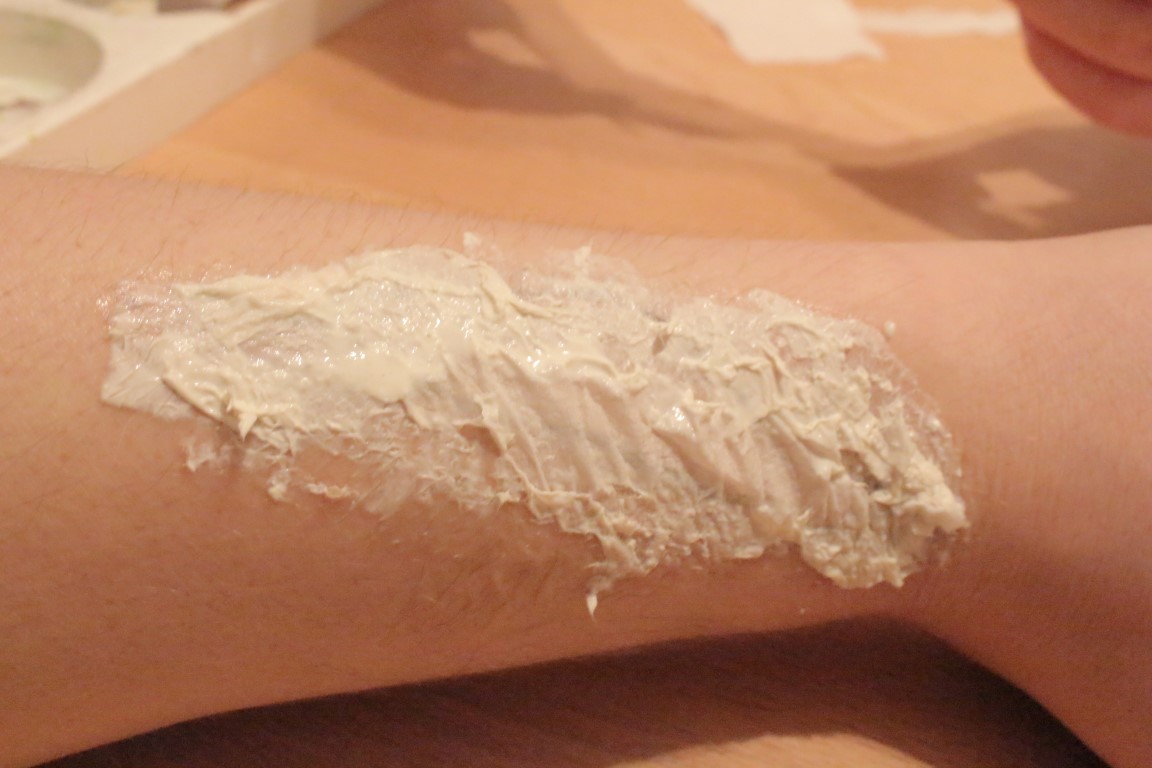
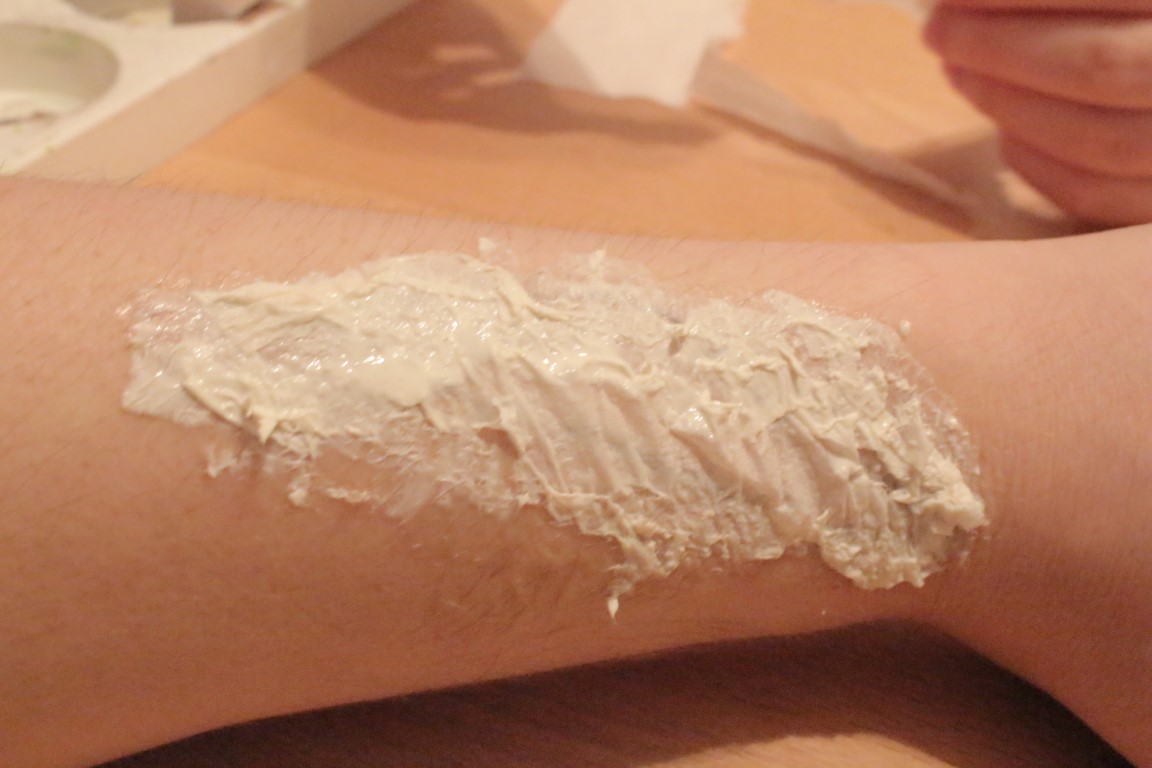
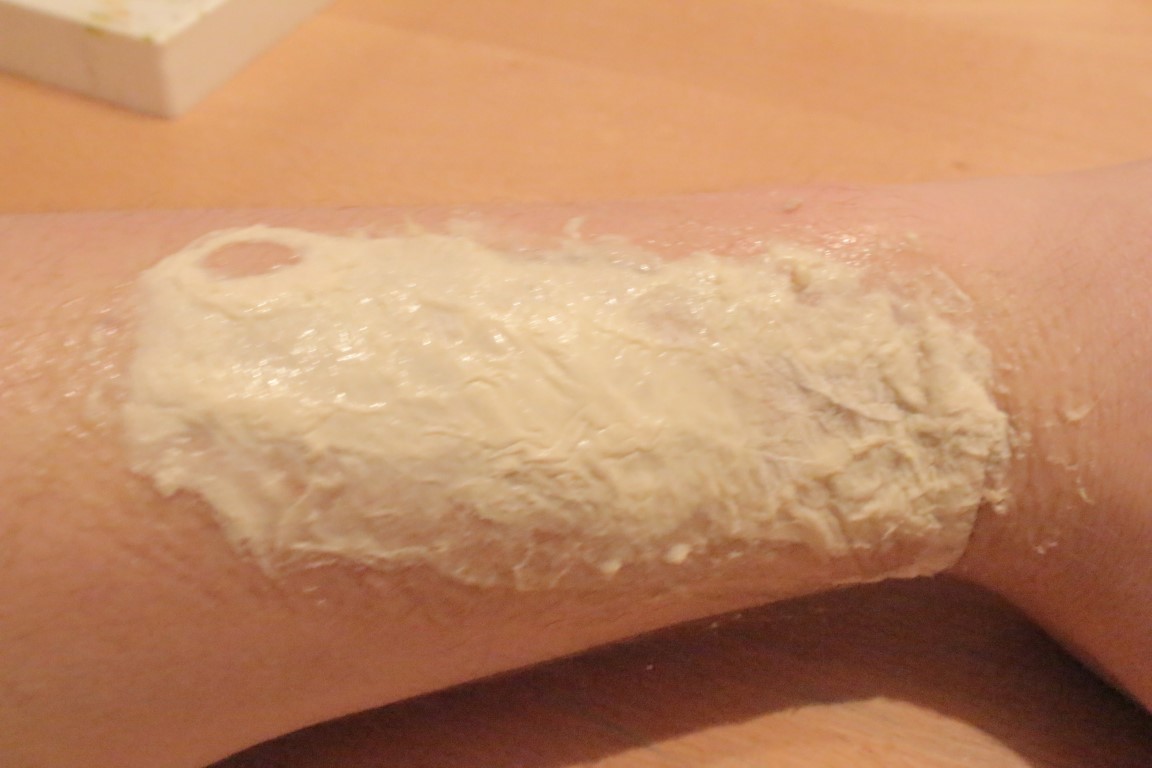
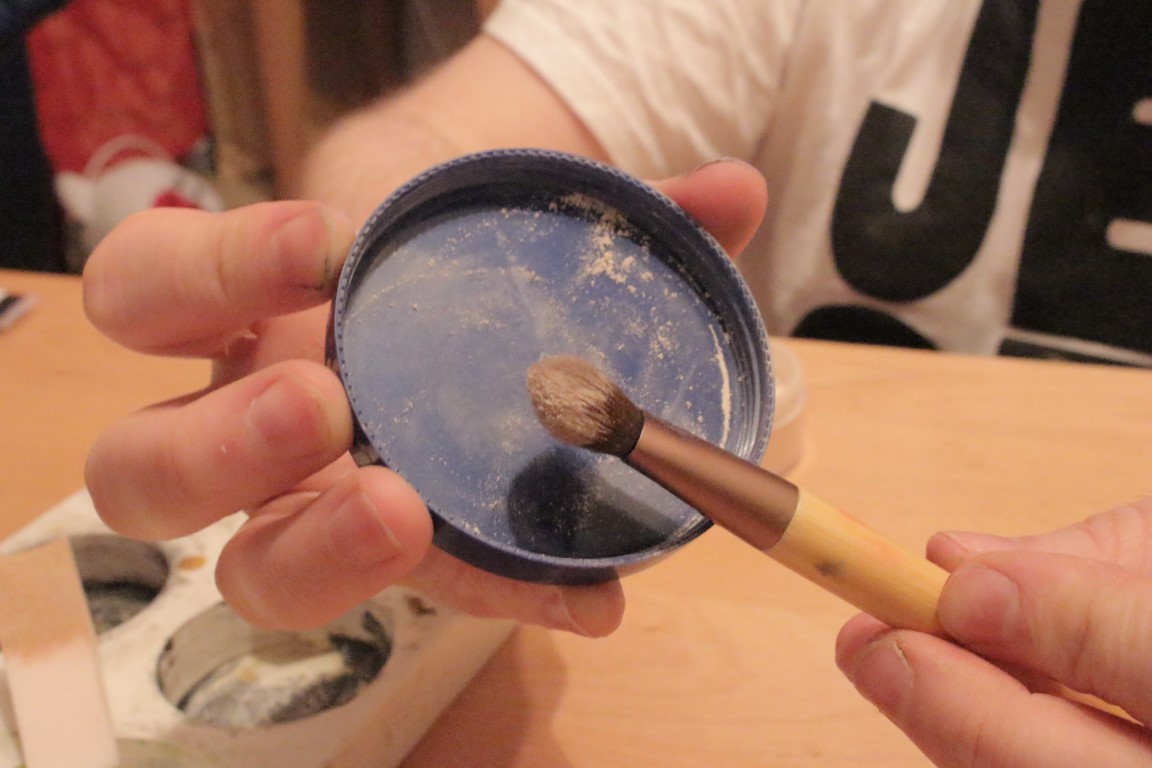
Once you’ve got enough layers built up and it’s dried thoroughly, you’ll need to use foundation (most discount stores carry off brand and ultra cheap make up so use the inexpensive stuff) that closely matches your skin tone. It can be a shade lighter or darker as you’ll be painting this disgusting mess shortly just be sure to blend the found into the skin as best you can. The reason you’ve been building the layer inwards makes the outer latex layers will be thinner and resemble your own skin. Once you’ve painted it with foundation, use a translucent powder to set it.

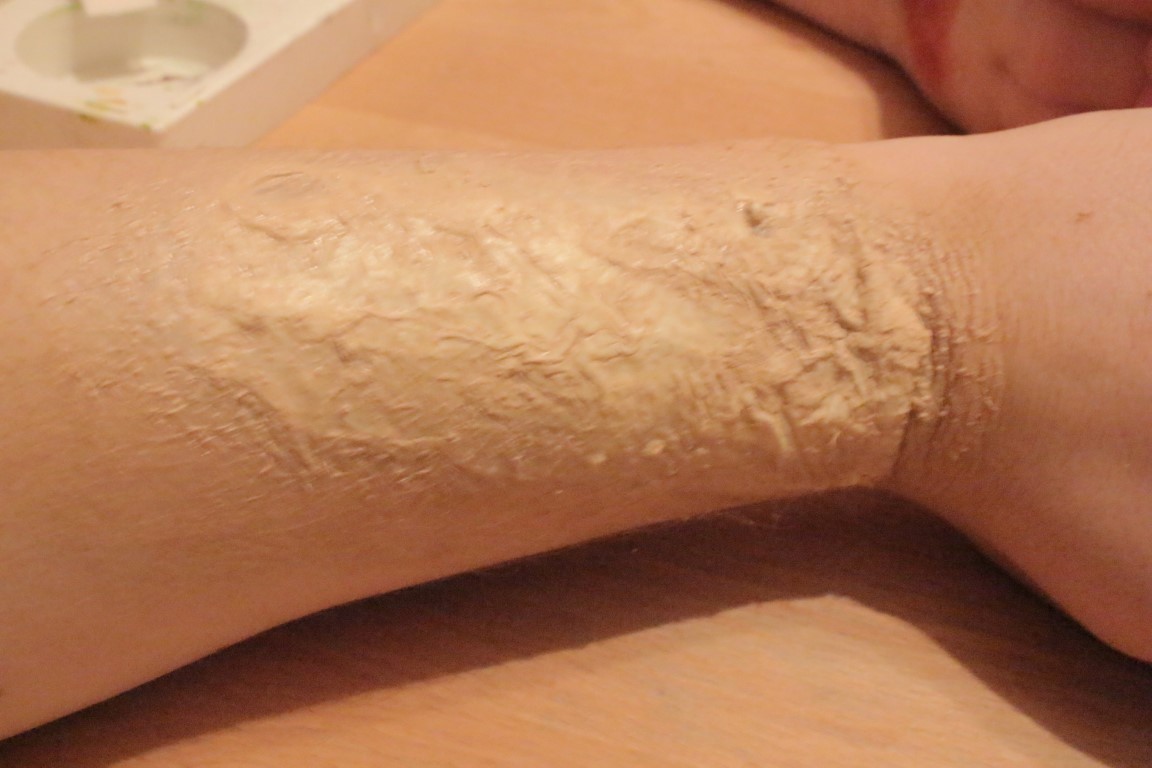

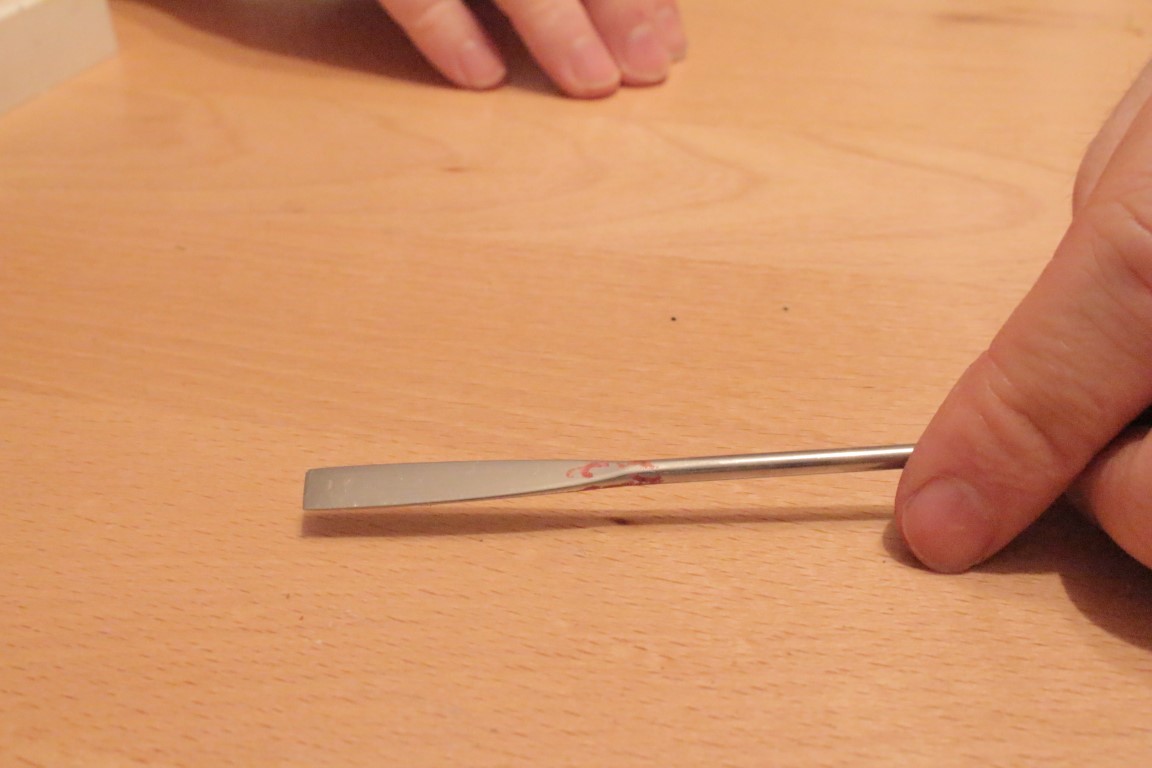
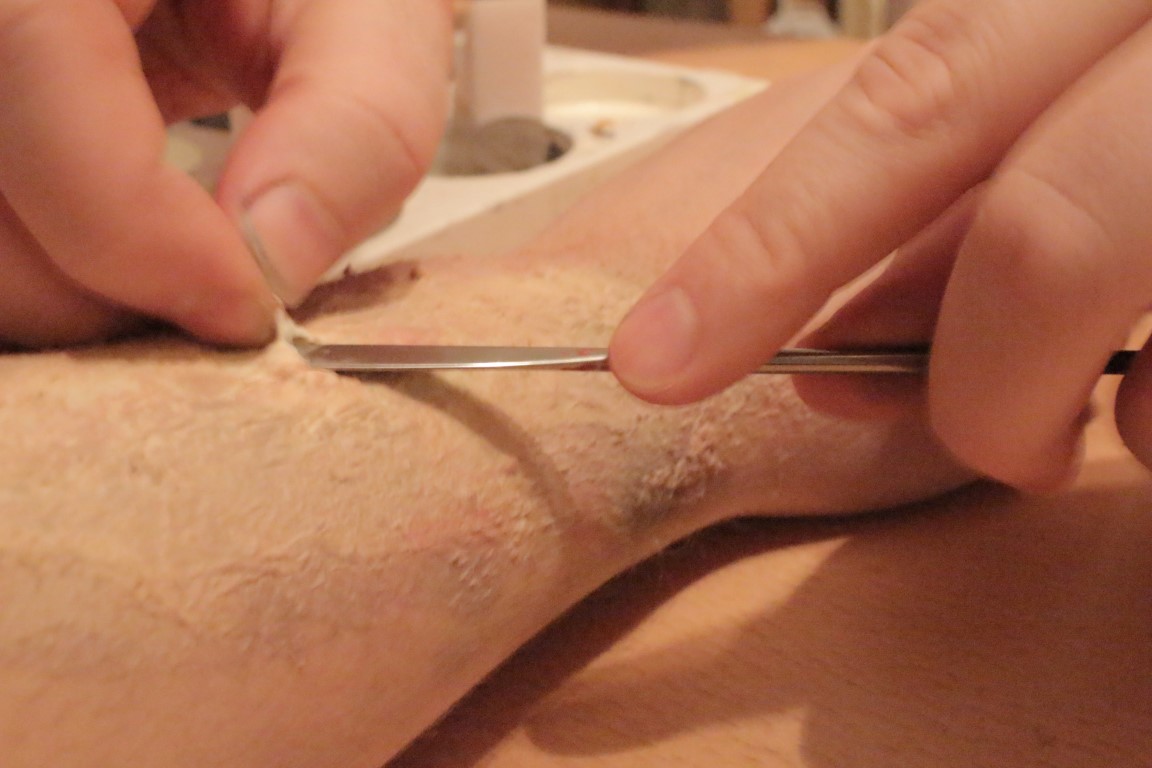
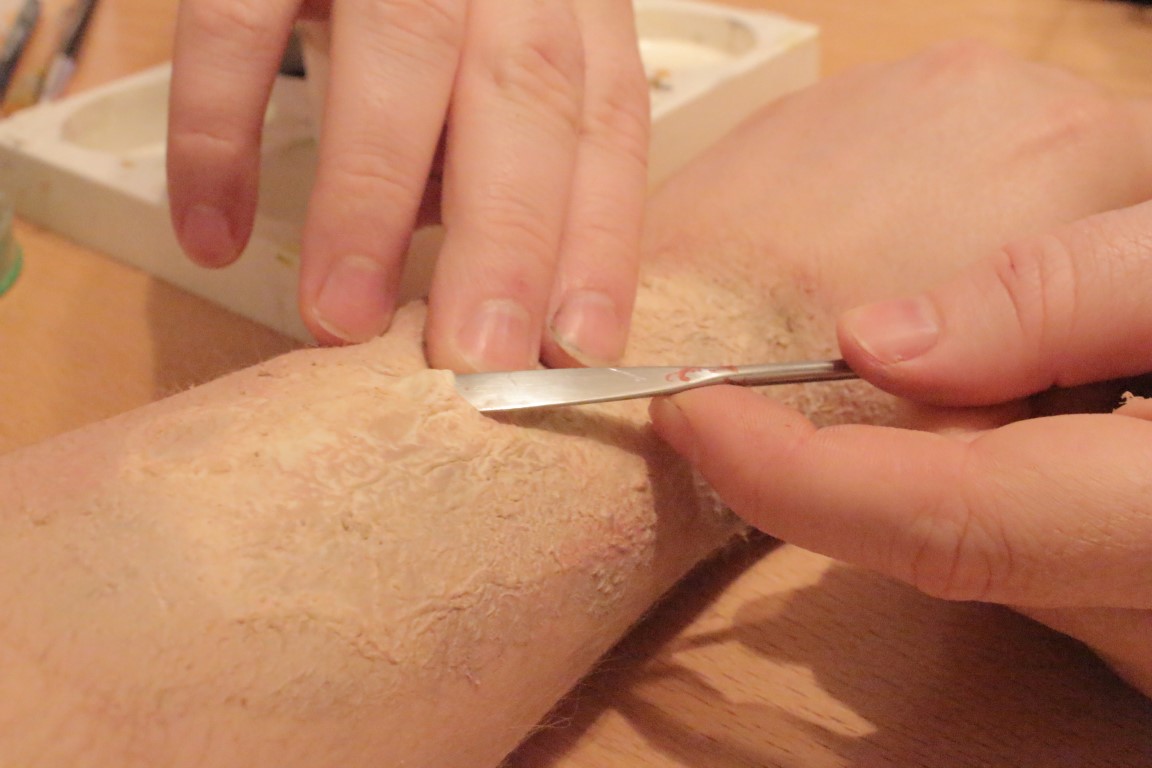
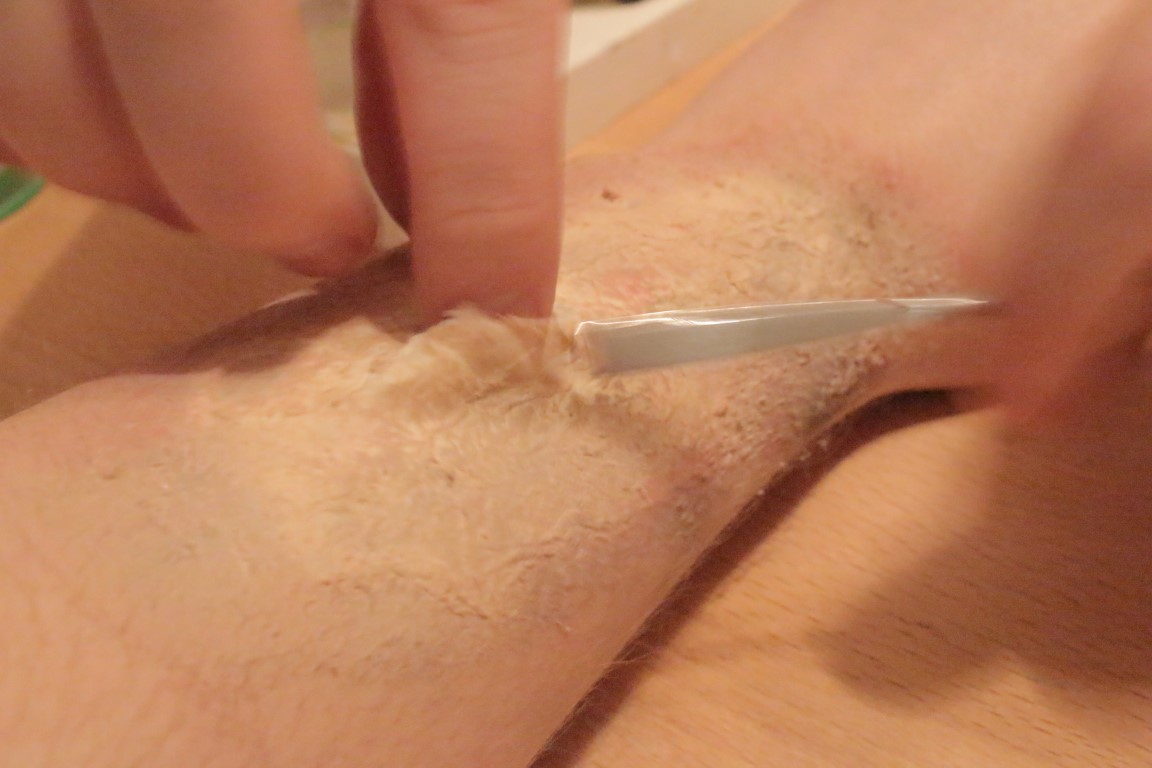
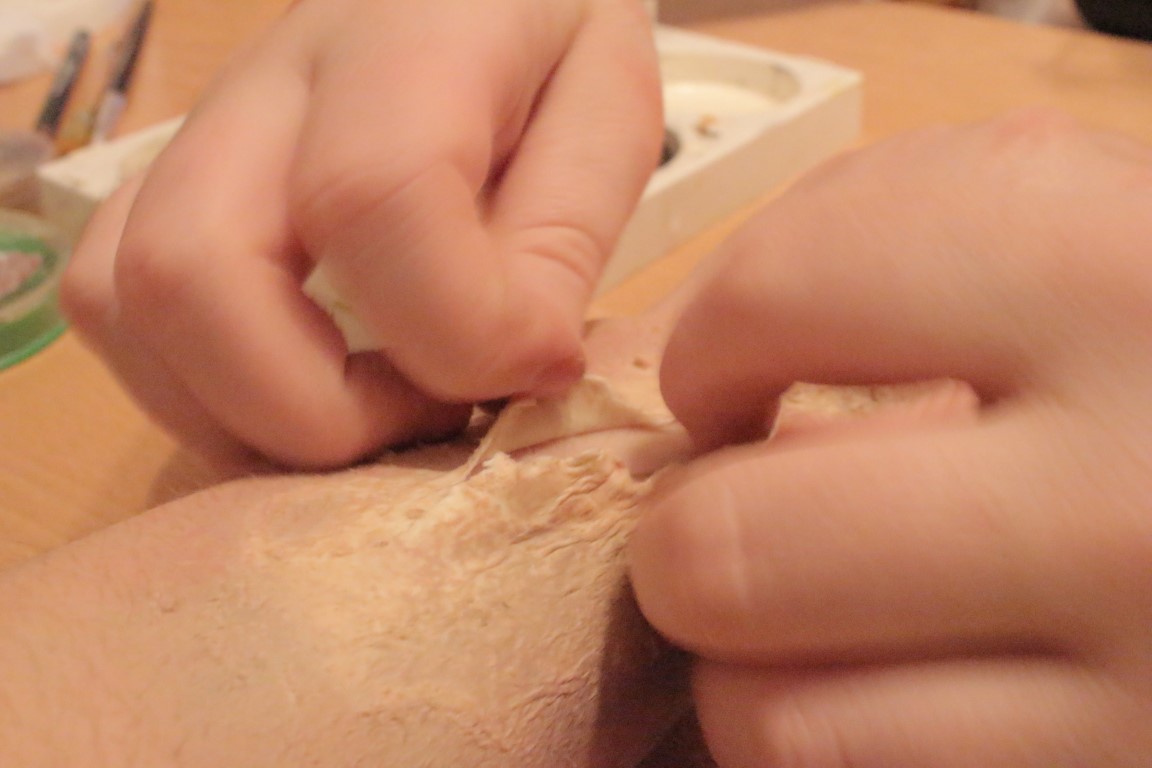
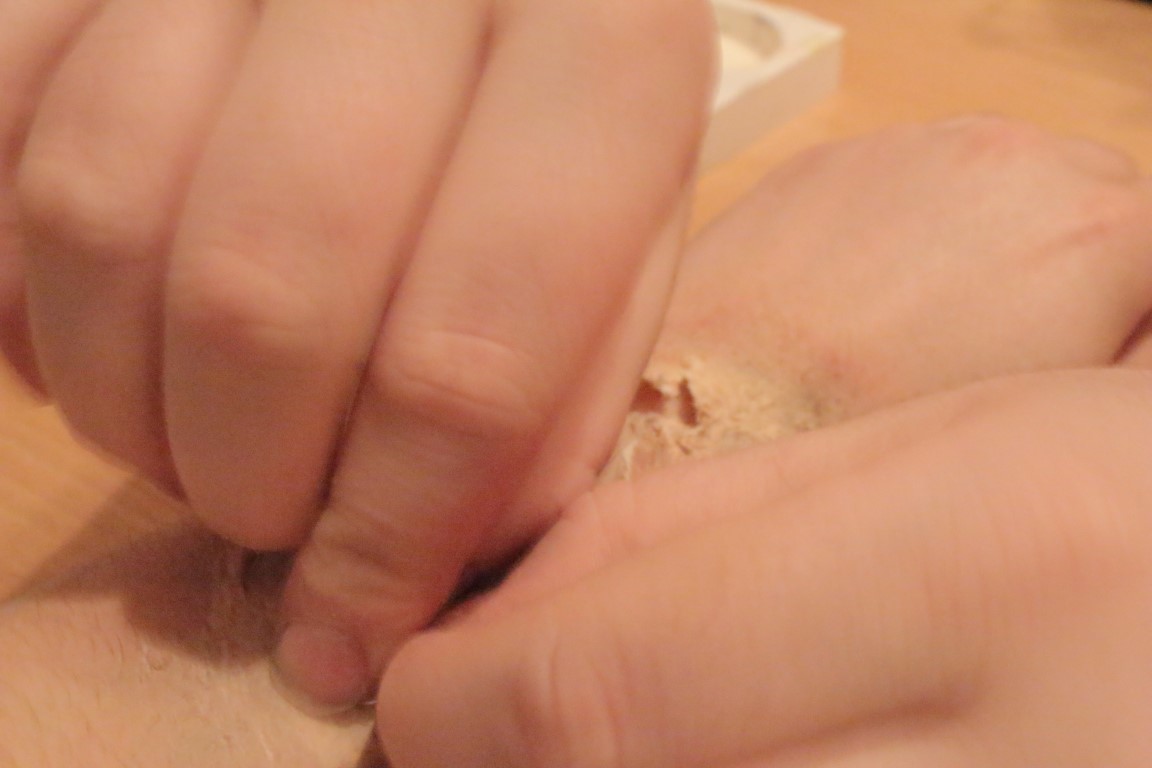
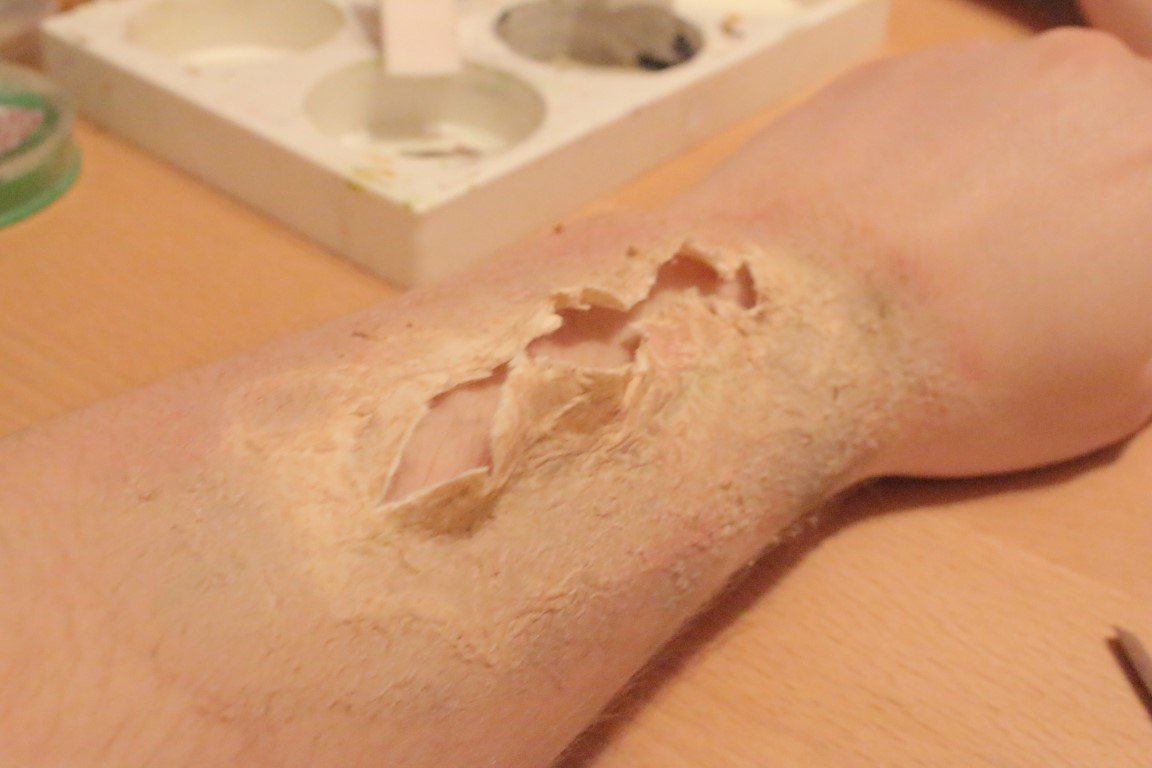
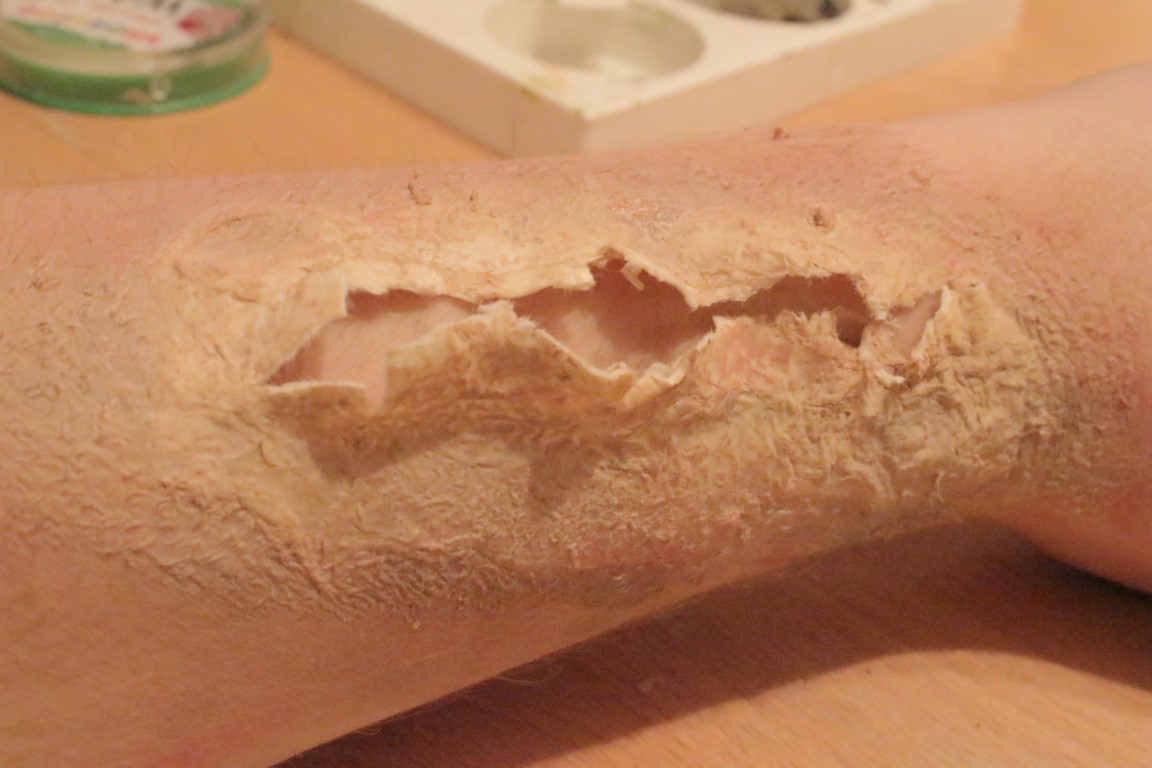
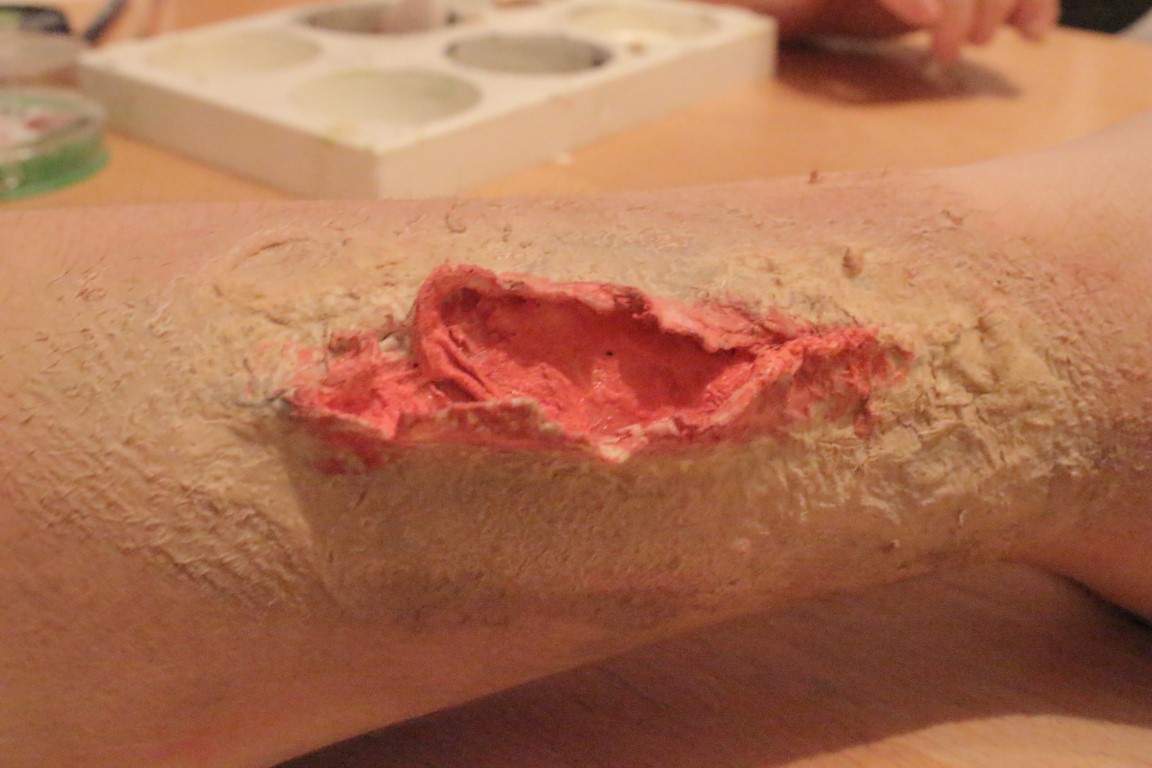
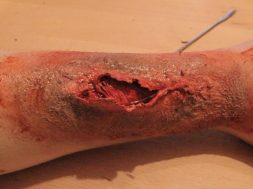
Using a safety pin, paper clip or in this case I’ve used this weird little metal stick (I’ve no idea where I picked it up) that I used to apply wax and putty to other looks. Once you’ve made a tear you can use your fingers to help rip open the latex, doing so works best for rough looking cuts and tears but if you want to make clean cuts and you or your model are comfortable enough you can use a scissors to make it look like a clean knife cut. I decided to use a little cotton ball which I pulled a part to stuff the wound, this makes for a stringy flesh texture under the cut and follow the same process as the tissue paper, layering latex and drying it.
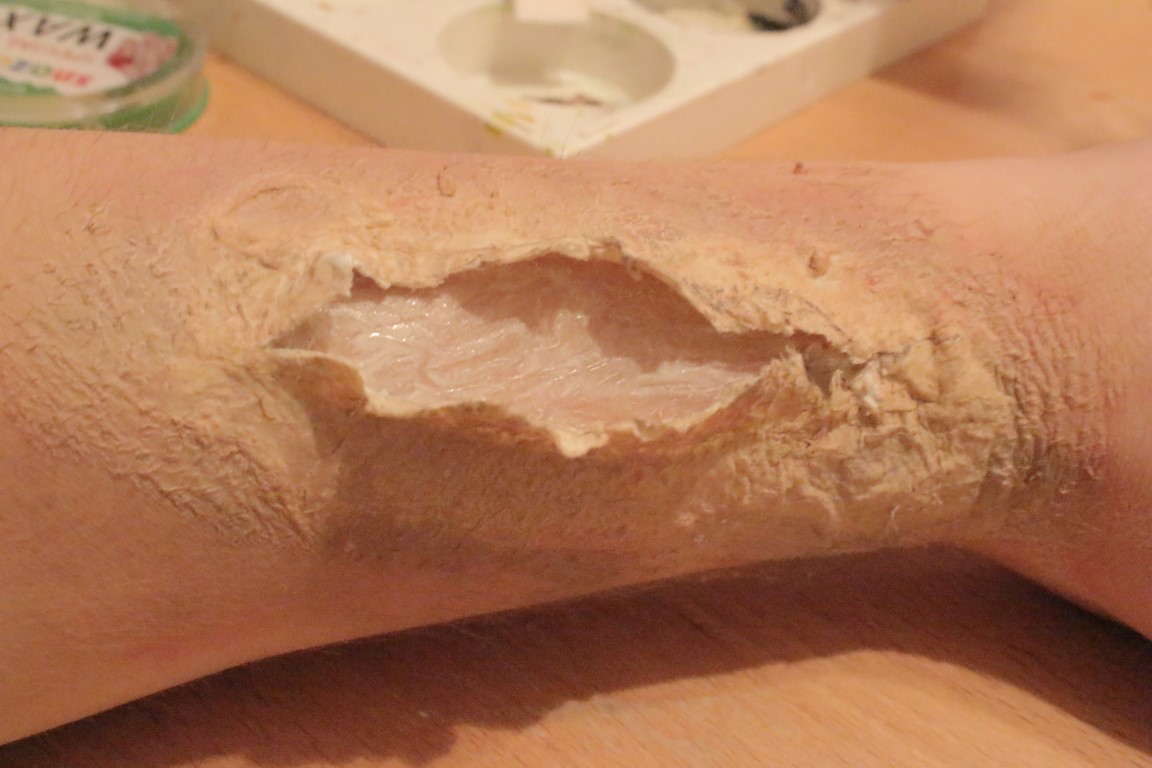
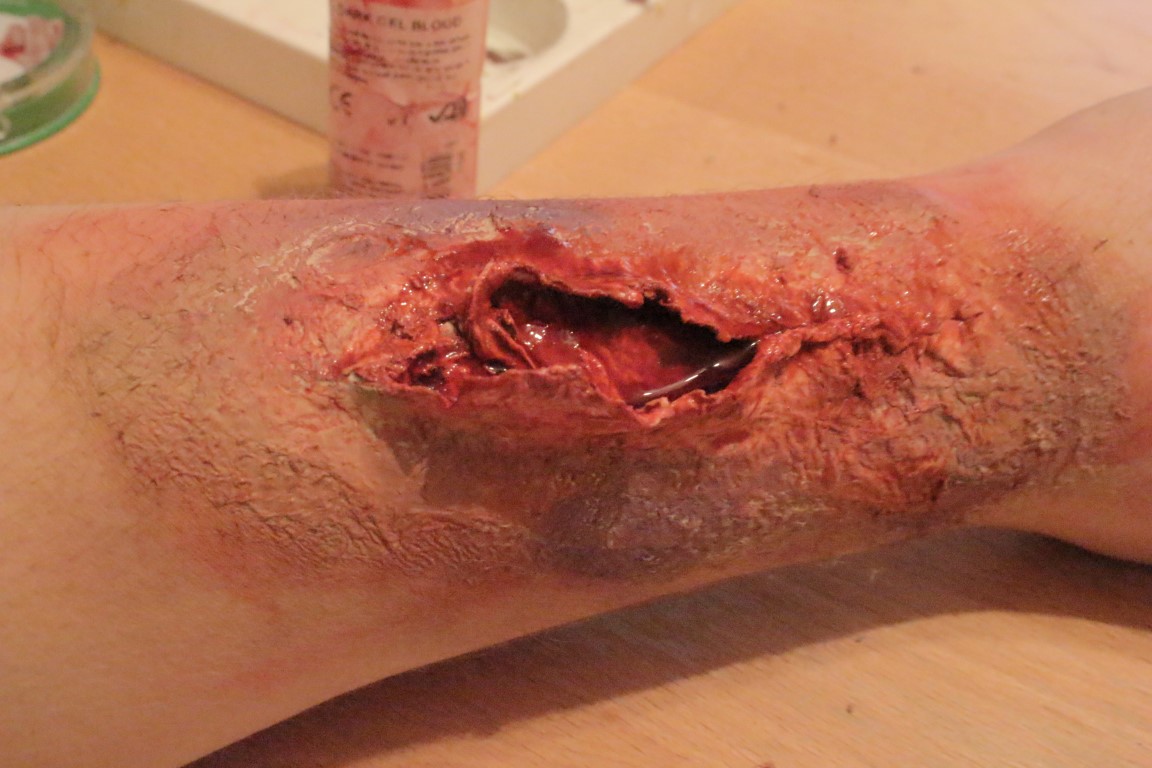
Now all you need to start painting this is one of these cheap face painting kits. It’s the season where every single euro store stocks to the brim with fake blood and face paint so you’re going to be able to get this stuff pretty cheap and it works just as good as the more expensive versions. Purples and yellows are good for bruising, red, orange and brown for bloods and the best part? You’ve used tissue and even though it has dried with latex it will still absorb the paints really well.
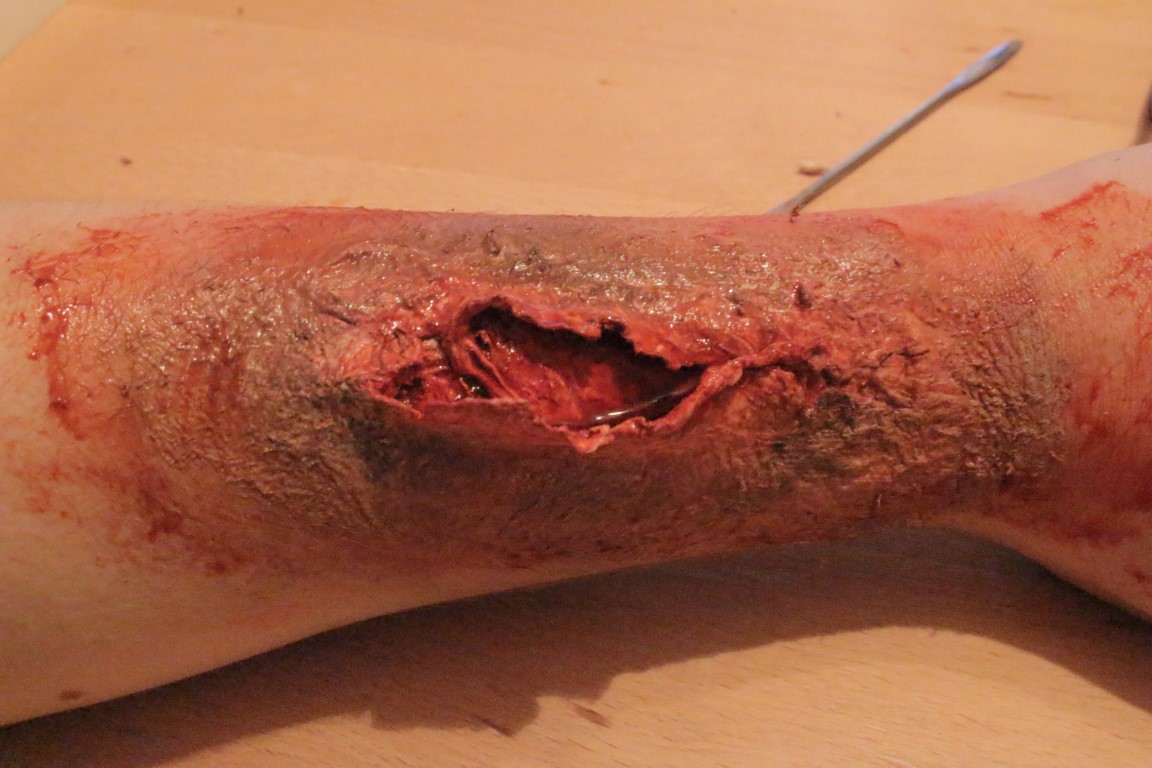
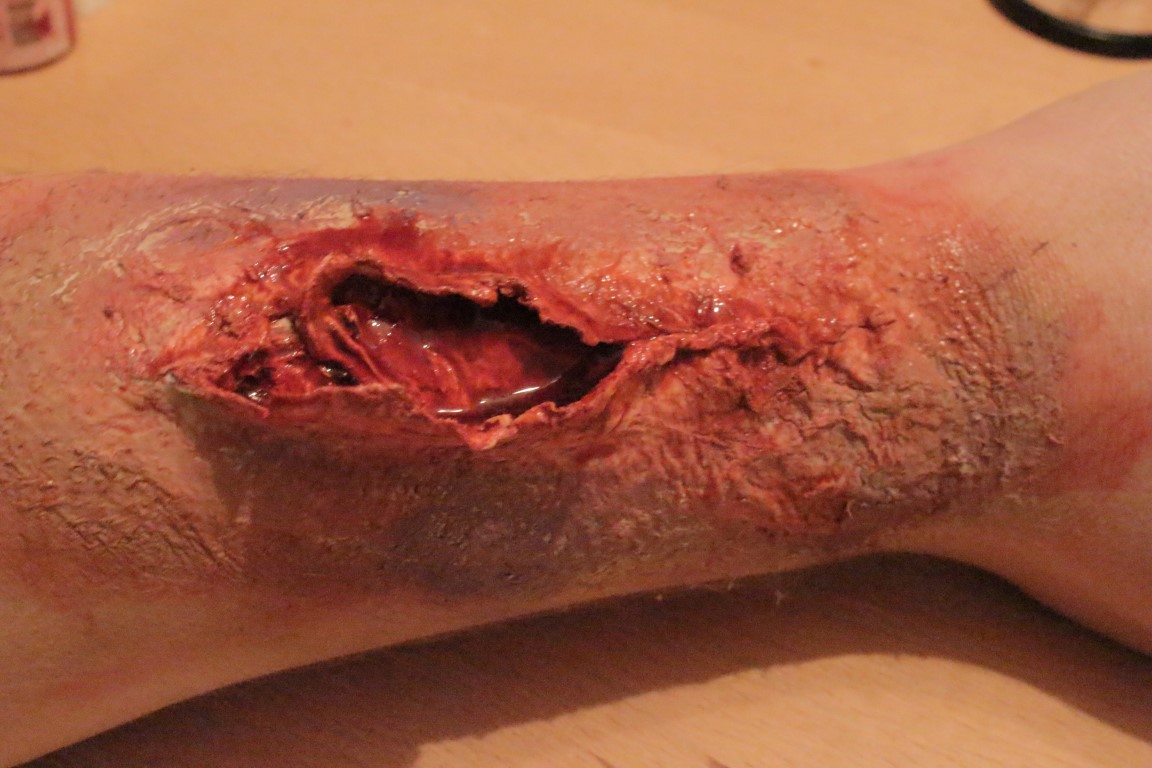
You colour according to the wound you’re making – if I wanted it to look infected I’d use more yellows and greens to simulate pus and infection. In this instance I wanted something fresh so went for reds and oranges and used fake blood to wet the look. If you have a stipple sponge dab a little in the blood and tap it around the outer rim of the wound. You can fill the wound with blood and allow it to naturally trickle out and down your hand/neck.
Removing this is simple! Lift the latex from the outer edge and peel, if it’s stuck well then you can use hot soapy water to help work it out a little more. Word of caution using cheap blood products you’re likely to be left with a stain or two even on skin so it might take a long shower to help lift it completely. If you’re working on a facial wound then you’re going to want to watch just how much blood you use.
After that just go nuts – go big, small, rough, clean, claw, tooth, knife, bullet or even glass you can make a wound to fit exactly what you want. One final tip if you’re going as a bloody victim or a character walking away from a brutal battle, remember that to complete the look you should splash a little of the blood and grime on your outfit.
I hope you’ve taken something away from this and I hope to work on some more guides and looks for cosplay outfits in the future.
Editor-in-Chief, part-time super villain and hoarder of cats. If you can’t find me writing, I’m probably in the kitchen!