Whip out that make up bag… no not the one full of primers, eyeshadows and setting powder, I’m talking about the other make up bag! The one you keep under your bed, the one filled with different blood samples, small scissors, cotton buds and grease paints! There is less than a month to prepare for my favourite holiday and while I’ve got my costume sorted since Halloween two years ago there are others out there who’re going to scramble right up until the witching hour!
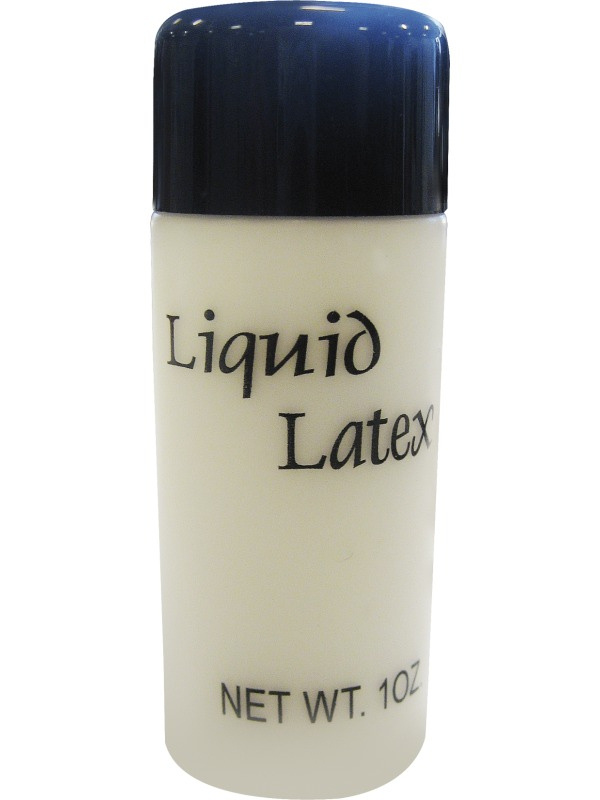
Fear not or do, I mean it is the season after all! You won’t be caught out this year because I’m taking it upon myself to guide you through the world of liquid latex, a cheap and simple way to whip up a costume using stuff you’ve probably already got at home!
Relax, we’re not going to rush into a full blown tutorial straight away! No there are some rules when it comes to liquid latex and it’s important that you get to know the product you’ll be using before you start splashing it all over the place like blood on the walls in a Wes Craven horror scene!
Firstly, you should know that latex is a natural ingredient found in rubber trees. Most liquid latex you buy is made up one part latex and two parts water and trace amounts of ammonia, you may notice the stuff you buy has a pungent odour. When the liquid dries, usually air drying within 5/10 minutes of application, it has a rubbery consistency, making it ideal for wounds, cuts and more.
So who cares? Get to the guts, blood and gore!
Hold your horsemen of the apocalypse! Before we start looking at the product in terms of creating our ghastly and grievous wounds you have to know a few important do’s and dont’s but if you follow them then you’re going to have no trouble working with the product! Take note that these rules will also help when you’re looking at doing some liquid latex as part of your next cosplay so listen up!
Do a patch test – make sure you dab a little of the product on to your skin before you start working on a full design and applying layers. You or your model could have sensitive skin and the liquid latex could cause mild or even severe irritation.
Don’t wear your Sunday best – liquid latex is sticky! If this gets on your clothes then you’re going to have a hell of a time trying to get the stuff off and there are plenty of latex stained jeans sitting in my now ‘work outfits’ drawer. Let your model know too – only wear something that you don’t mind getting messy in the first place, this will also help if you’re working with fake blood which can also stain clothing.
Do have a plan/reference – yes you can just start splashing the liquid latex on and make a mess and it will still look bloody awesome but if you go into the work with a plan and even some reference pictures then you’ll have something to work off the entire time. 
Don’t work in a confined area – while it’s not toxic (some people may have allergies though) to inhale the fumes, it does have a pungent odour and you’re going to want to have a ventilated room. The more space you’ve to work with too never hurt a project.
Do a materials spotcheck – have you enough latex to work with? Do you’ve enough sponges, tissue and cotton? Have you the right colour and consistency of blood and have you checked out your other make up?
Don’t panic – have you accidentally used too much or spread the latex too far? Don’t worry about it! You can trim the latex once it dries but if you’re making a wound they never look pretty in real life and messy is always better and more realistic.
Do invest – this can be done on the cheap but if you have the cash and want to splash out on colour palettes for wounds then start saving!
Don’t use brushes – the bristles will stick and you don’t actually have to ‘brush’ the latex on. If you use brushes you’re just going to have to throw them away so if you really want to only use cheap ones.
Do have fun – working with liquid latex is a great way to get creative and get messy. When working on yourself or with a model try and relax and enjoy the process. It’s a little time consuming applying layer after layer but you’re finished piece will look so much better and you’ll be able to take more from the experience each time.
On the next Cosplay Closet we’ll look at the process of creating wounds, bald caps and colouring your latex creations!
Editor-in-Chief, part-time super villain and hoarder of cats. If you can’t find me writing, I’m probably in the kitchen!


