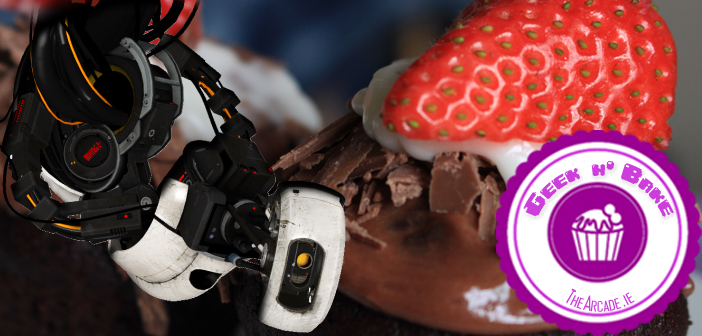


This was a triumph! I’m making a note here: Huge Success. It’s hard to overstate my satisfaction. Okay I stole that! I really did but this Portal cake totally was a success! The psychotic A.I. GLADOS would be only delighted to torment and goad her victims!
The best thing about this cake? It’s so easy! I mean literally one of the easiest cakes I’ve ever made! It’s even delicious too! Sometimes the easy ones are the best! In this case, the chocolate isn’t overpowering and the cake is soft and moist. Couple that with the lighter frosting and the helping of chocolate shavings goes a long way!
Enough chitchat though it’s time to get into the kitchen; where’s my portal gun!
 DIFFICULTY
As easy as dying in Portal or Portal 2.
TIME
40min prep
30min cooking
20min decorating
INGREDIENTS
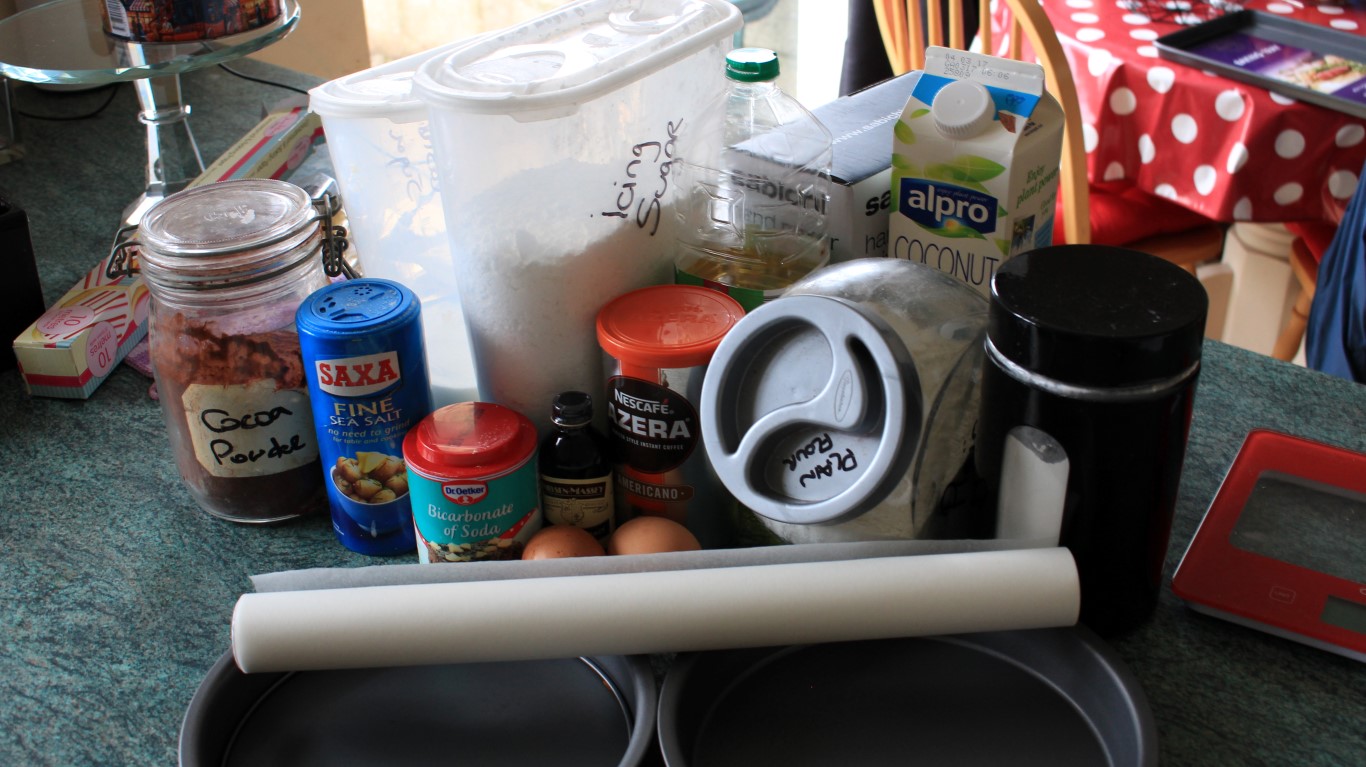
Cakes: 275g plain flour, 400g caster sugar, 100g cocoa powder, 2tsp vanilla extract, 2tsp baking powder, 1.5tsp baking soda, 1tsp salt, 1.5 tsp espresso powder, 240ml hot water, 240ml coconut milk, 120ml vegetable oil, 2 large eggs.
Decoration: 200g cream cheese, 350g icing sugar, 30g cocoa powder, 110g milk chocolate, fresh strawberries
PROCESS
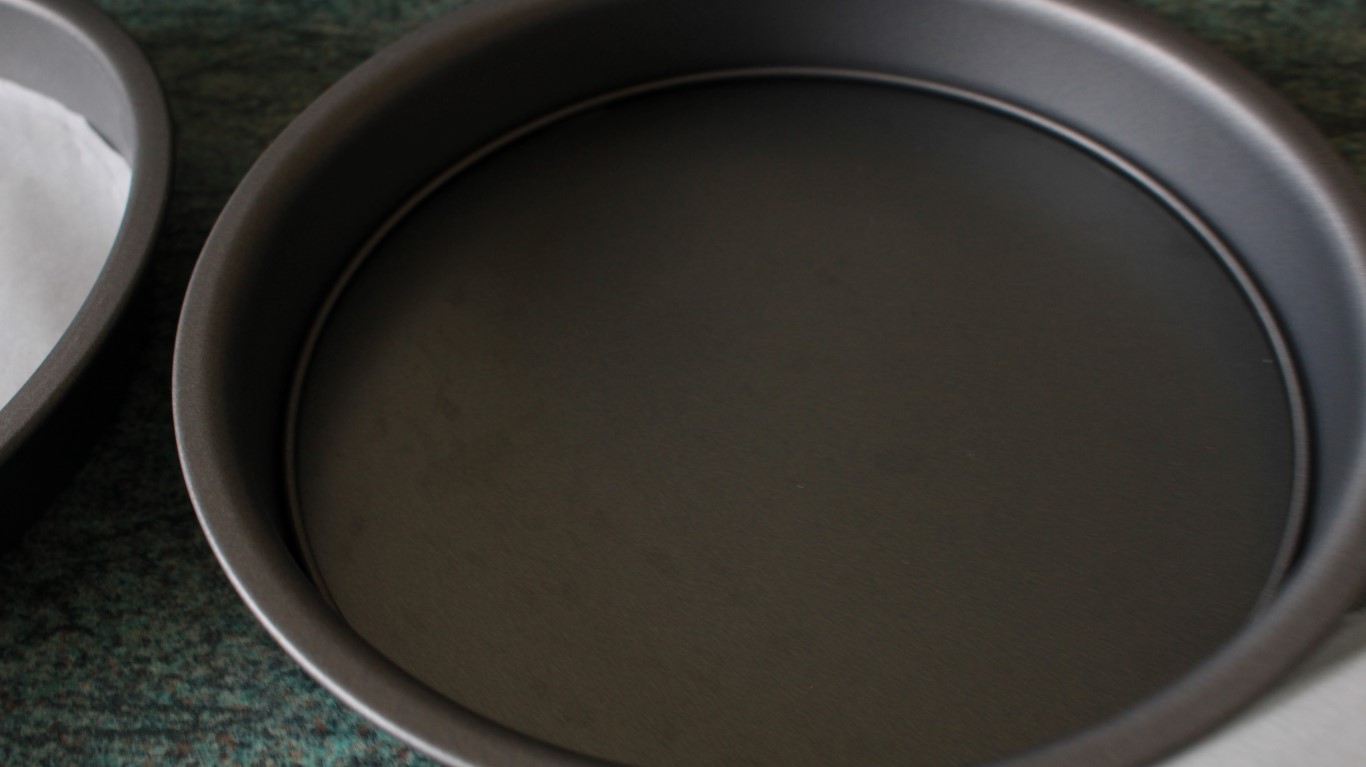
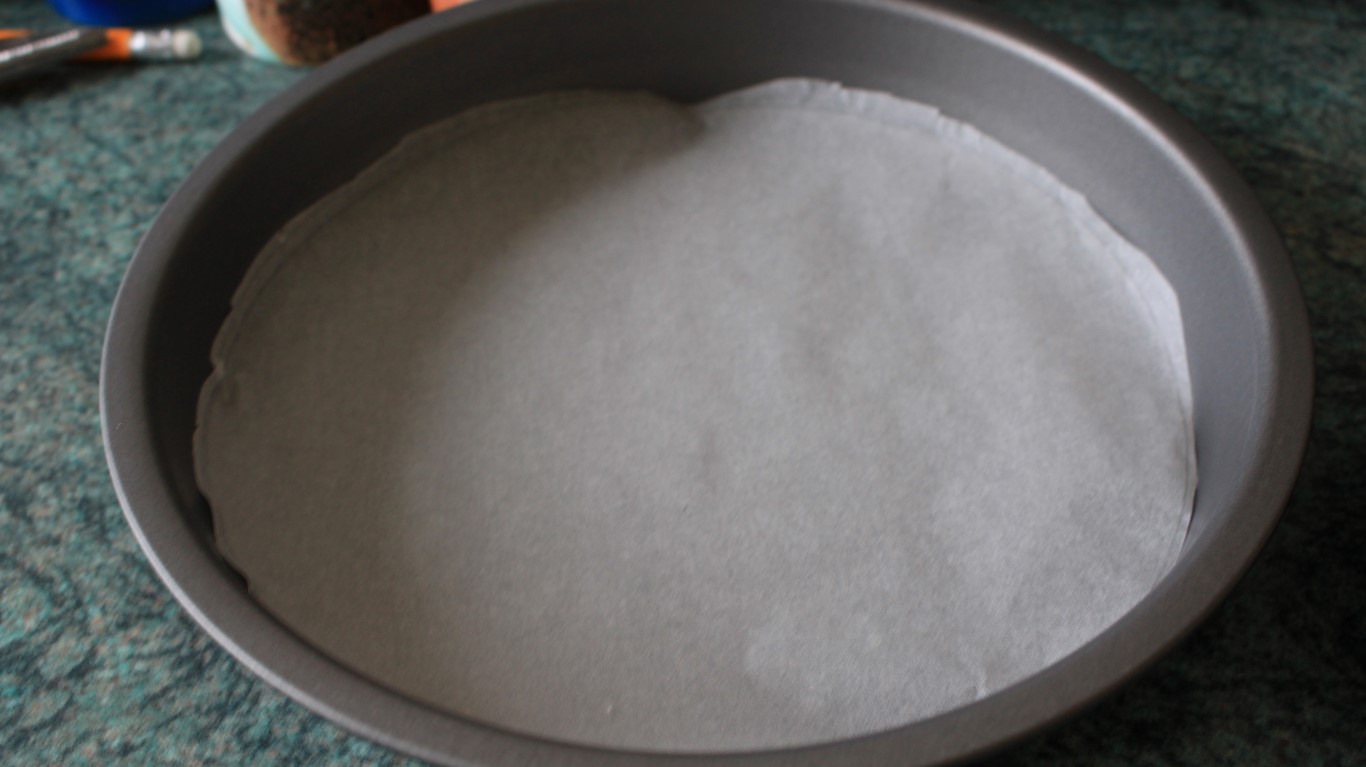
As always start by pre-heating the oven to 190c! Take two 8inch/20cm cake tins and line the bottoms with greaseproof paper. This will help with transferring the cakes later.
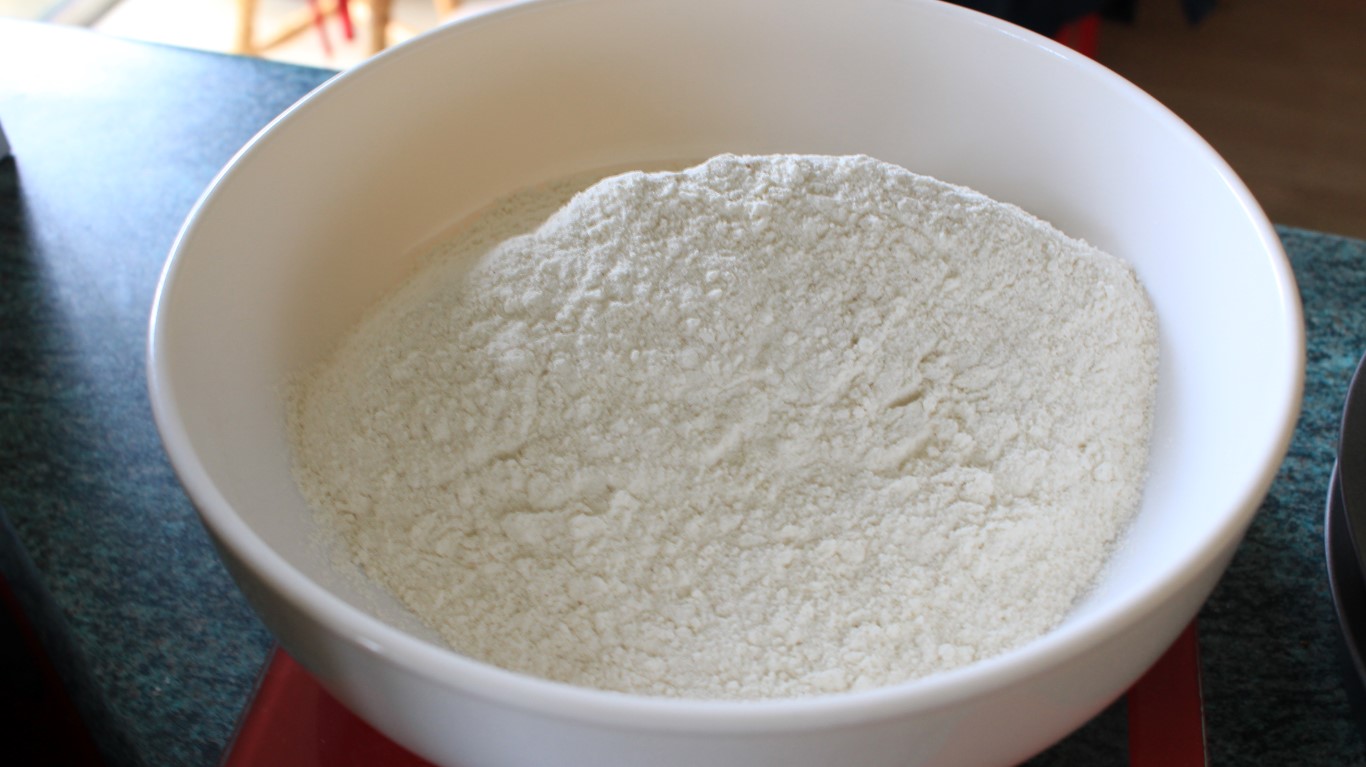
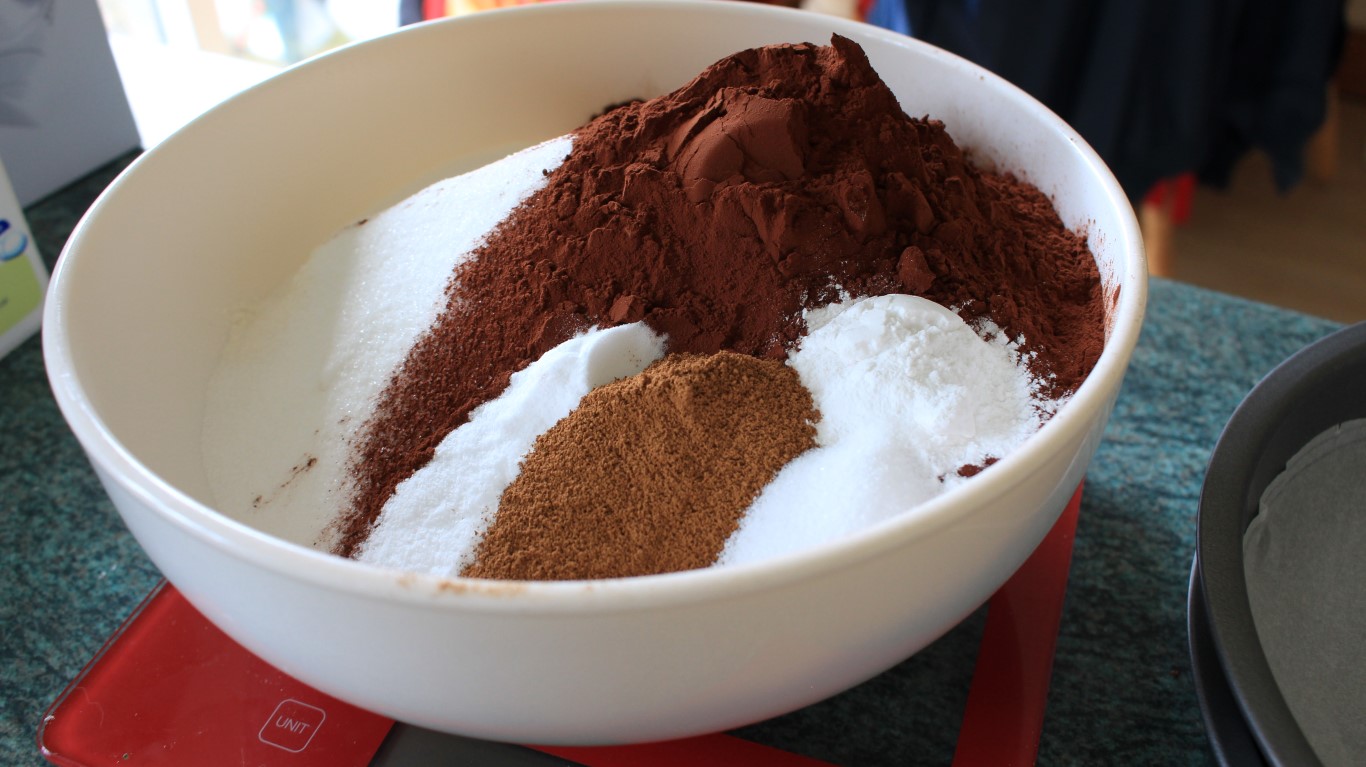
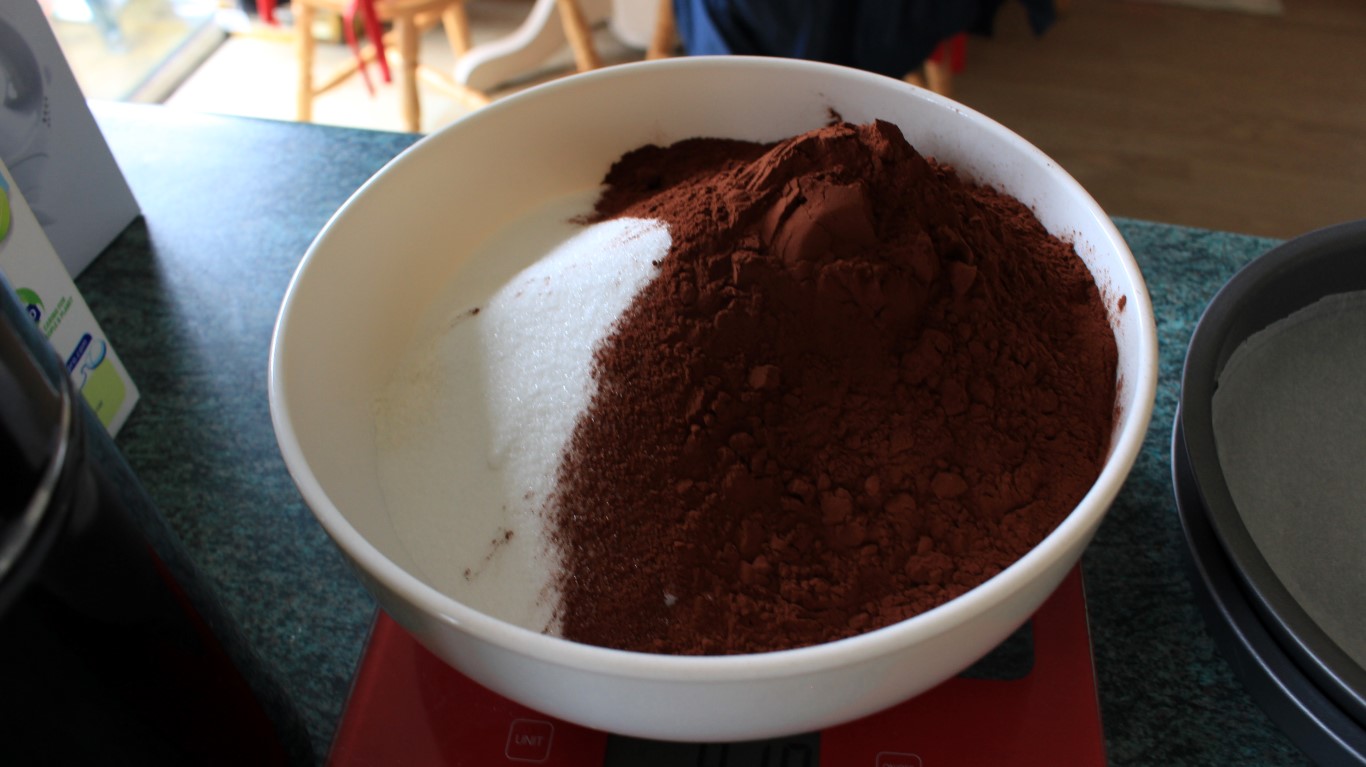
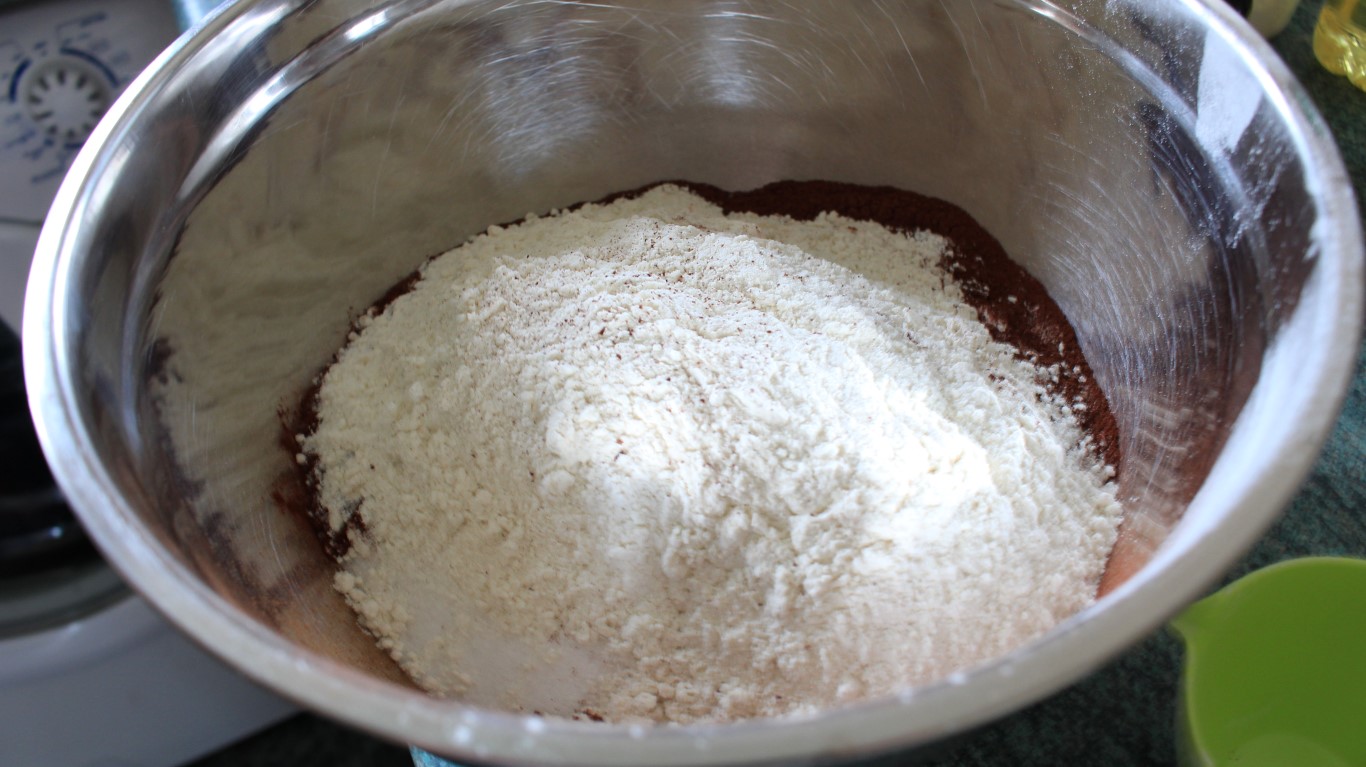
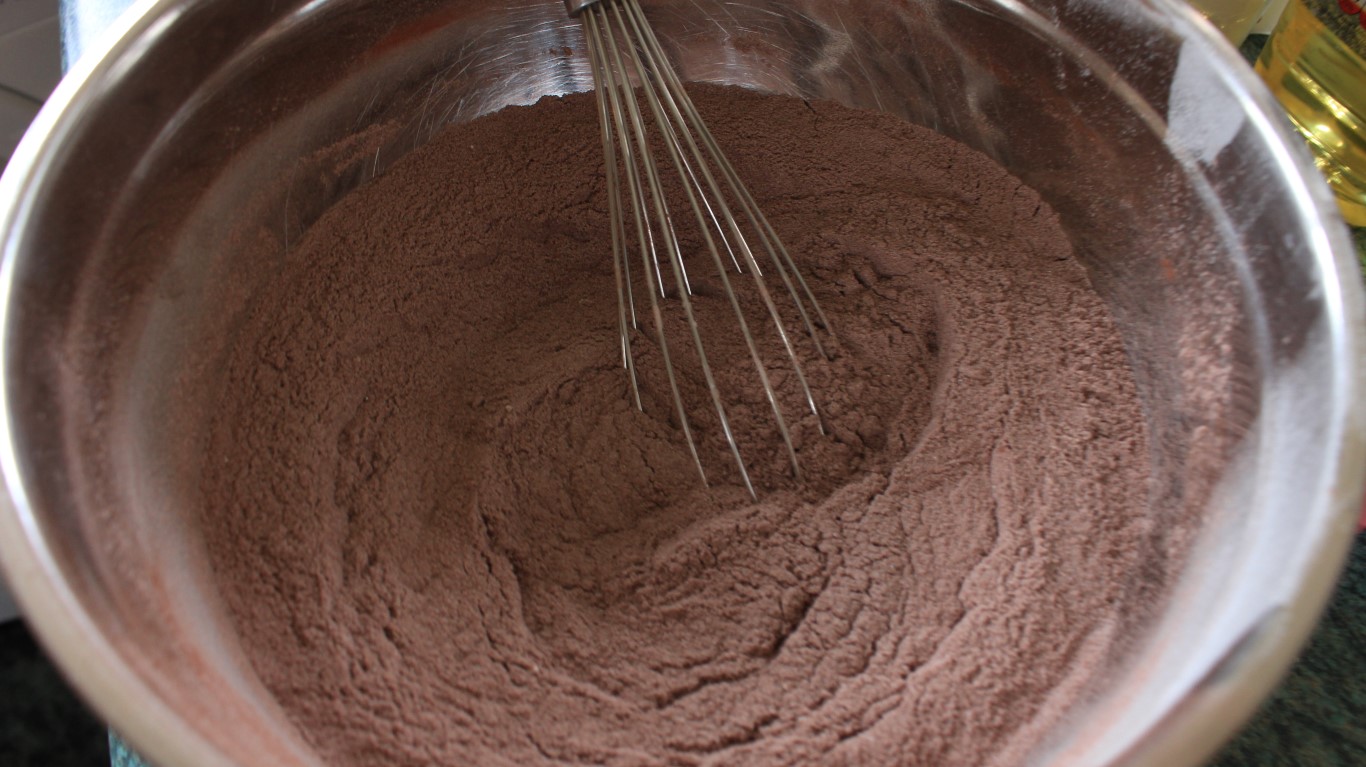
Okay set those aside and make sure you’ve plenty of room to work with. As I said above this couldn’t be easier from here on out! You’re going to need two bowls, one medium and one large deep bowl . In the large bowl combine all of your dry ingredients! I didn’t sieve any of my ingredients together so don’t worry about doing it either. Instead take a whisk or large spoon and blend the ingredients together. Be sure to give it a decent mix and don’t just half ass it here! You’ll break up lumps and fully incorporate the cocoa powder and it will save you more work in the long run.
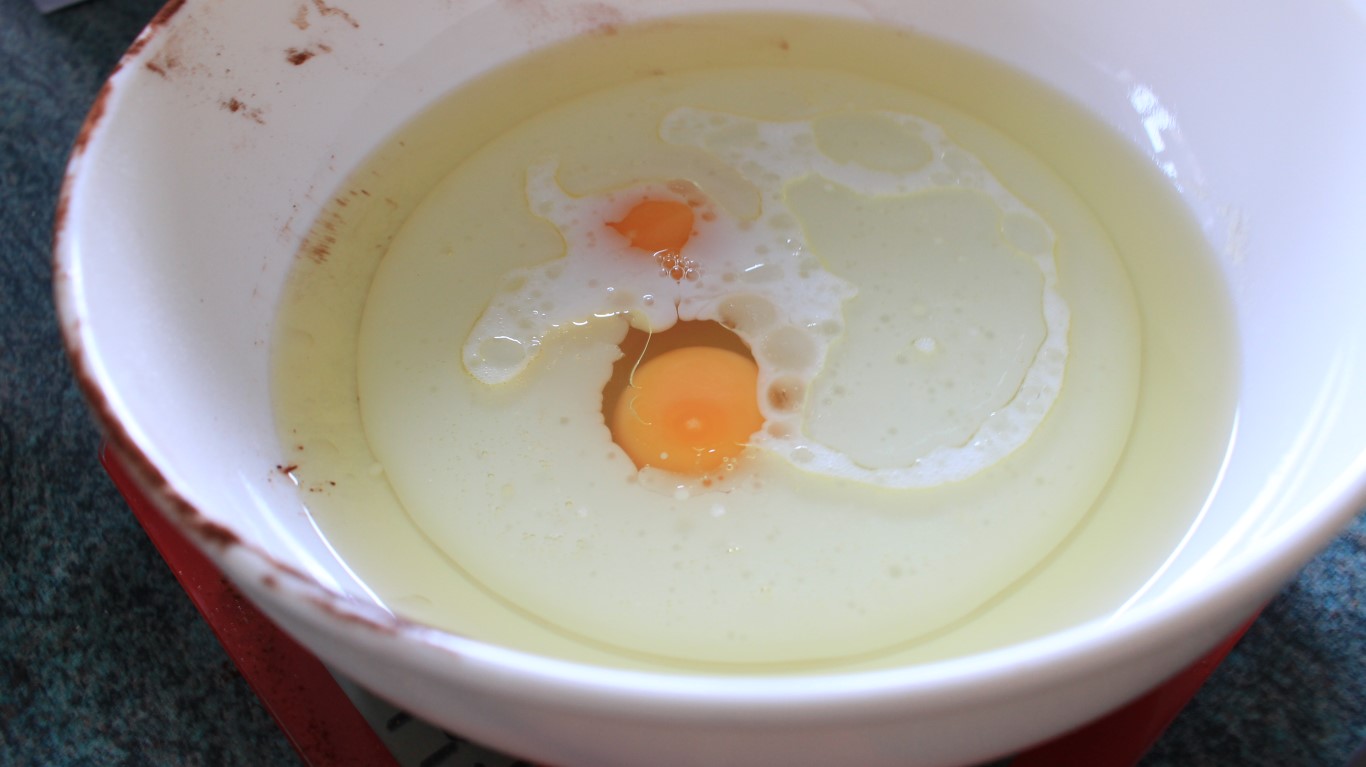
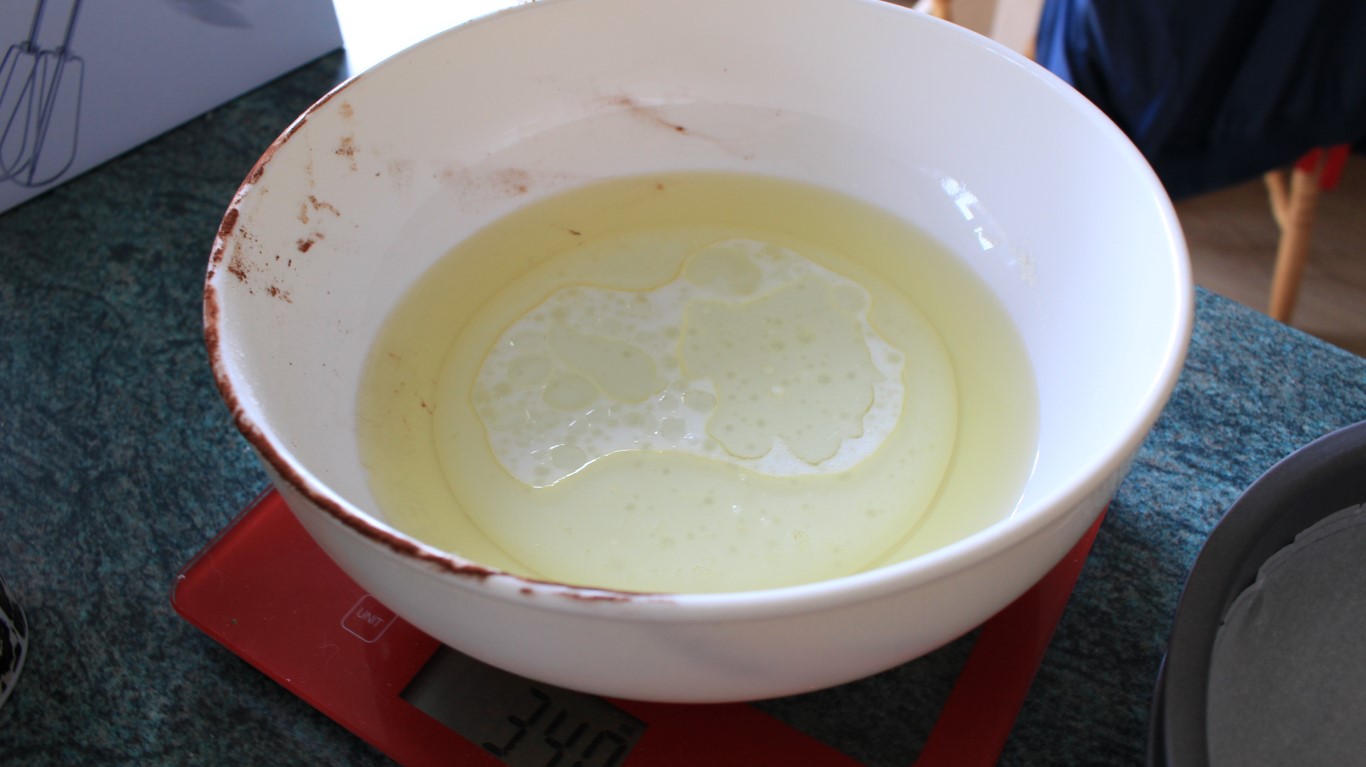
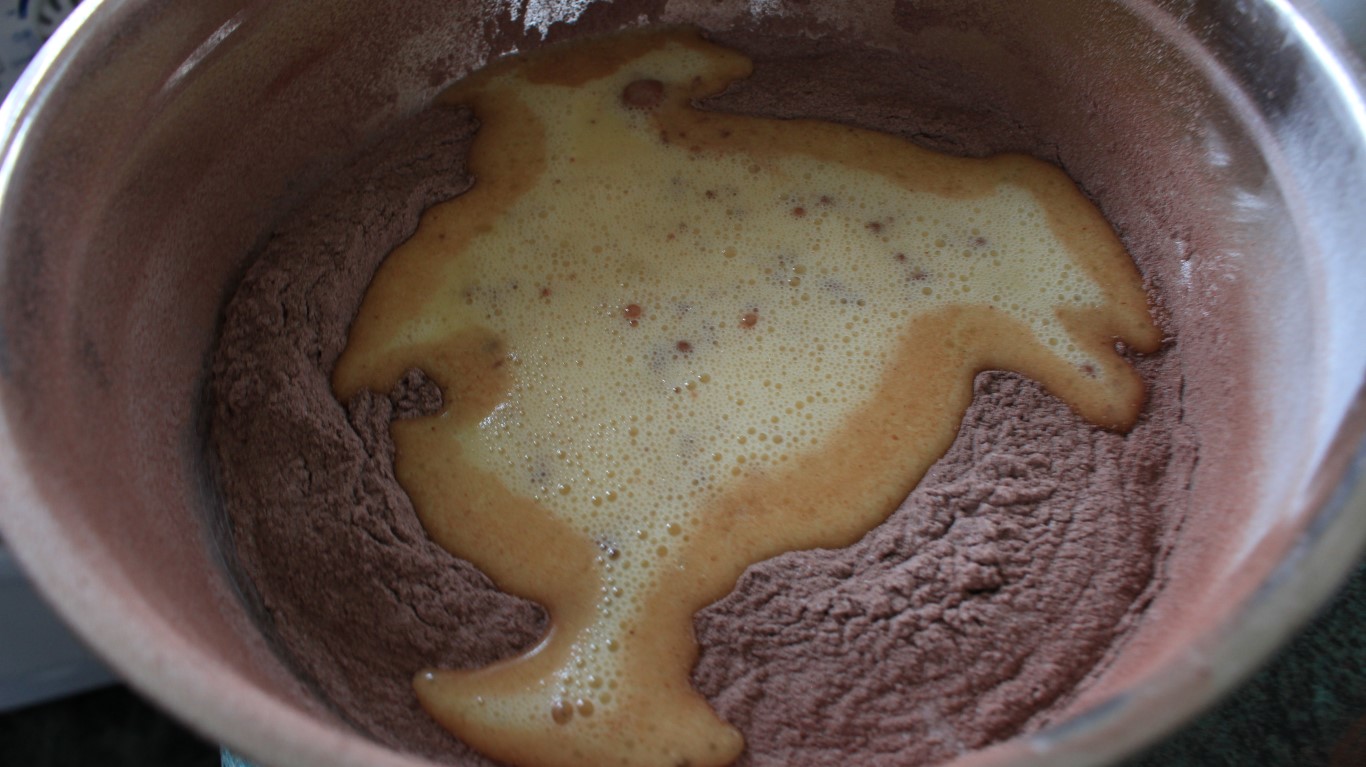
In the second bowl combine all of your wet ingredients EXCEPT for the hot water. It will look kind of gross but give it a quick stir to beat the eggs a little. In the bowl with the dry mix, create a a shallow well then pour in your liquid from the other bowl. Using an electric mixer or by hand (you masochist!) combine the ingredients well.
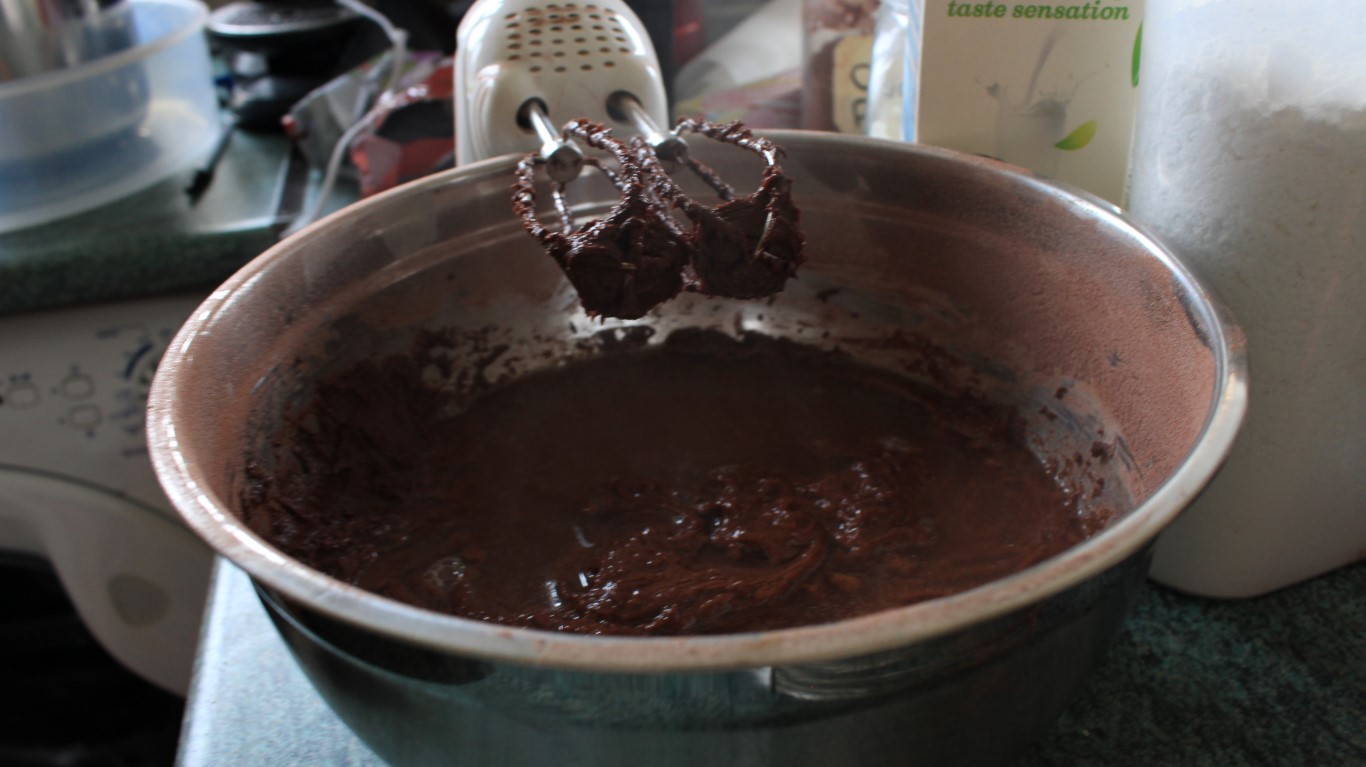
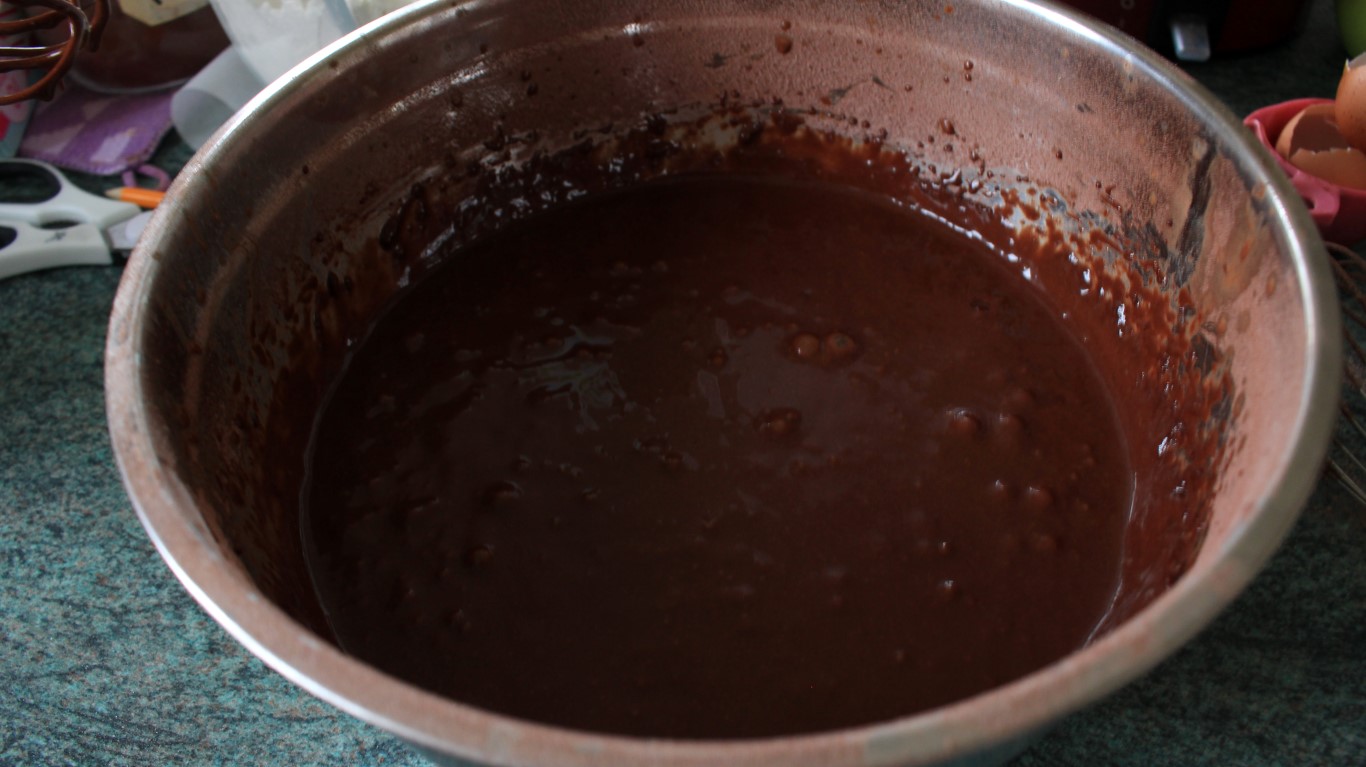
It will be quite thick don’t panic! At this point you’re going to add your hot water and then mix again! This will leave the cake batter a little runny, don’t panic! Pour the mix into the two cake tins and pop them in the oven. I had a little batter left over so I popped them into some cupcake cases and threw them in with the cake tins!
Leave the cakes in for between 30-35 minutes. After that time, test to see if the cake is cooked using a toothpick or cake skewer. Pierce the middle of the cake, if the stick comes out clean then your work here is done! Well almost!
Decorating: Do not submerge the cakes in liquid, even partially!
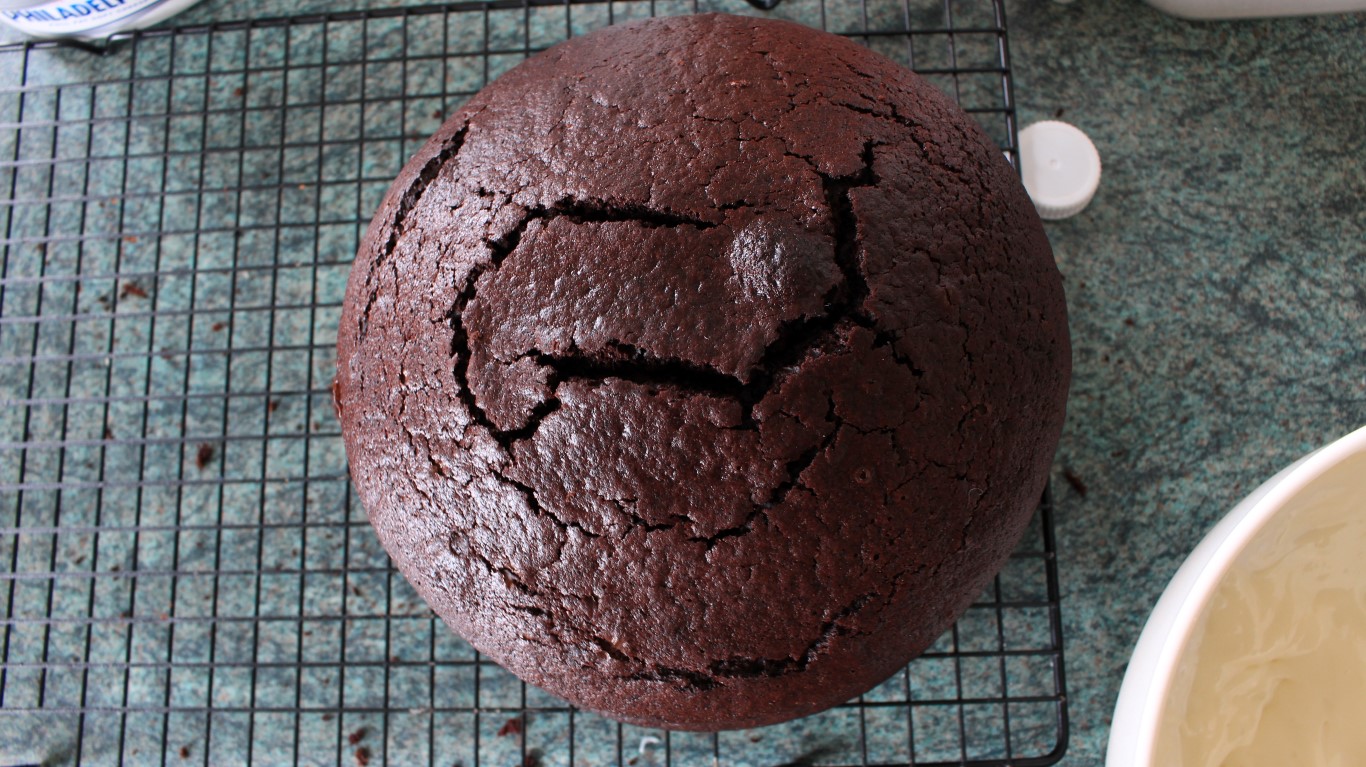
Remove the cakes from the oven and place on a wire rack to cool completely. After the first 15/20 minutes, you should be able to flip the tins and remove the cakes. Let the cakes continue to cool.
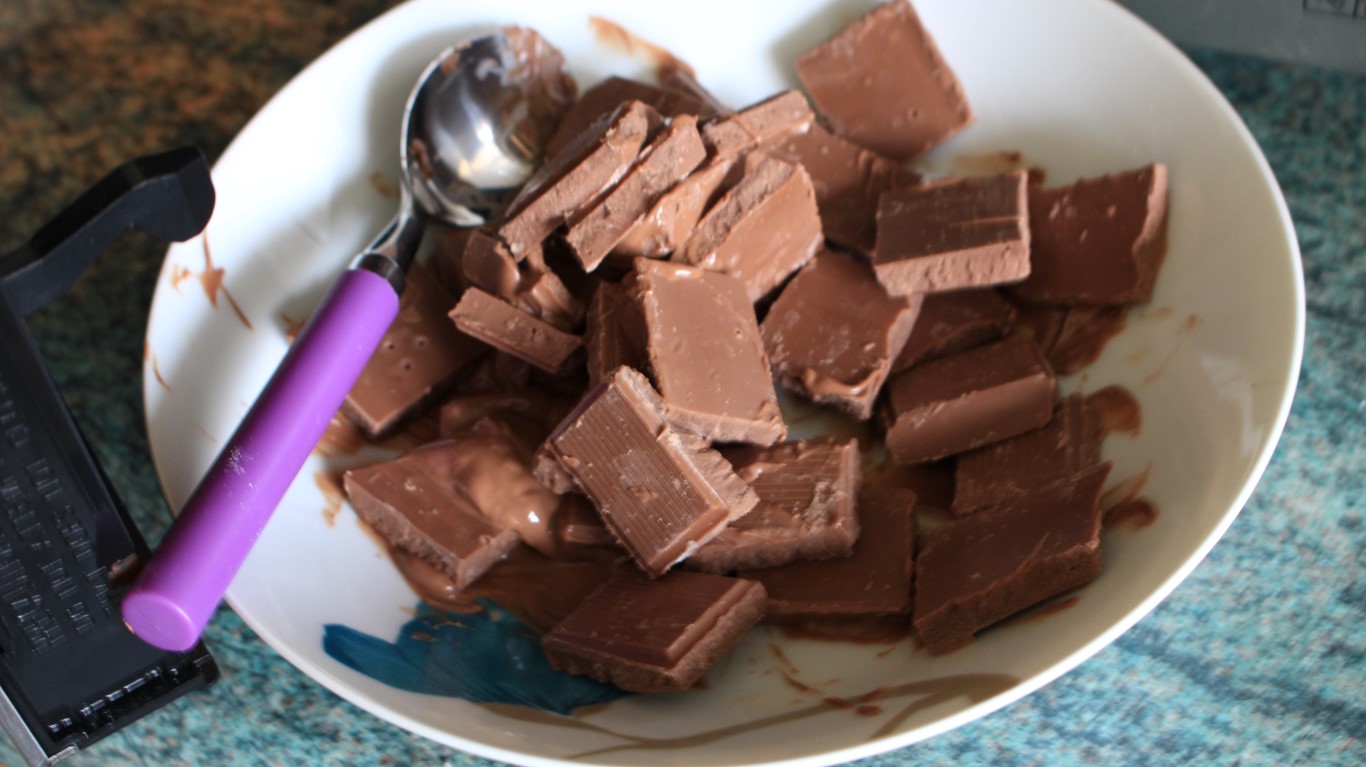
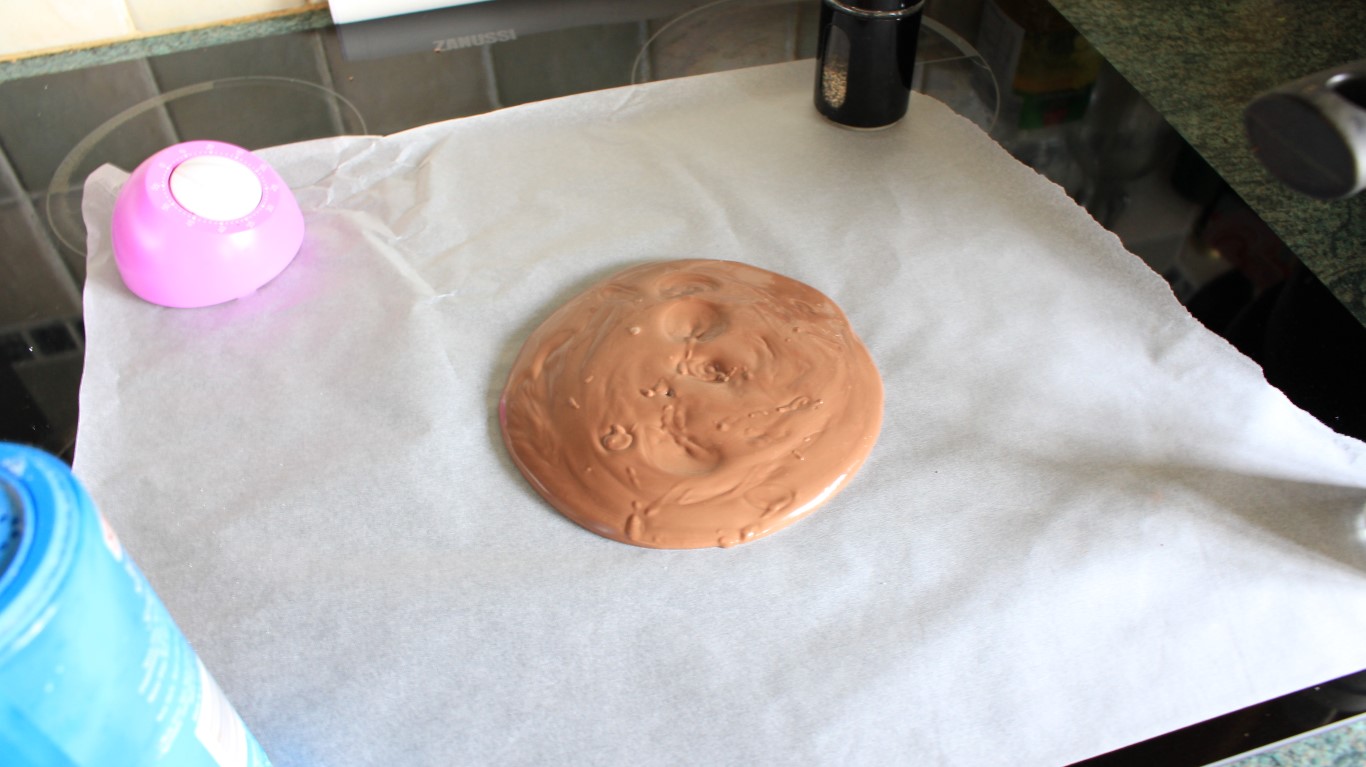
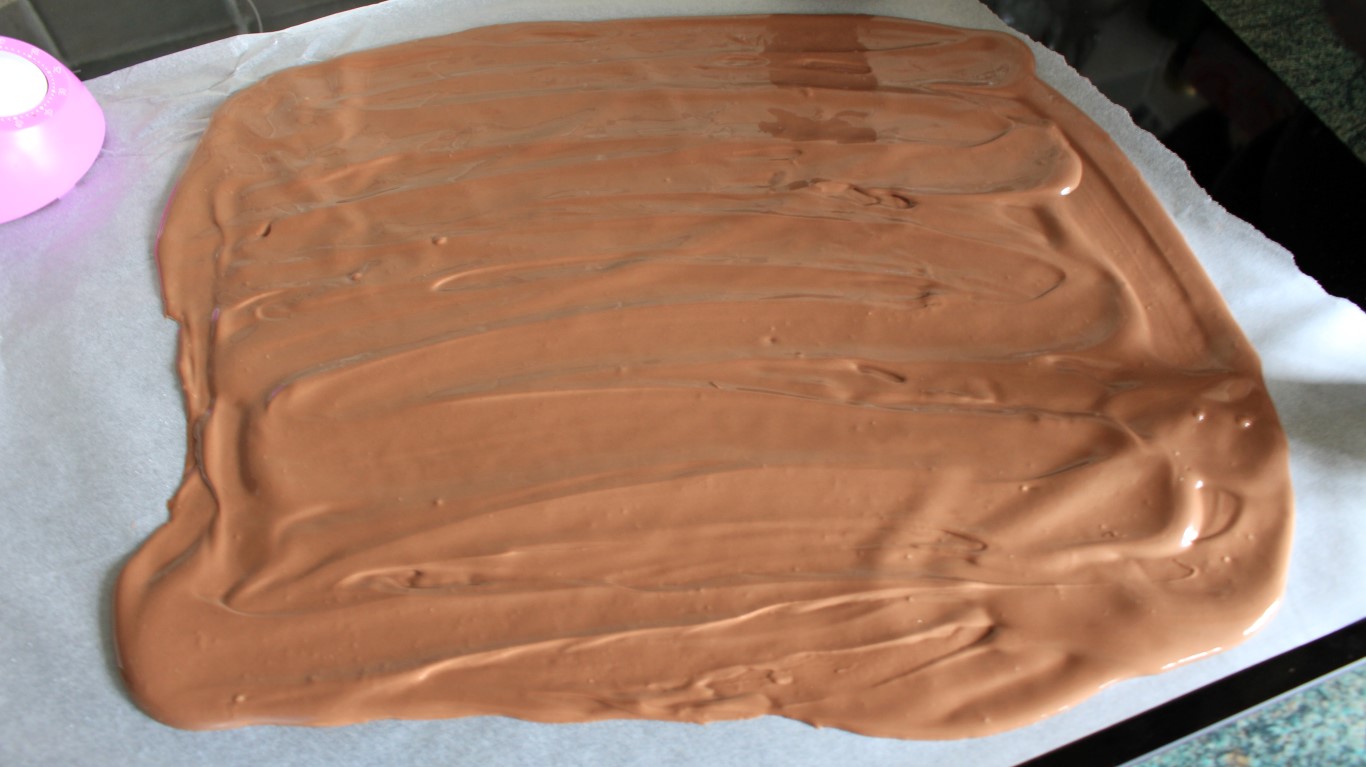
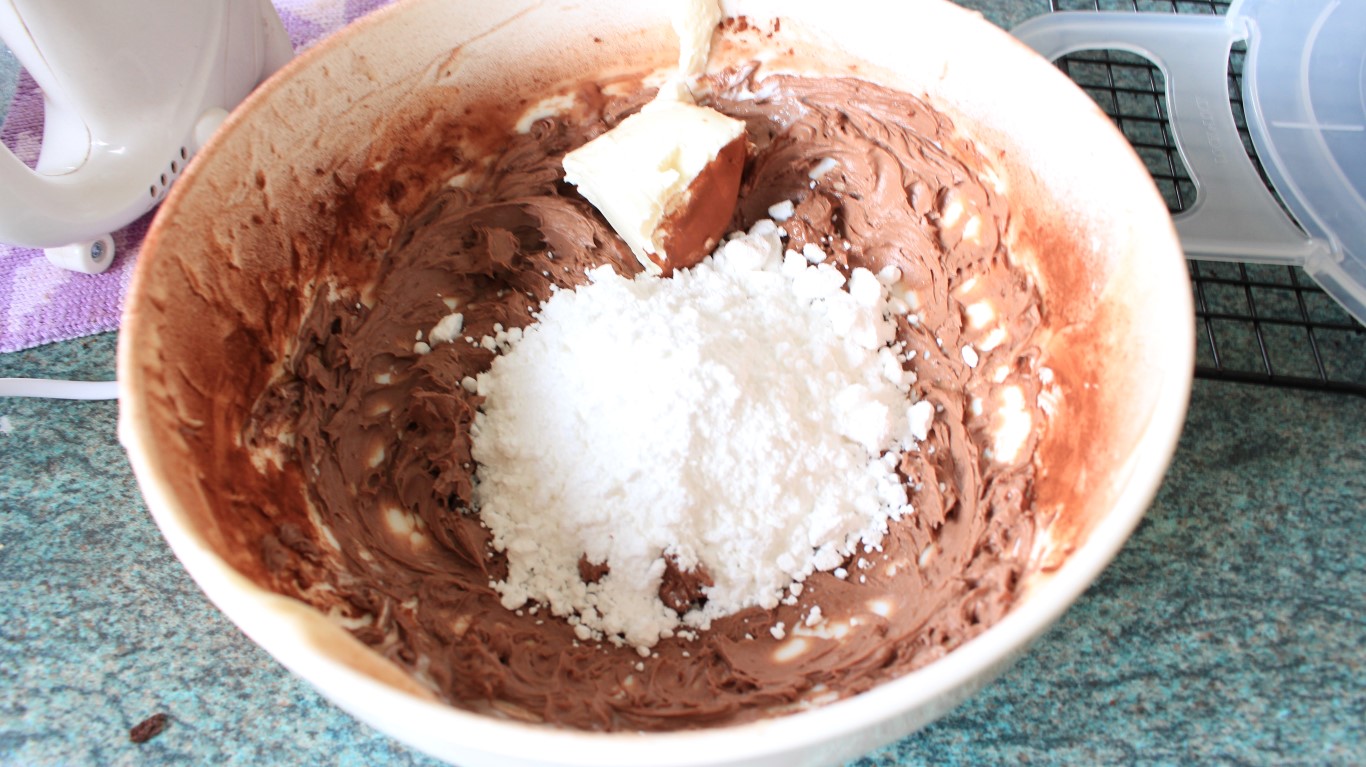
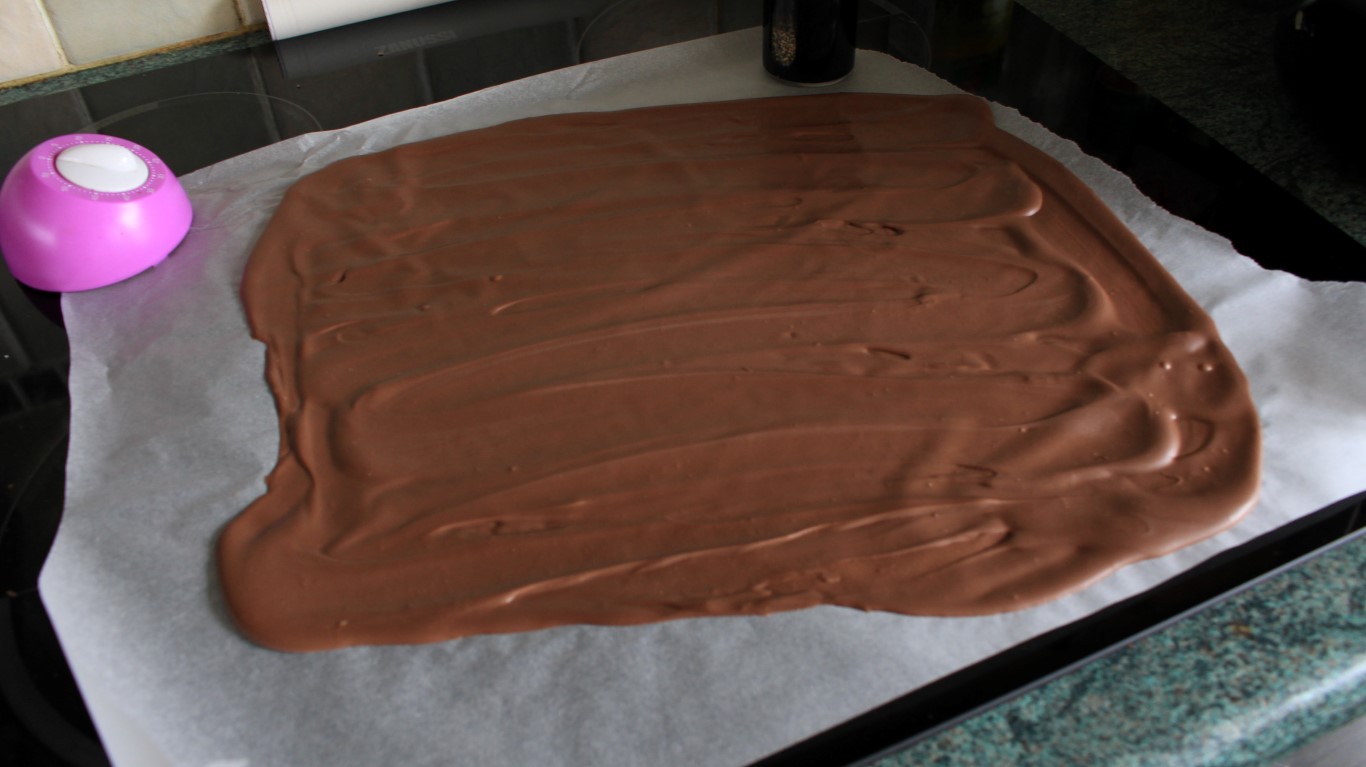
Meanwhile you can save some time by preparing your frostings and decoration. Start with melting some milk chocolate. You can use the double broiler method or pop it in the microwave, whatever you prefer. To save space and cleaning up later I whacked it into the microwave for just under a minute. Once melted add a little salt to the chocolate to bring out the flavour (optional!). Spread it across a sheet of greaseproof paper and let it set.
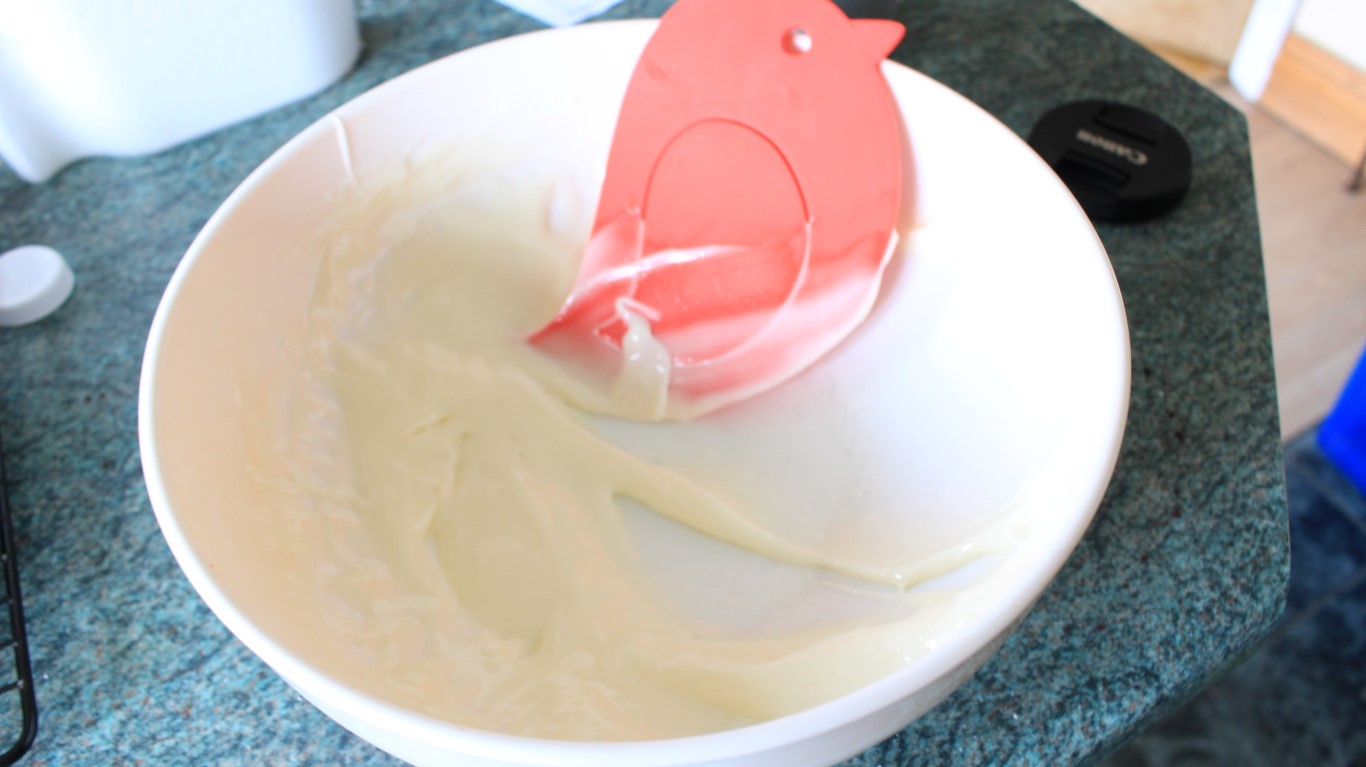
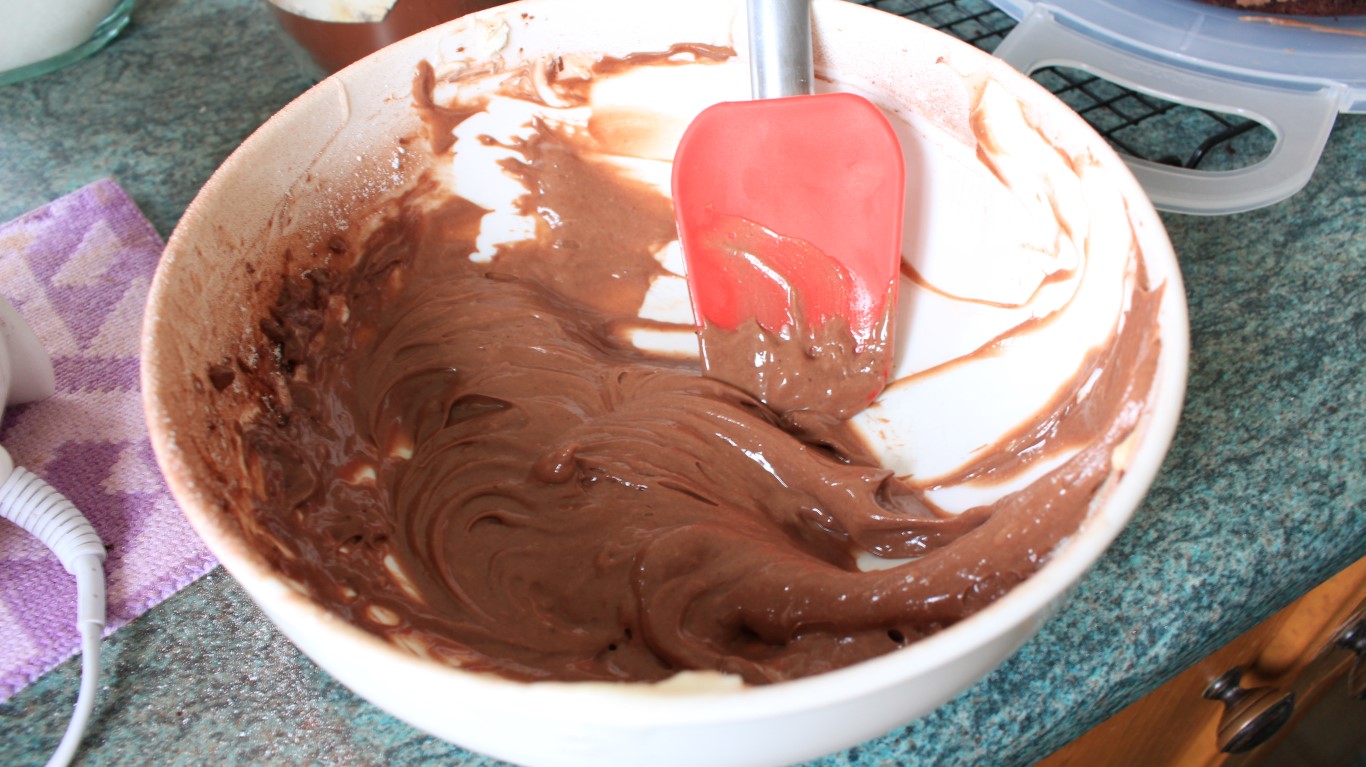
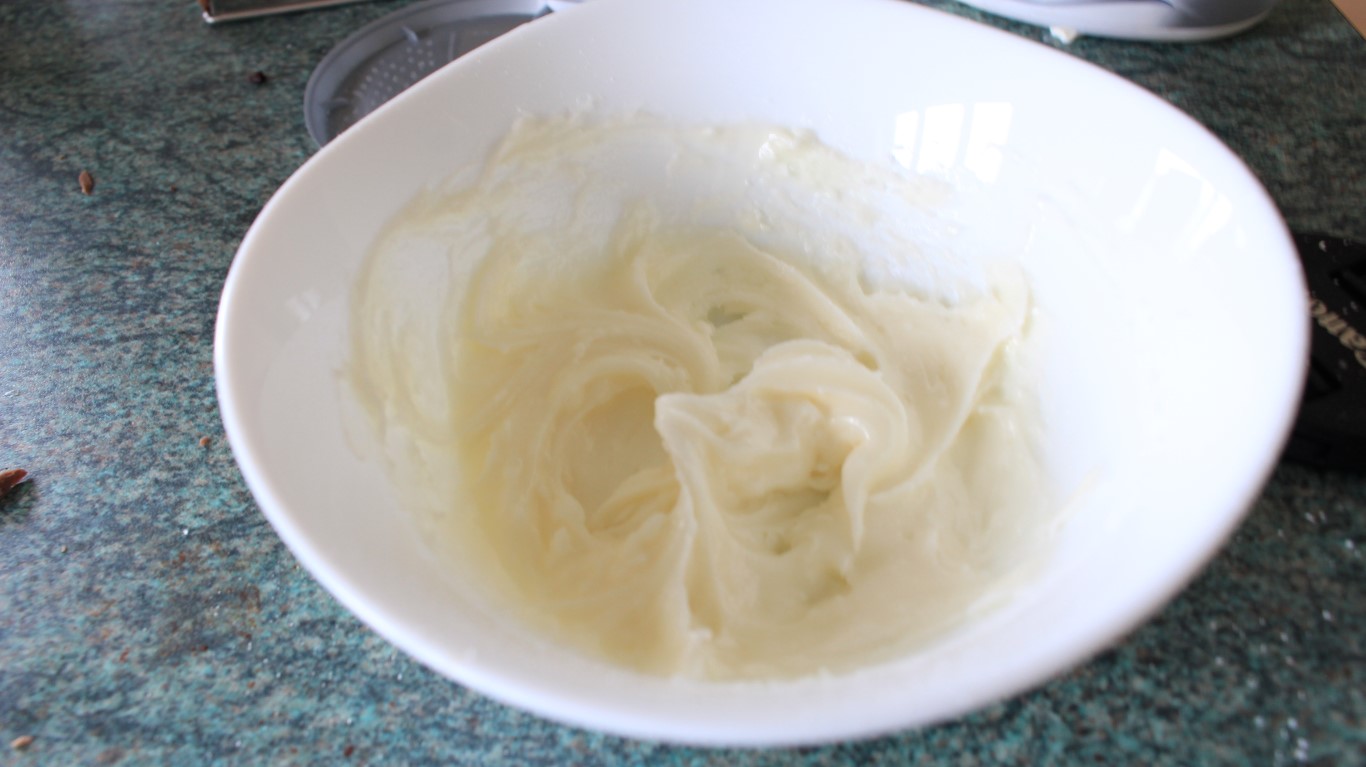
For the frosting, you’ll find rough measurements above but I did this by eye mostly. You’ll need a frosting that’s thick enough to hold itself but not to stiff that it’s a nightmare to spread. If you go too soft, add more icing sugar, too stiff, add more cream cheese or even milk. For a little extra flavour I added a litle vanilla essence to my plain white frosting. Just combine the ingredients in seperate bowls. I used m vanilla frosting to sandwich the cakes and just add a little contrast to the cake but you don’t have to.


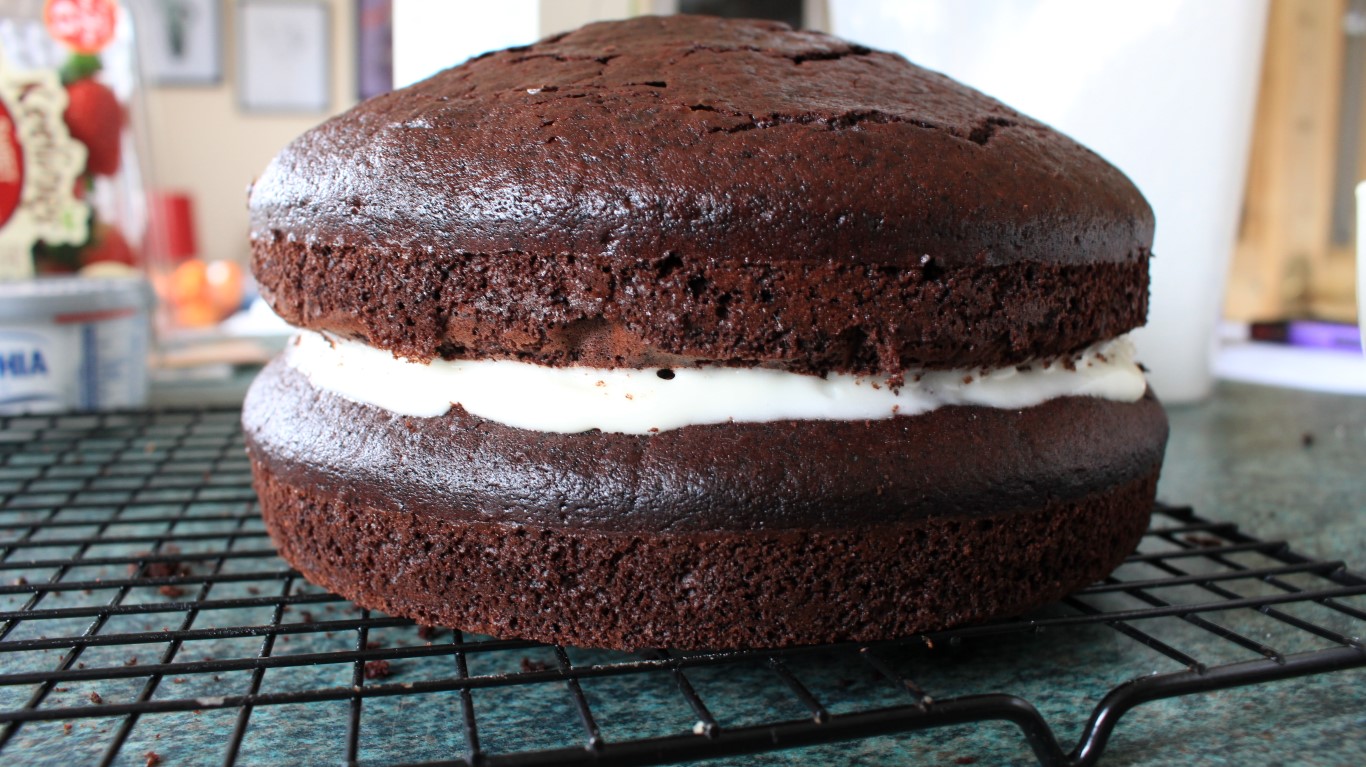

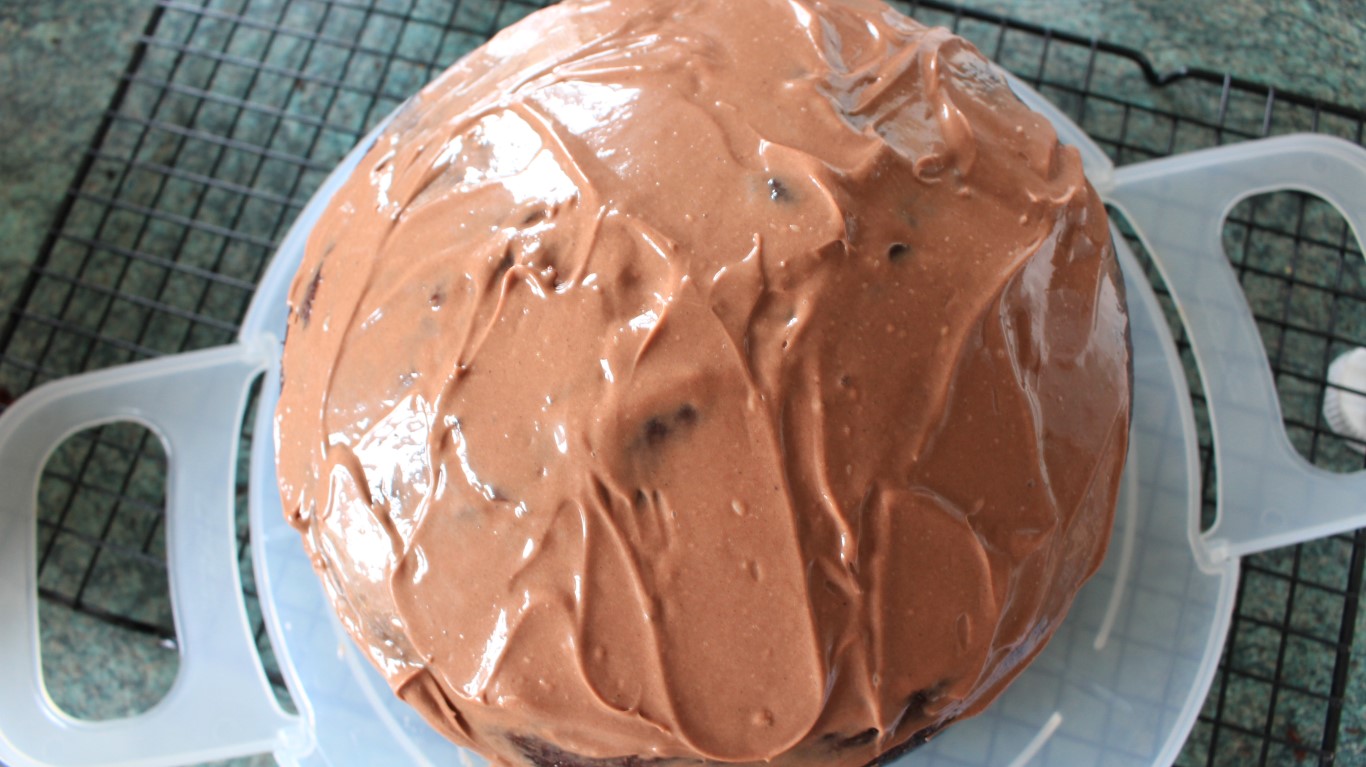
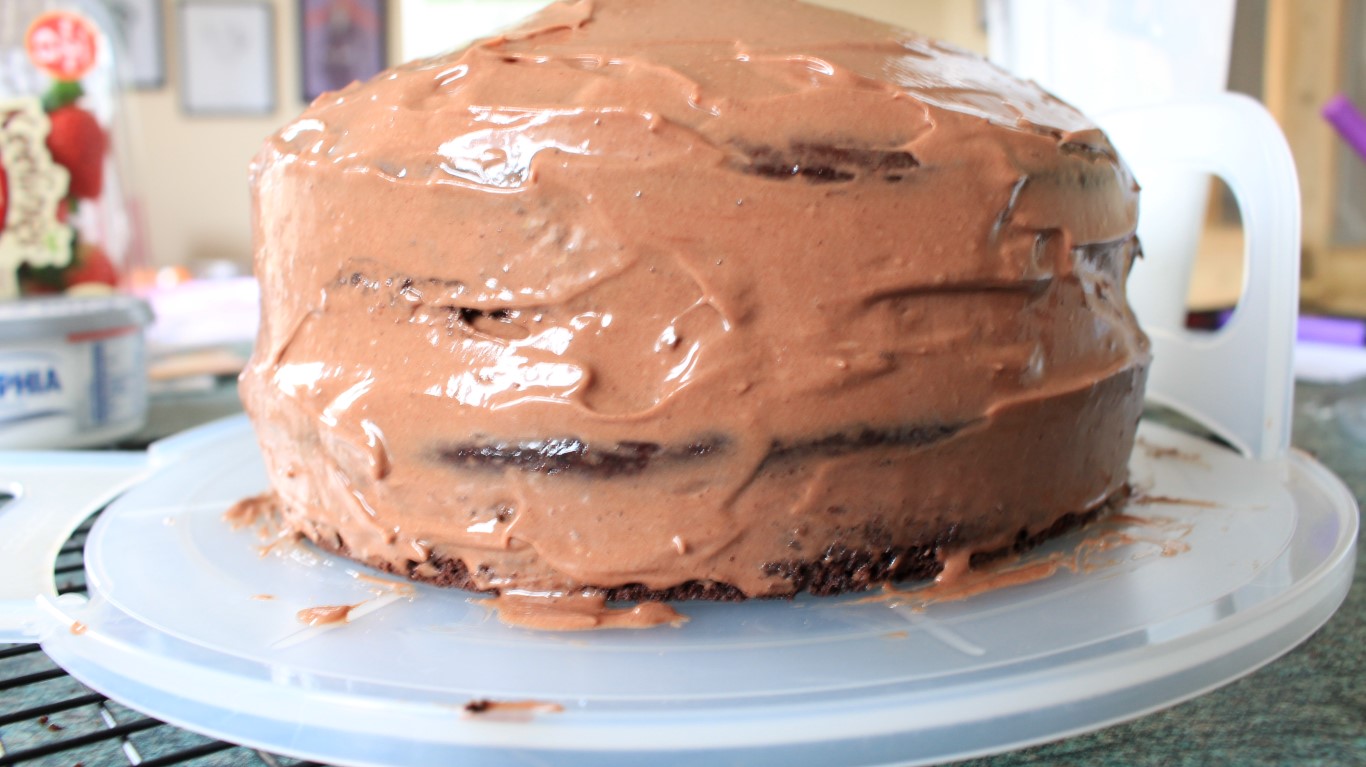
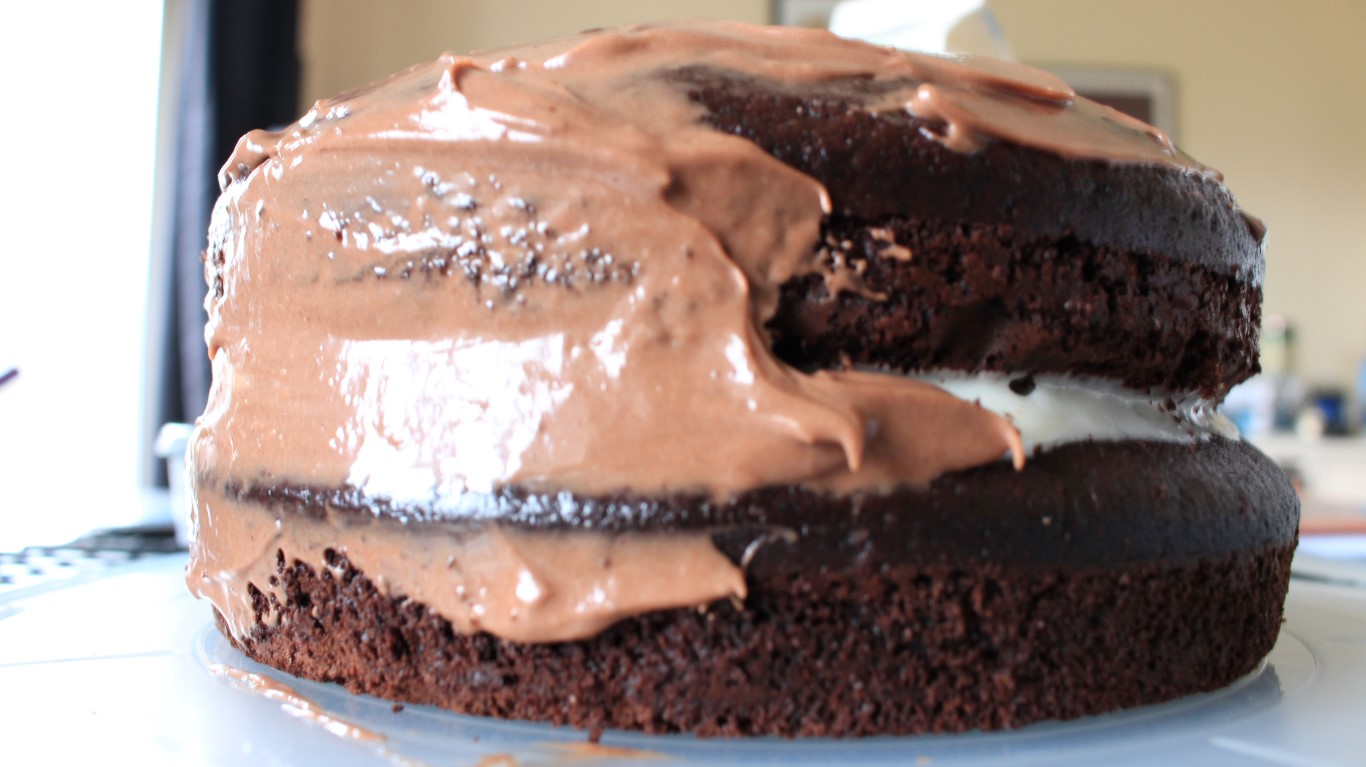
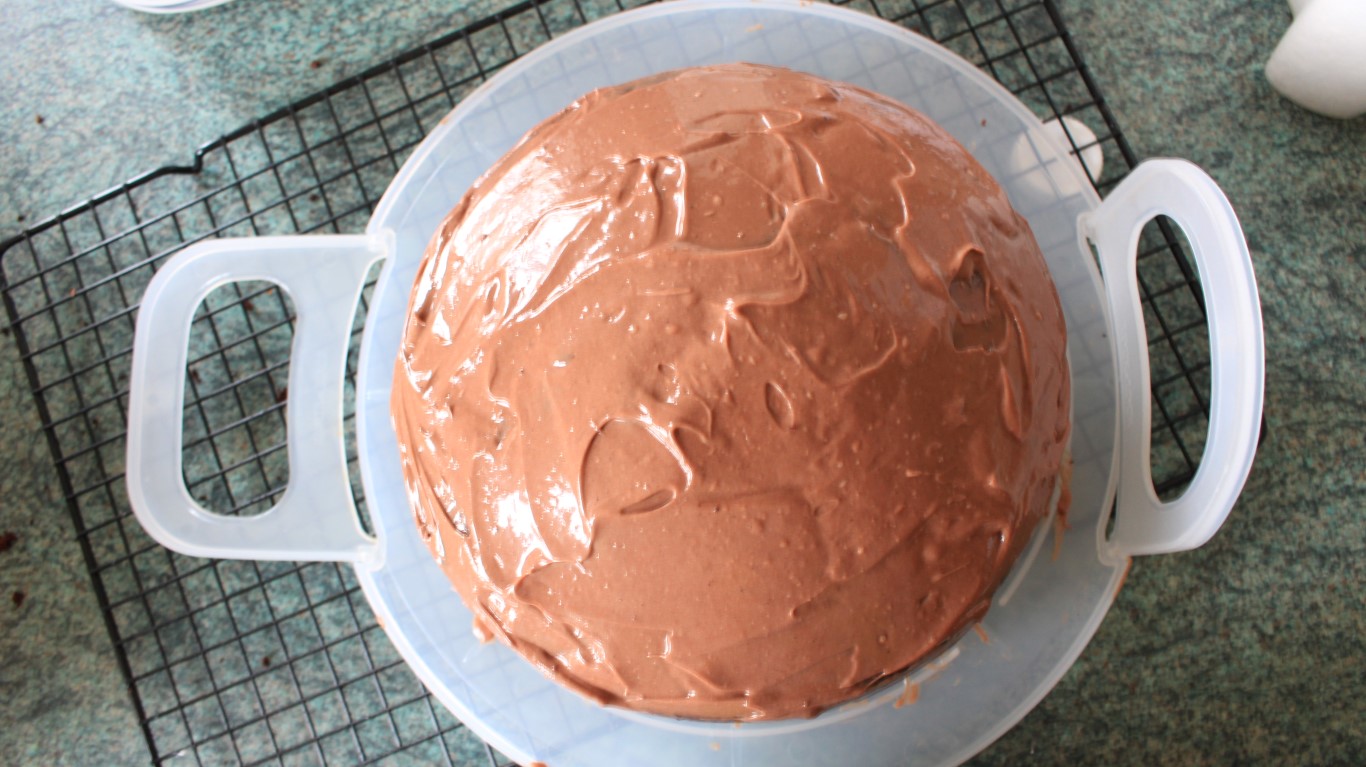
To start decorating, first you’ll need to make sure your bottom cake if even. Cut the top of the cake until it’s level then spread your frosting. Sandwich this with the top layer and then gently press down to edge the frosting a little. Using a small spatula begin to frost the outside of the cake until it’s covered. Don’t worry about it looking pristine and smooth, you’ll be covering that with chocolate.
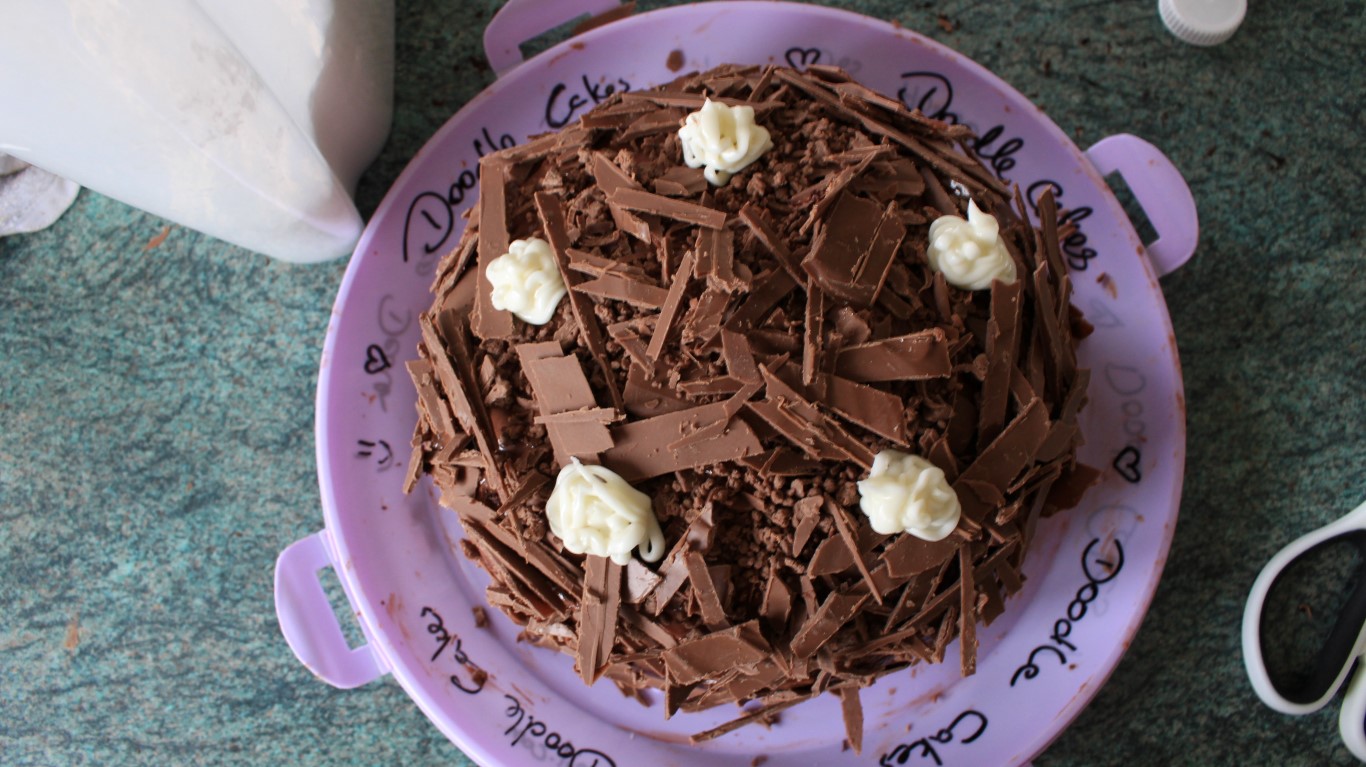
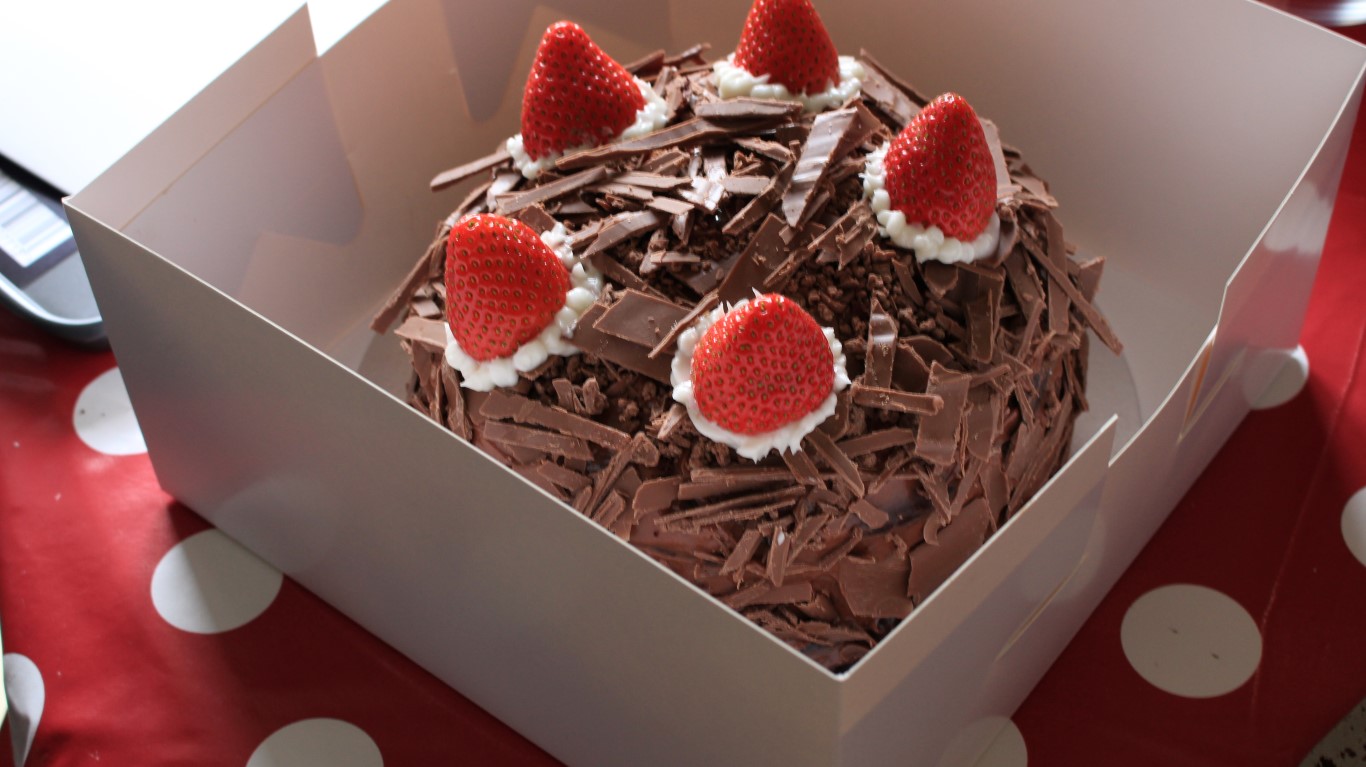
The chocolate should be set by now so take a knife and chopping board and start slicing and cutting it into strips. Try to keep them small and thin so the’ll stay stuck to the cake.
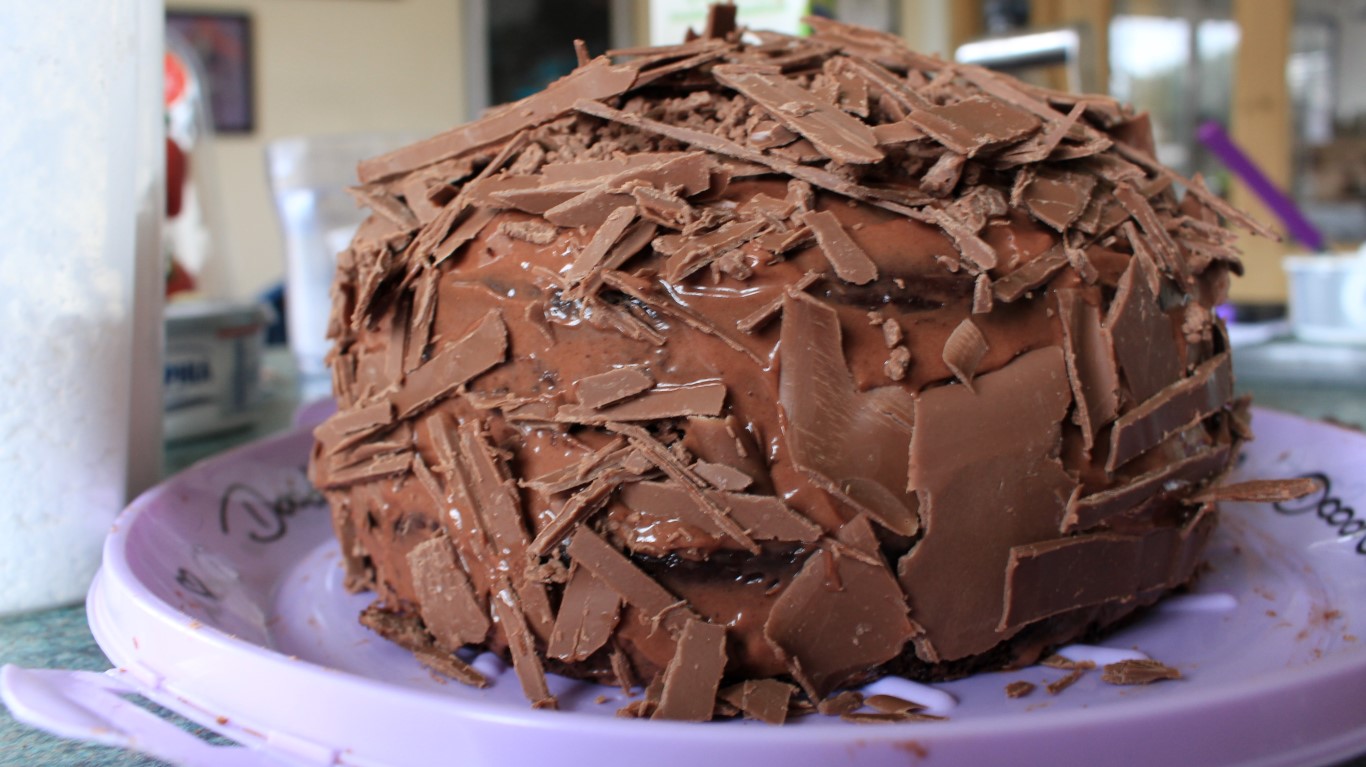
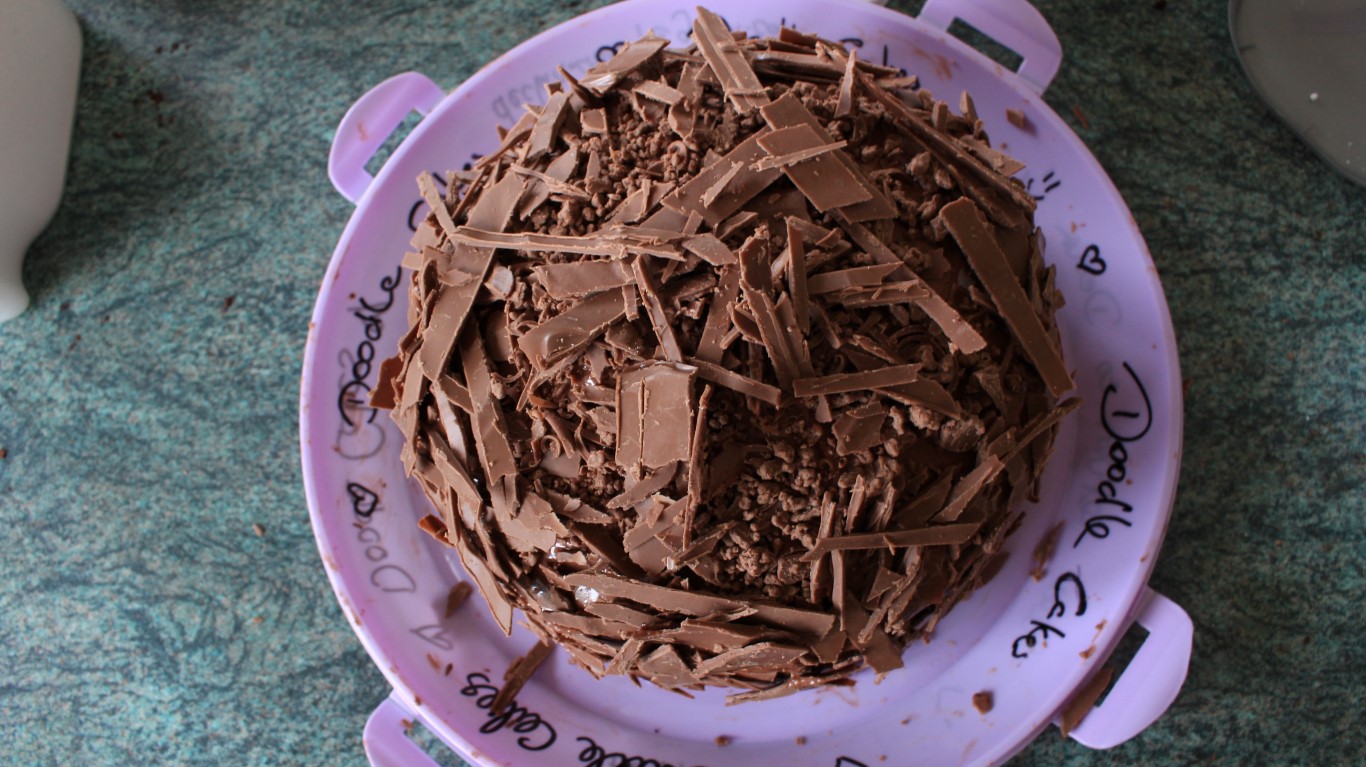
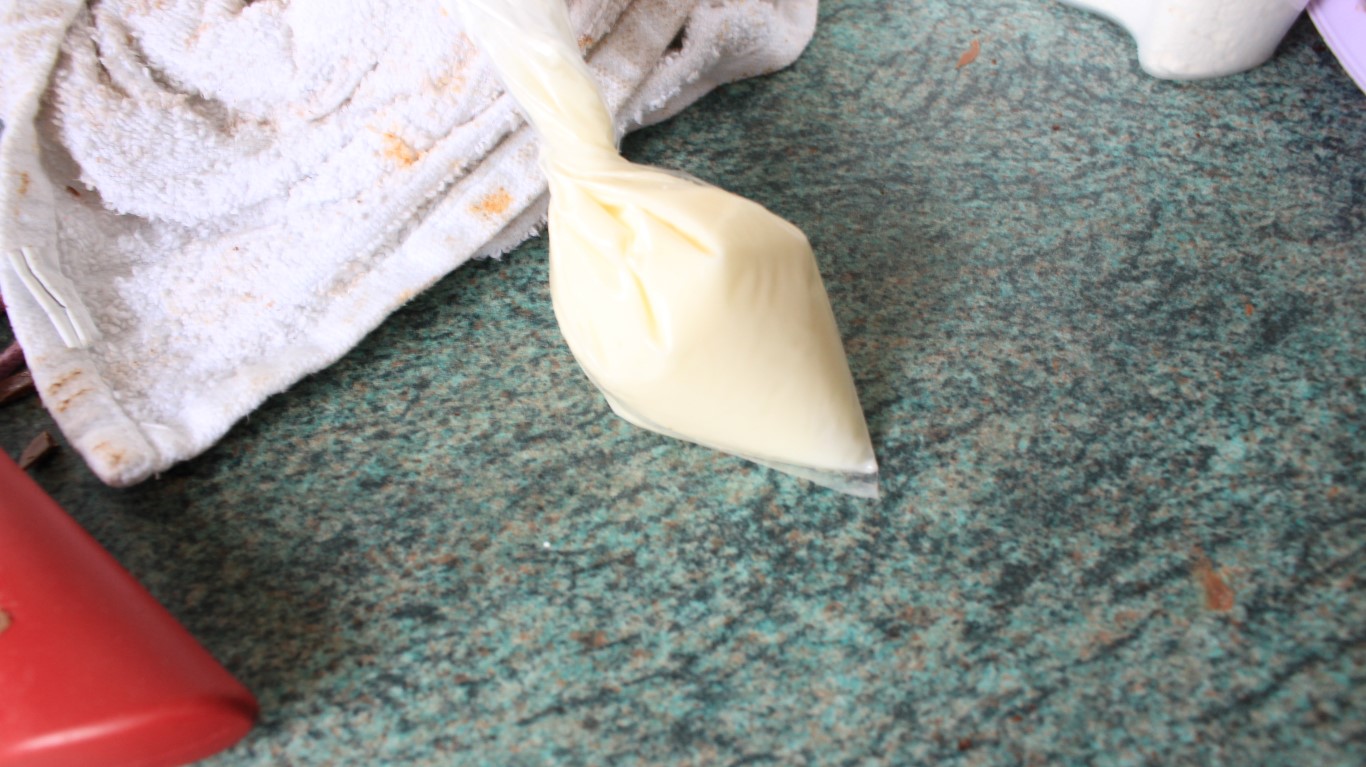
Once you’ve have the cake adequately decked out in chocolate shards top it with your fresh strawberries. I used a little of my leftover frosting piped around the bottom to hold them in place.

Your cake is complete and you didn’t have to lose your mind or life to make it! Grab some friends, pop the kettle on for tea and unwind with cake. If you haven’t got any friends, hug your nearest companion cube… the test is about to begin!
Editor-in-Chief, part-time super villain and hoarder of cats. If you can’t find me writing, I’m probably in the kitchen!