


The way to any man’s heart is through his stomach! I know it, you know it, Princess Peach knows it! However Peach also knows that you can’t exactly bake a 10 tier chocolate cake while running the Mushroom Kingdom and being regularly kidnapped. To save on time but not lose out on taste, the ‘nude’ cake is a real life saver.
It means your icing skills don’t need to be perfect and is a great way to practice too. This recipe is for a madeira cake. Light and fluffy but strong enough to hold our decoration.
So before Bowser kicks in the doors of the castle, let’s get baking!
DIFFICULTY
Normal
TIME
 5 Hours (will vary depending on your cake tins)
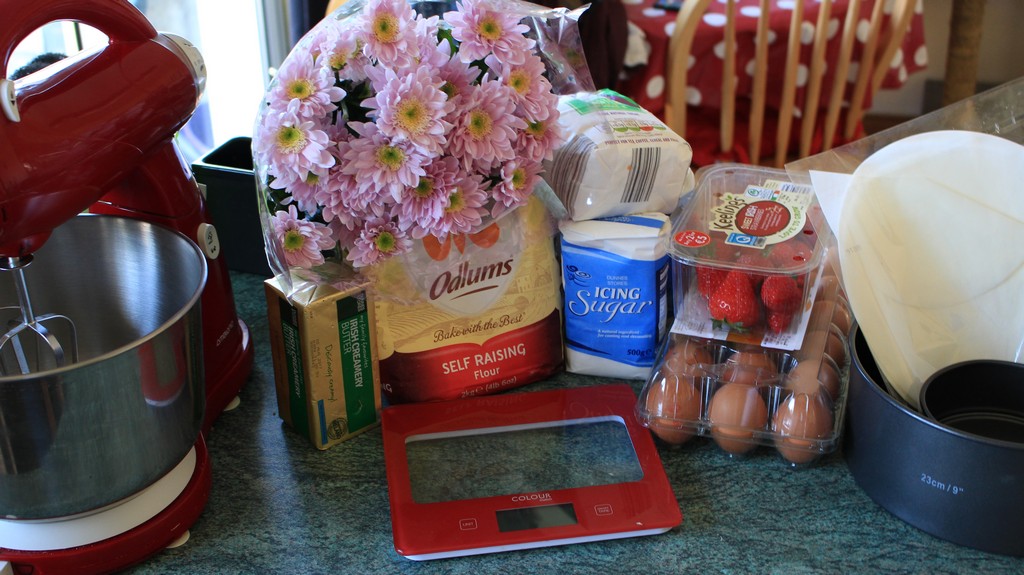
INGREDIENTS
Cake
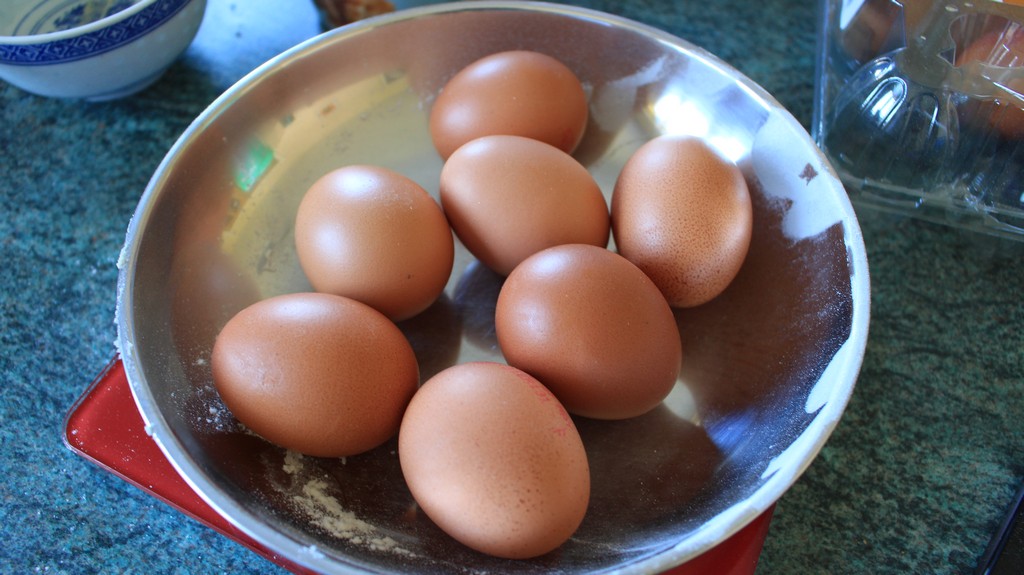
457g butter, 457g caster sugar, 7 medium free range eggs, 112g self-raising flour, 345g plain flour, 2.5 tbsp whole milk, 1tsp strawberry essence
Frosting/Decoration
260g butter, 600g icing sugar, 2 tbsp whole milk, 1 tsp vanilla essence, small jar of jam (any flavour) baby pink colouring paste, punnet of fresh strawberries, flowers (optional).
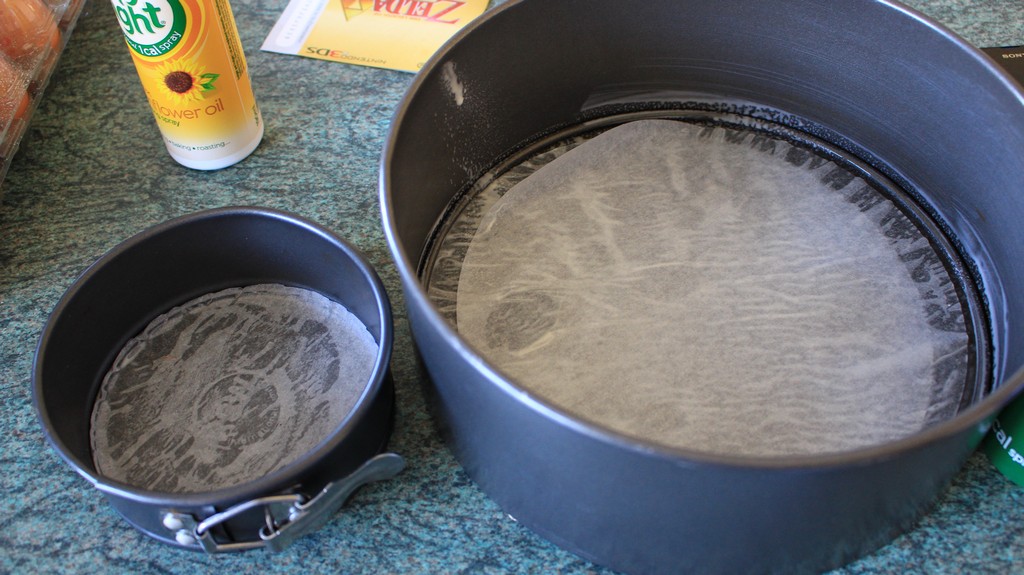
PROCESS – STAGE 1-a
Let’s a go! Start by preheating your oven to 150c/302f (fan). Next you’ll need to grease and line you cake tins! To save on time and washing up I used a deep 9 inch cake tin and a second 5 inch spring-form cake tin This recipe will also fill three 8 inch cake tins.
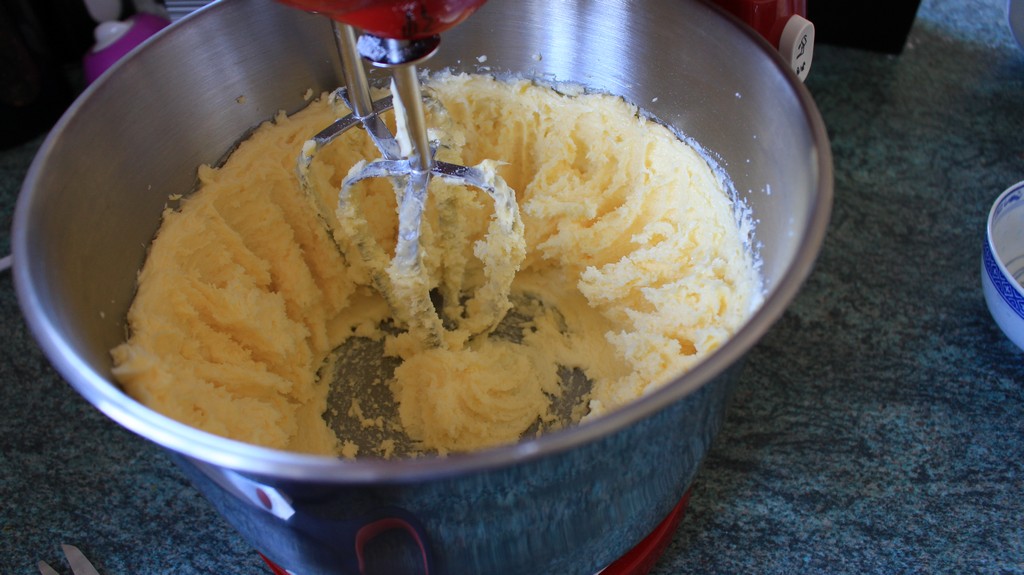
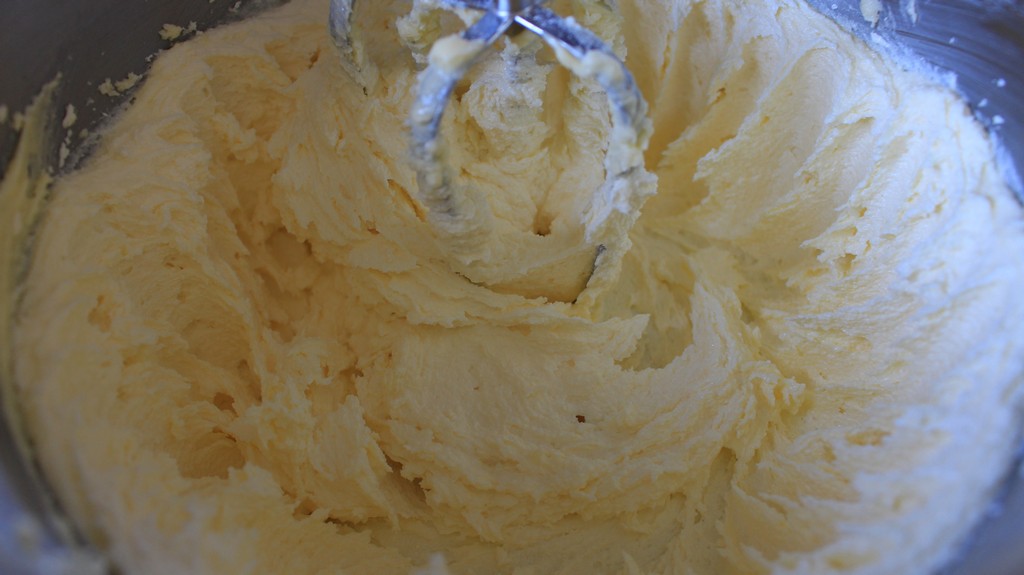
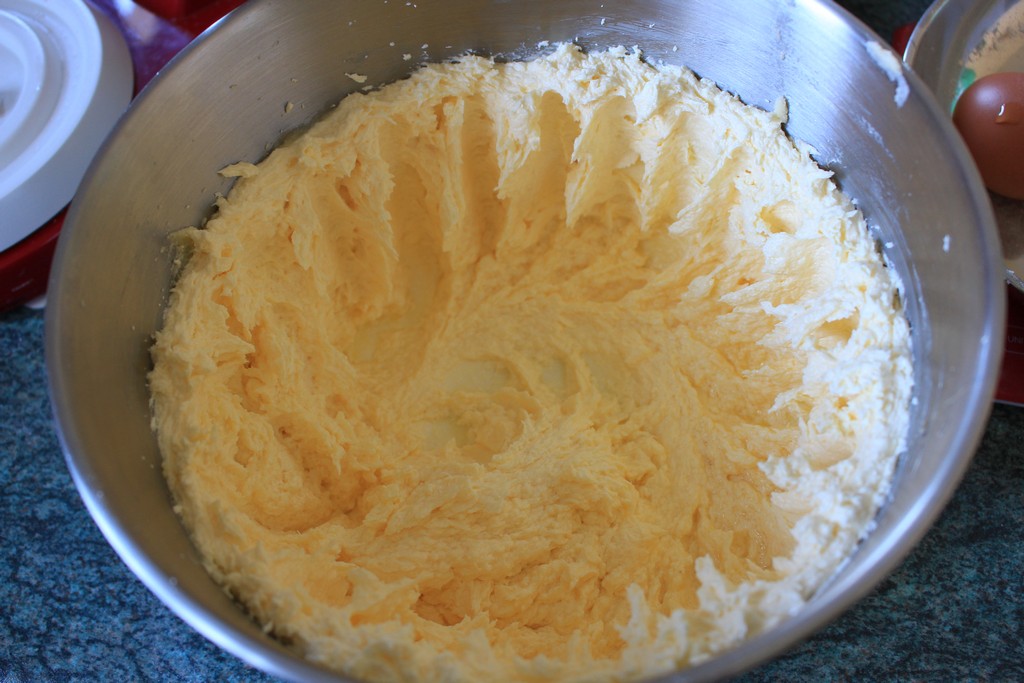
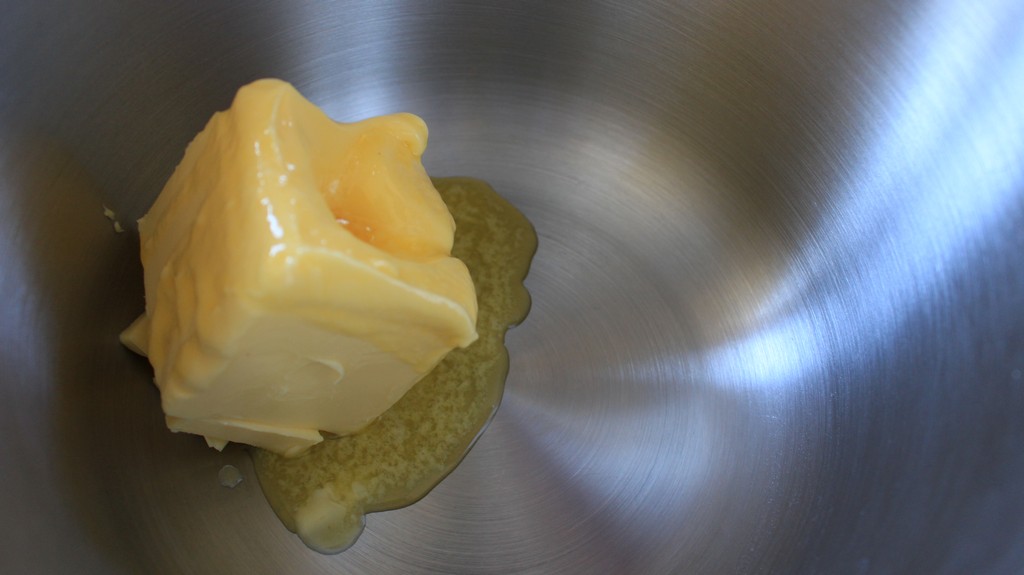
Tins all sorted it’s time to get on with the bake! In a stand mixer, cream together your butter and sugar. Beat the ingredients together on a medium speed about 2-3 minutes or until they’ve gone a soft and the mix is pale in colour.
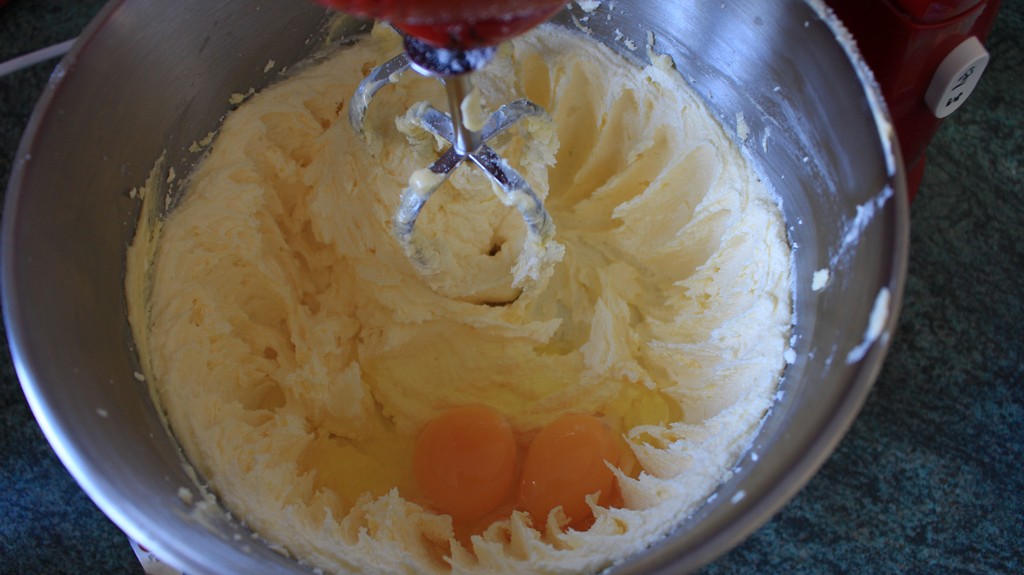
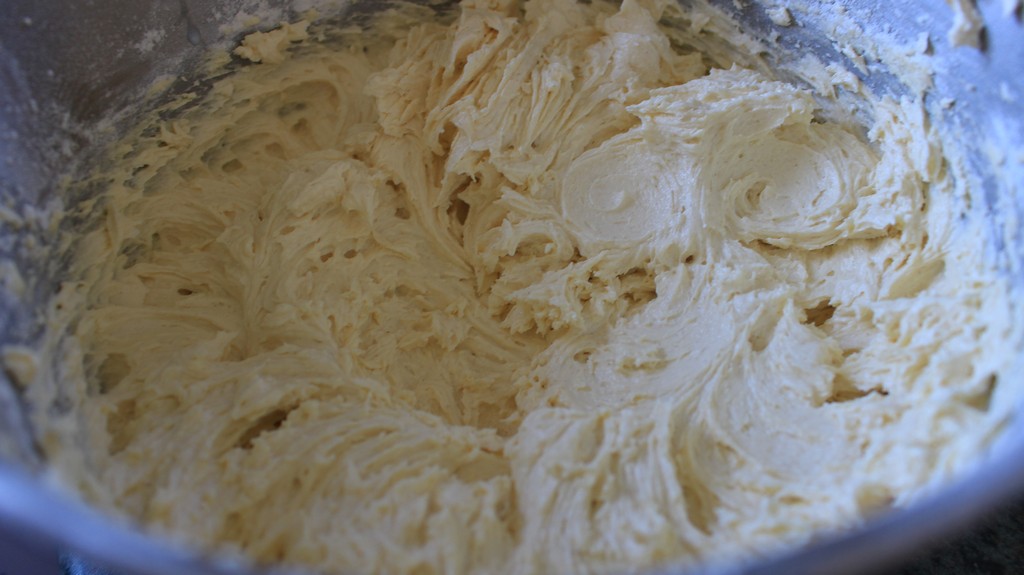
While that’s working away, you can combine and sieve your flour in a separate bowl. Once the butter and sugar are combined, give it a stir with a spatula to make sure it’s all combined. You can then begin to add the eggs. I added mine two at a time. After four eggs, I stopped my machine then gave it a stir by hand and scraped down the sides.
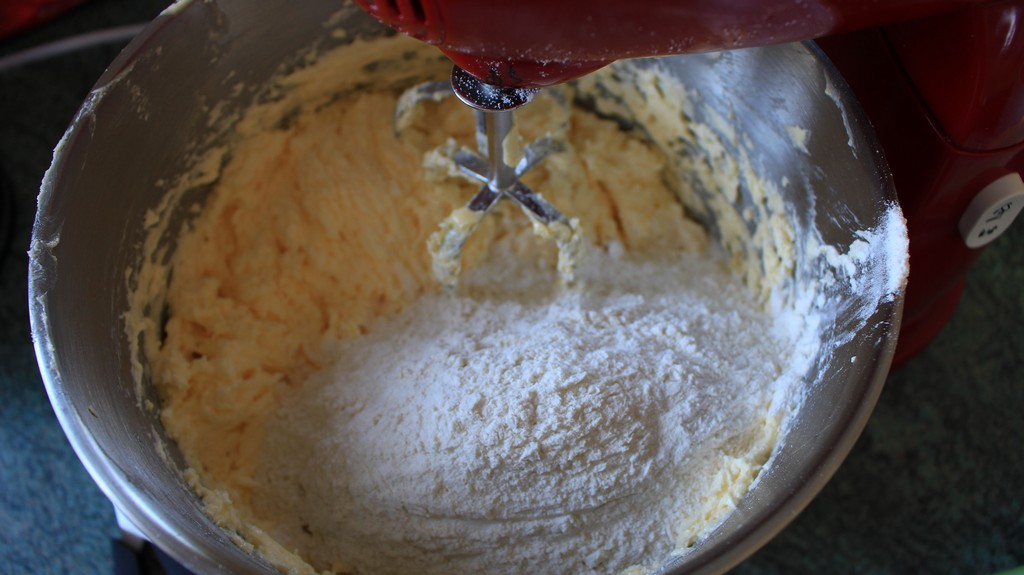
PROCESS – STAGE 1-b
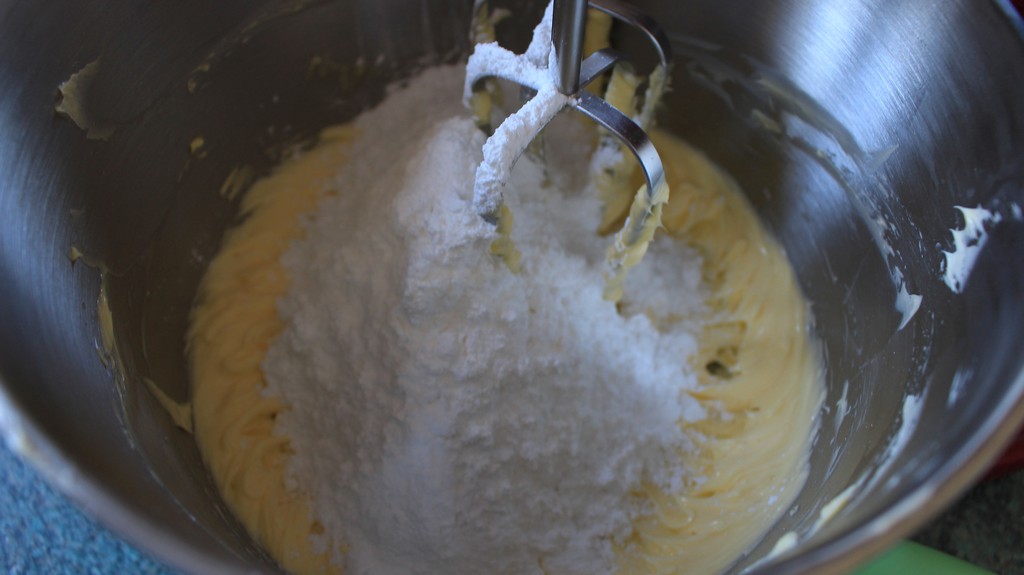
It all looks a little messy right now! Fret not, we’re going to add our flour mix to this egg, buttery goop! To prevent the flour exploding into a dust cloud; tip it into the bowl and give it a quick stir by hand to loosely combine the ingredients. Then switch your mixer on and beat for about a minute. It’s gone from goopy to dry! Measure out your milk and add your flavouring – I’m using strawberry essence. Stir together and then add to the mixing bowl; beat for 30 seconds.

PROCESS – STAGE 2
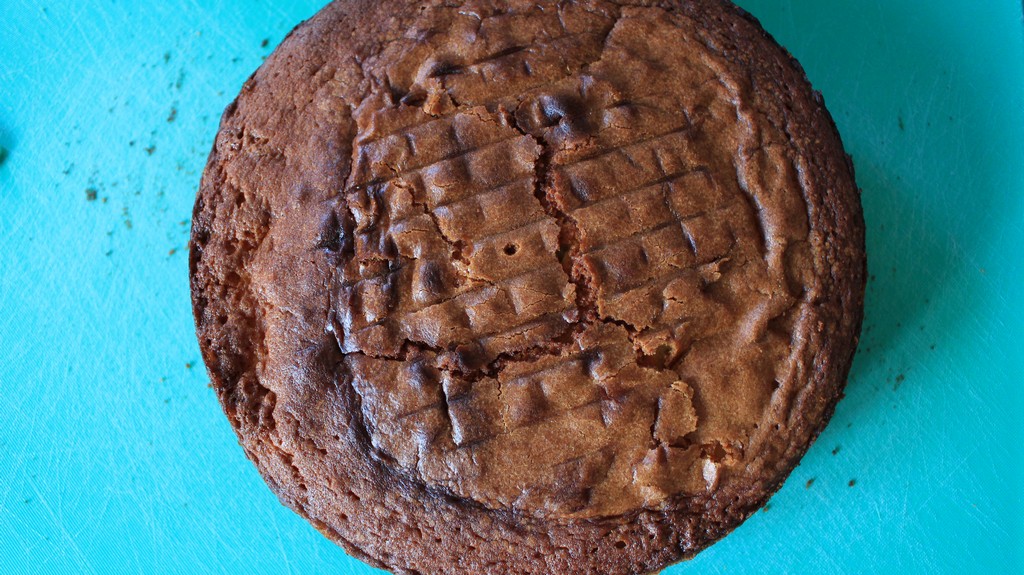
Add your cake mix to your tins and using the back of a spoon or palette knife, smooth and level the tins. Place in the oven. Your cooking time will vary depending on the tins you’re using. My 9inch cake tin, required 65 minutes of a bake, the 5inch tin needed 25 minutes. Keep an eye on your cakes as they bake, skewer the cakes to see if they’re cooked – the stick will come out clean if it’s baked through.
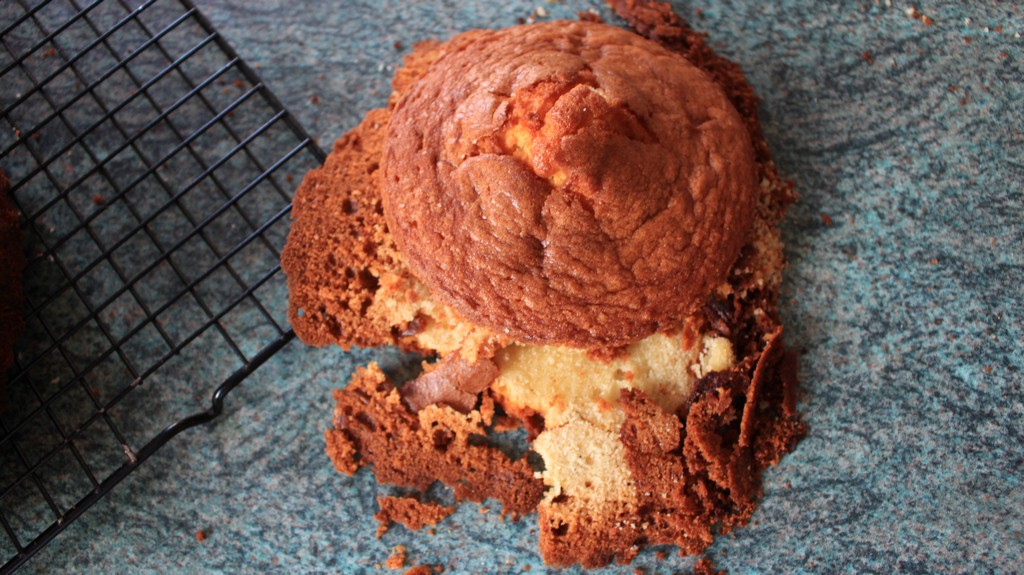
Remove from the oven and set aside to cool. After 30 minutes, turn out onto a wire-rack and let it cool further. I gave my cakes a good two hours.
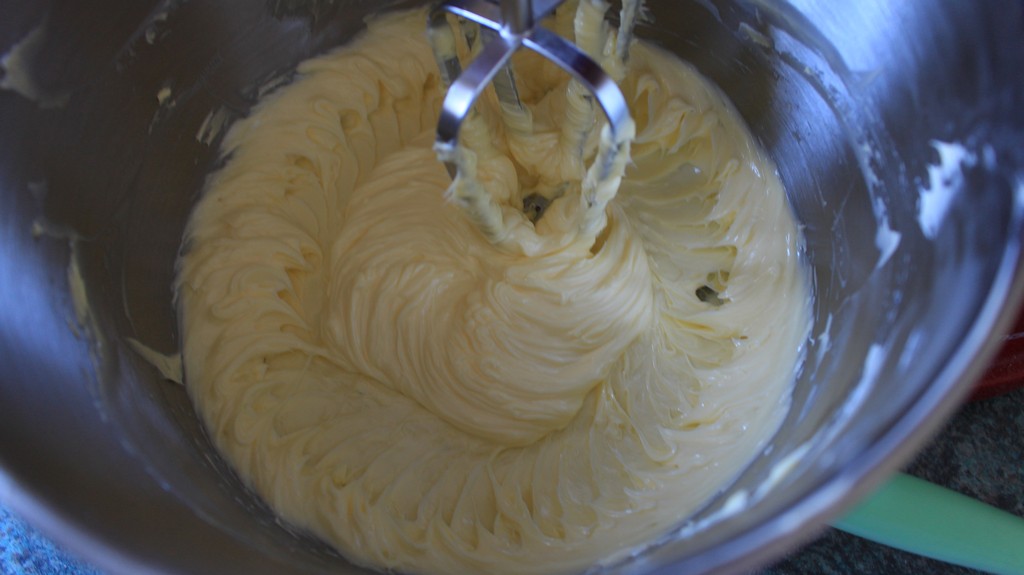
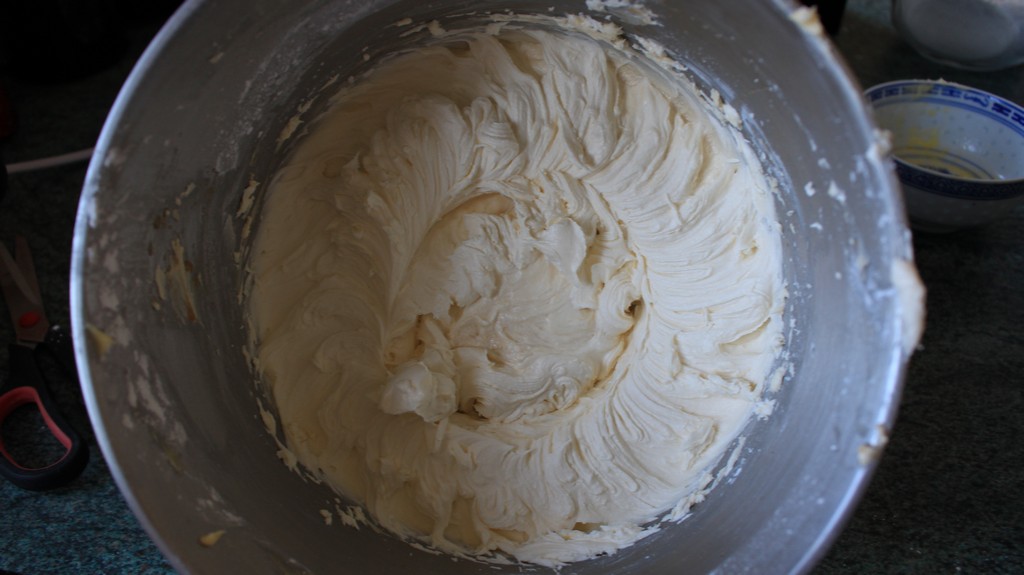
Save yourself some time now and clean your work station. You can also prepare your buttercream frosting. In your stand mixer beat the butter until it’s gone a pale colour. Add your icing sugar in two halves, allowing the first batch to mix thoroughly before adding the second. Beat each stage for about 60 seconds. Add the milk and flavouring and beat for 30 more seconds.
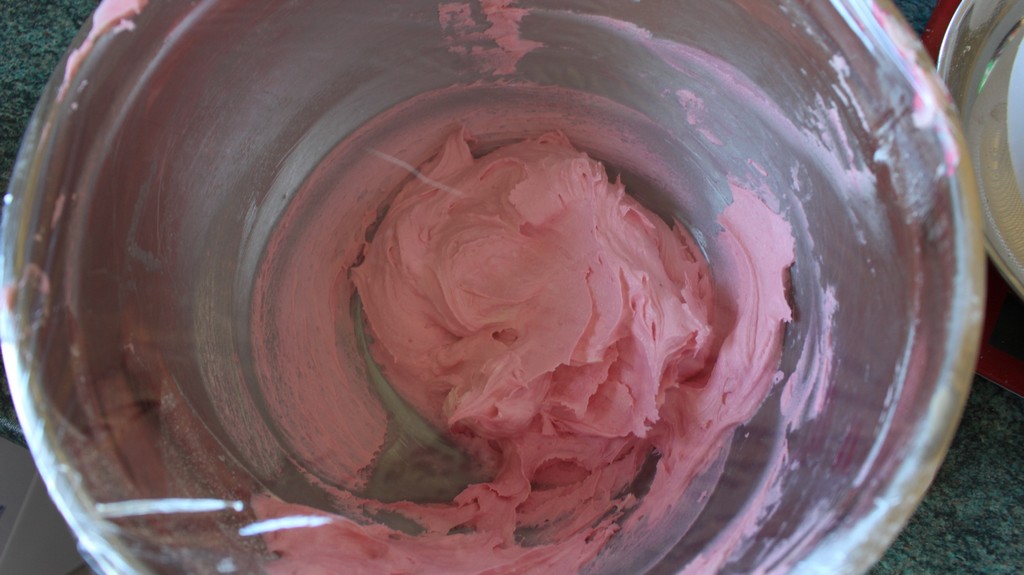
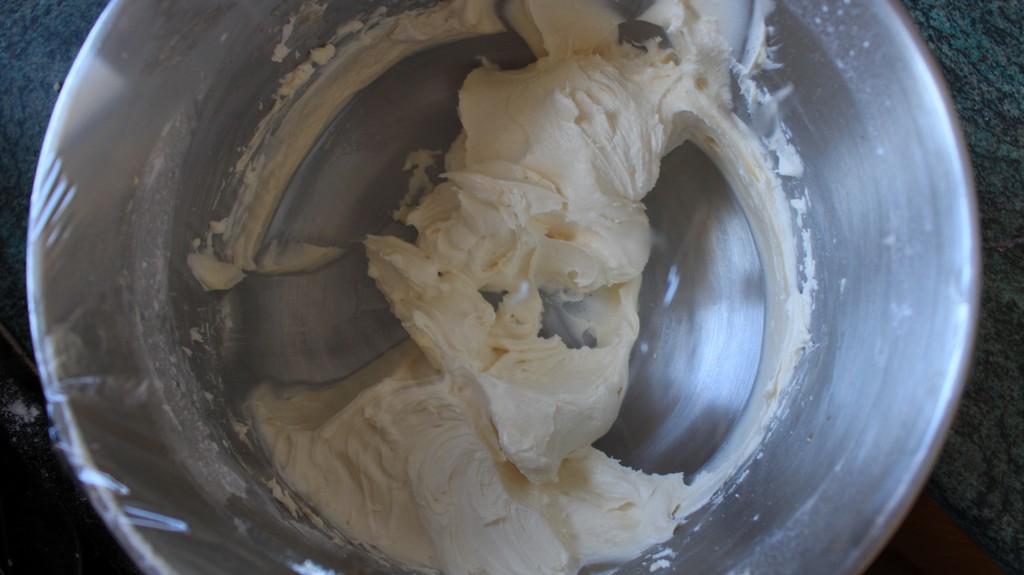
If you’re dyeing your frosting, you will want to seperate your mix now into two bowls. I split my frosting in half, added some baby pink and fuschia colouring paste to one bowl and blended it by hand. Cover your bowls of frosting and set aside while cakes cool.
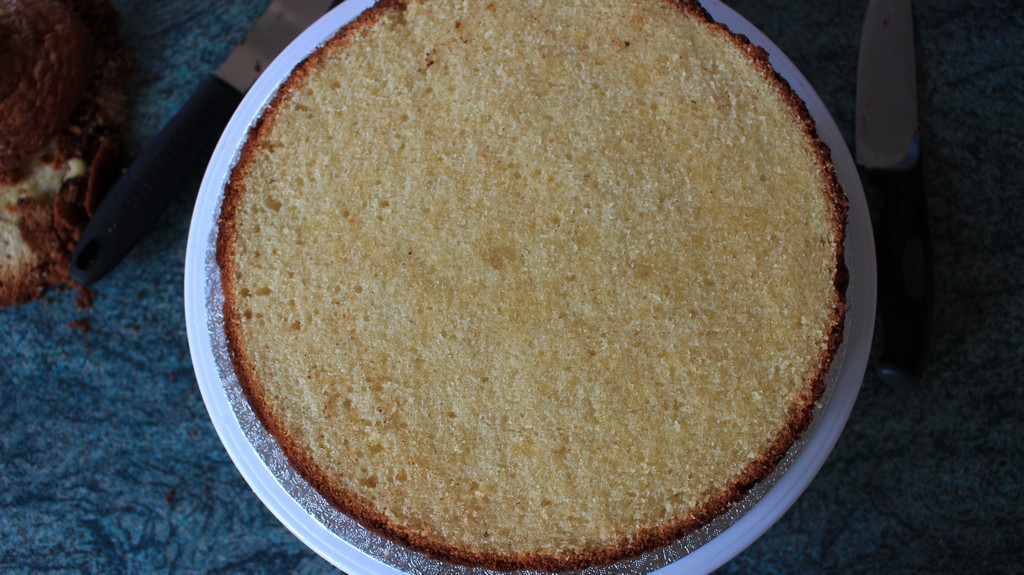
PROCESS – STAGE 3-a
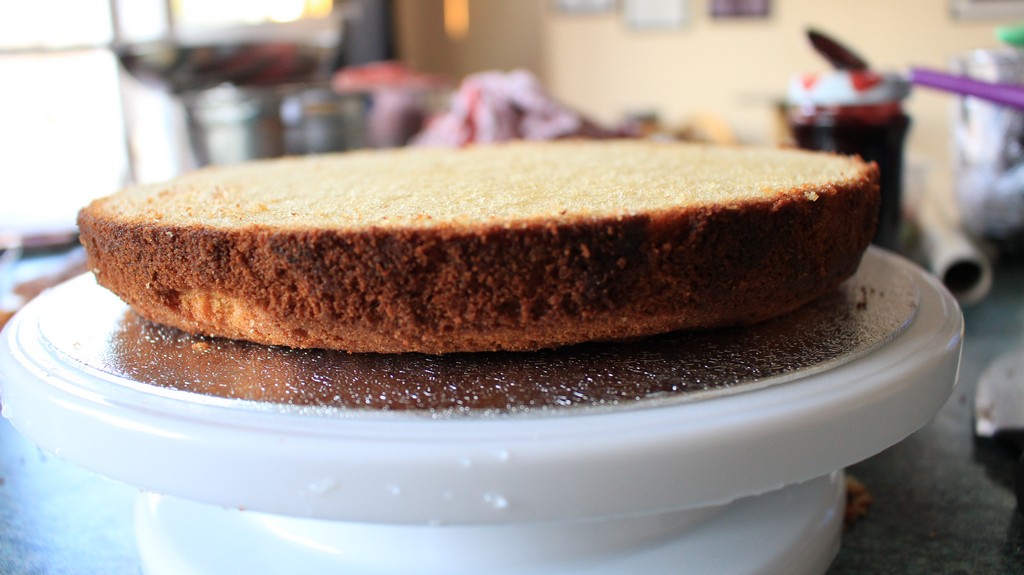
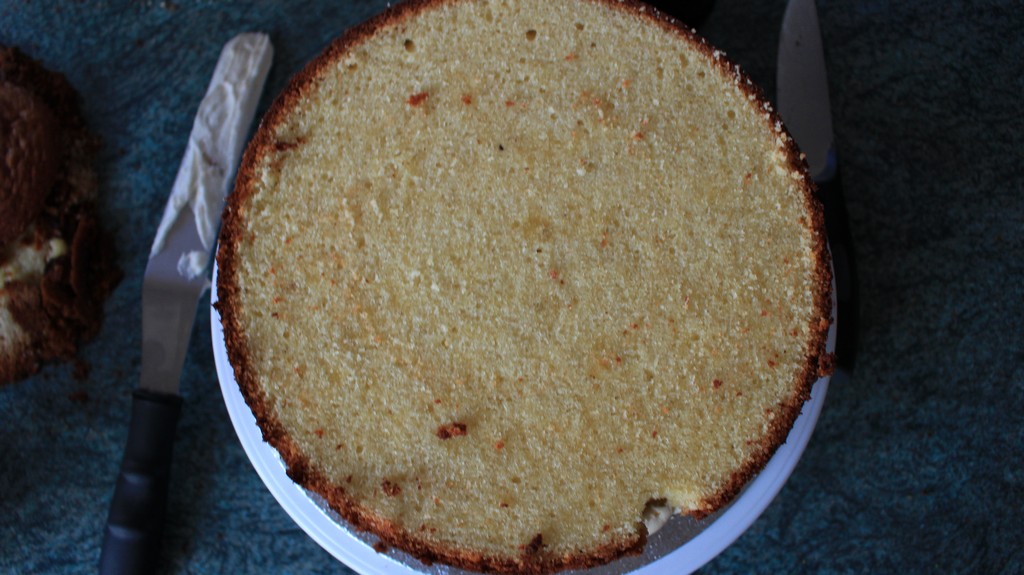
Make sure the cakes are cooled thoroughly before the next stage and your work surfaces are clean. On a clean flat surface, you will need to top your cakes and then split them into layers. I have a cake leveler at my disposal which makes this stage super quick. If you don’t have a wire leveler, then you can use a serrated knife just take your time. Do not panic if you cut one side shorter because you can use frosting later to get them level.
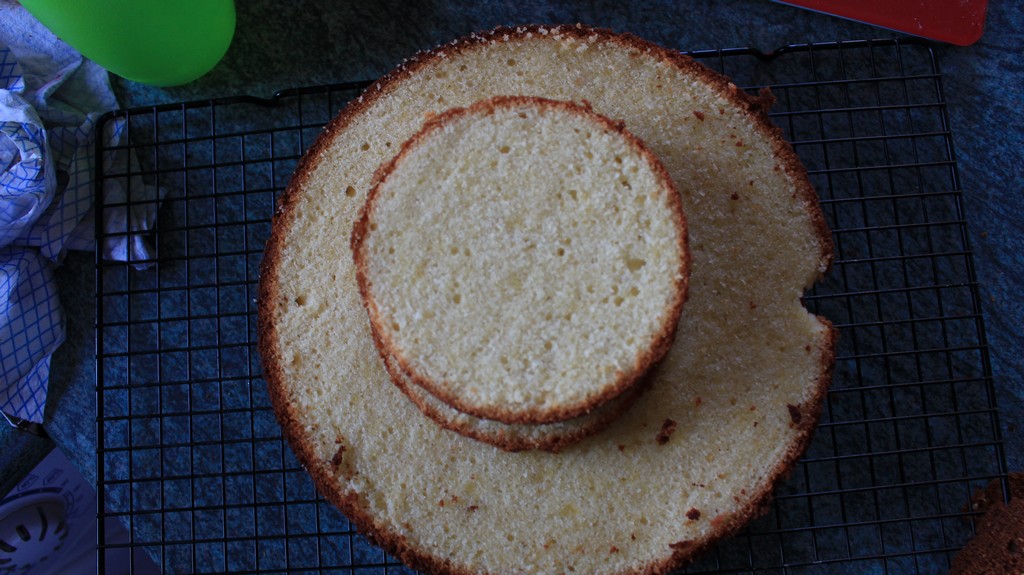
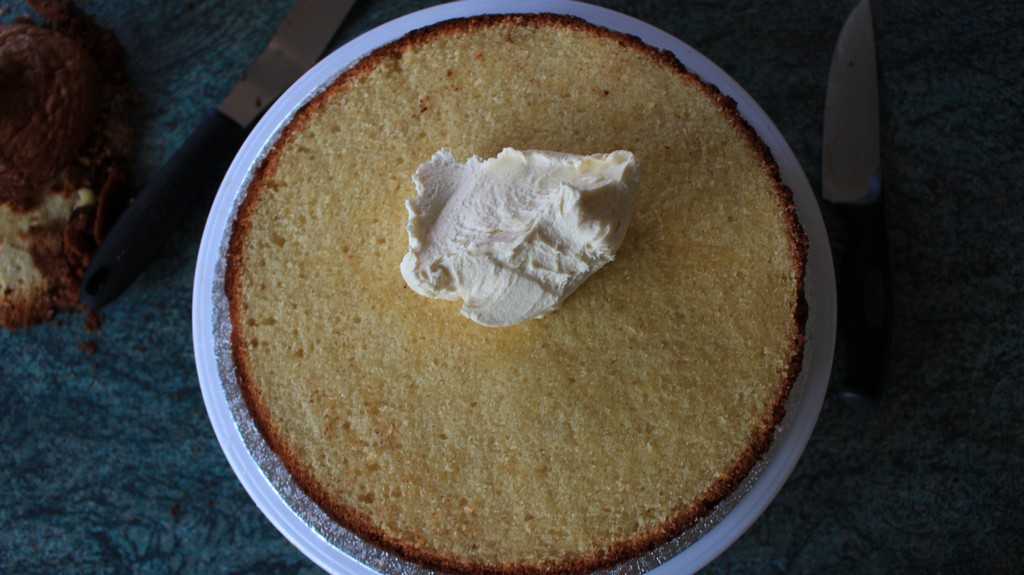
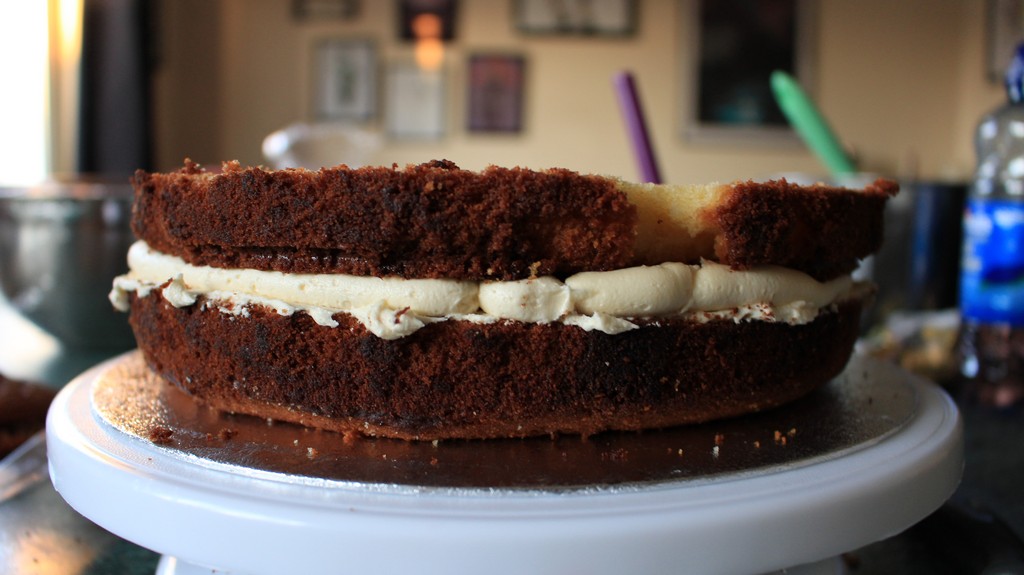
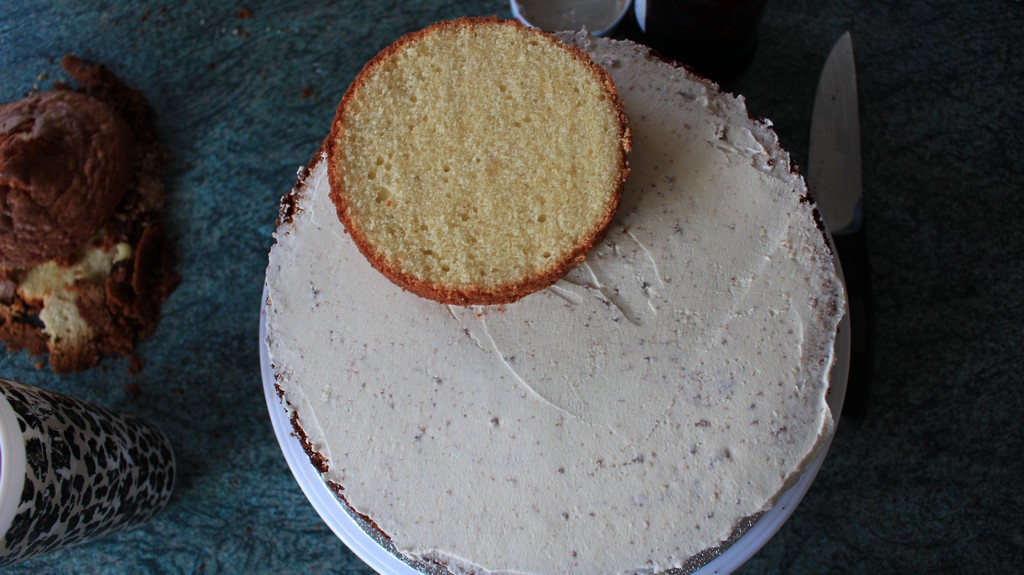
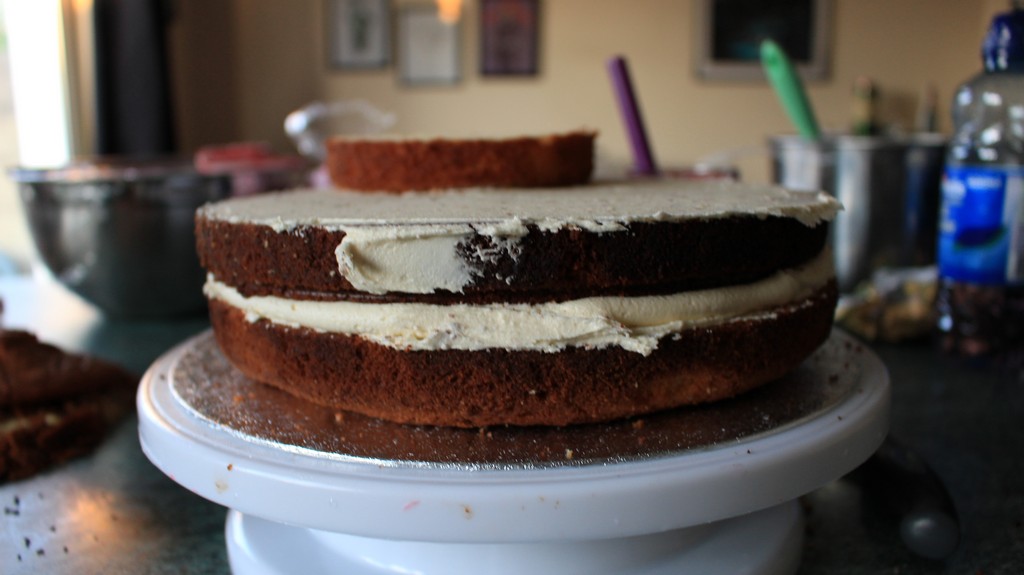
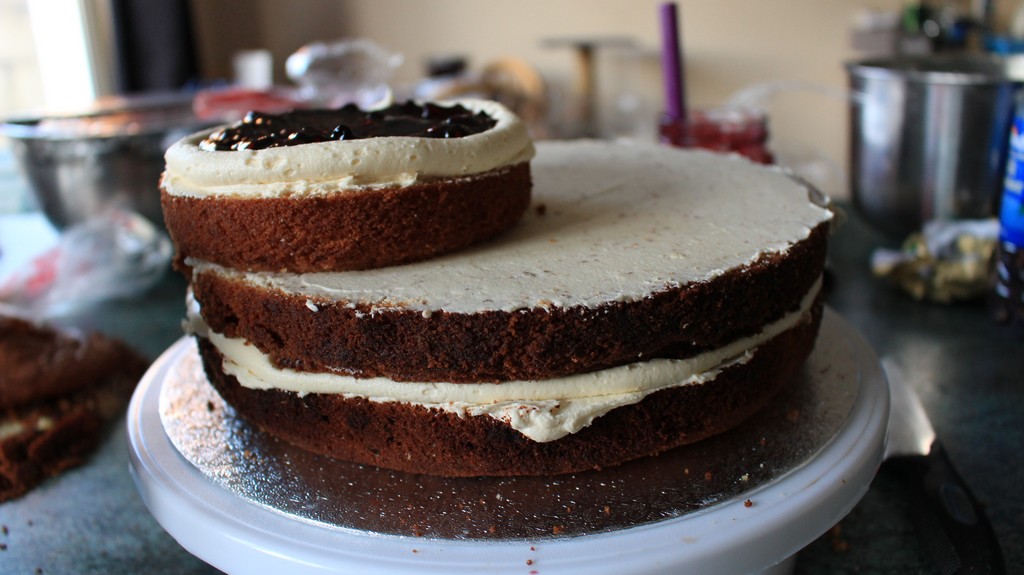
Don’t discard the cut offs either! You can freeze these and make cake pops another day! Cakes all level and tidy you can proceed to frost and decorate. Start by dropping a blob on your first layer then spread evenly using a palette knife. If your cake is a little uneven use a little extra frosting on the wonky side to balance it out.
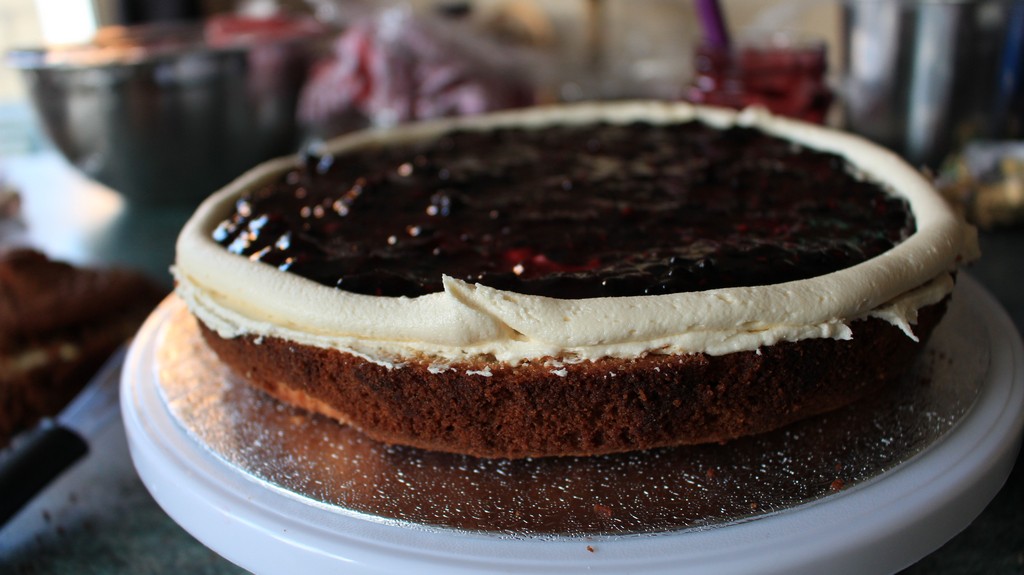
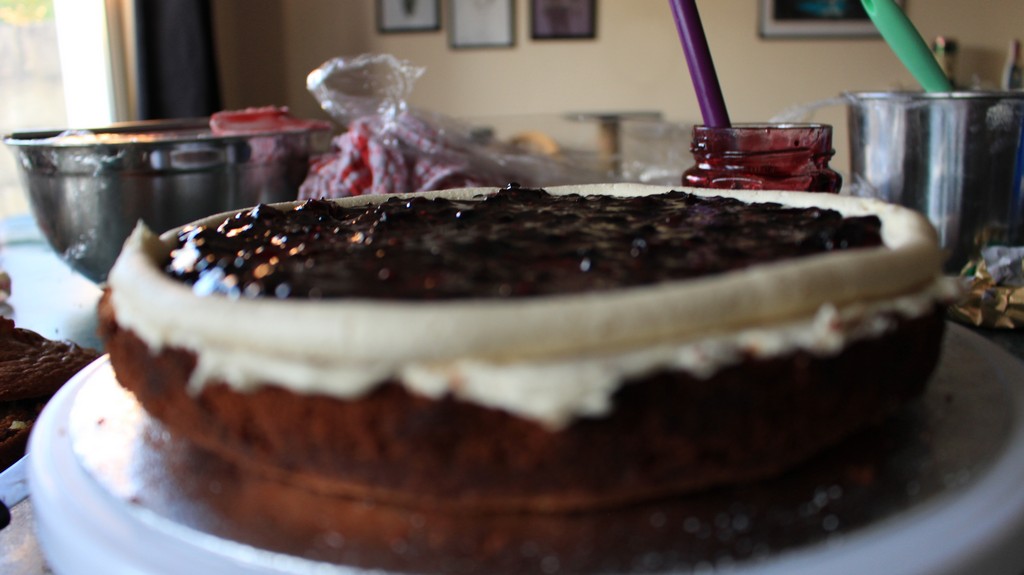
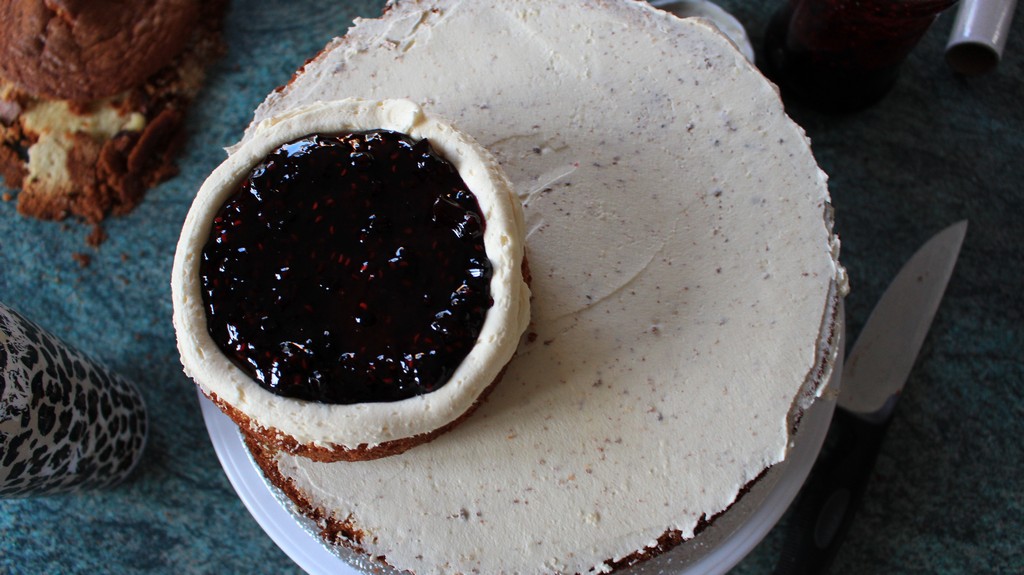
Using a piping bag and round open nozzle, pipe a wall or dam around the edge of the cake. This will stop your jam spreading out over the edges. Then dollop your jam filling into the middle and spread to the edge of your frosting barrier. You will repeat this process for each layer of your cake.
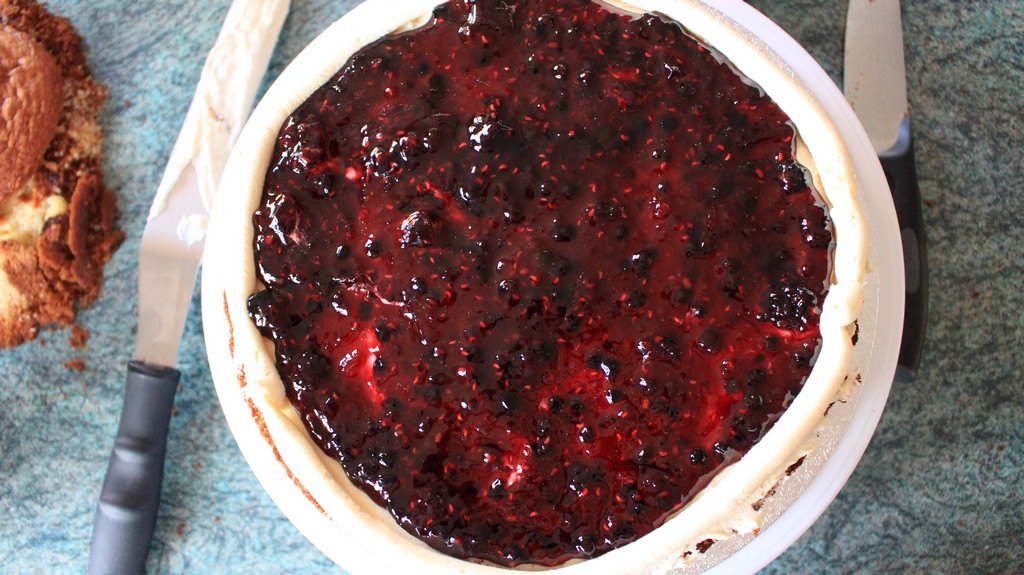
PROCESS – STAGE 3-b
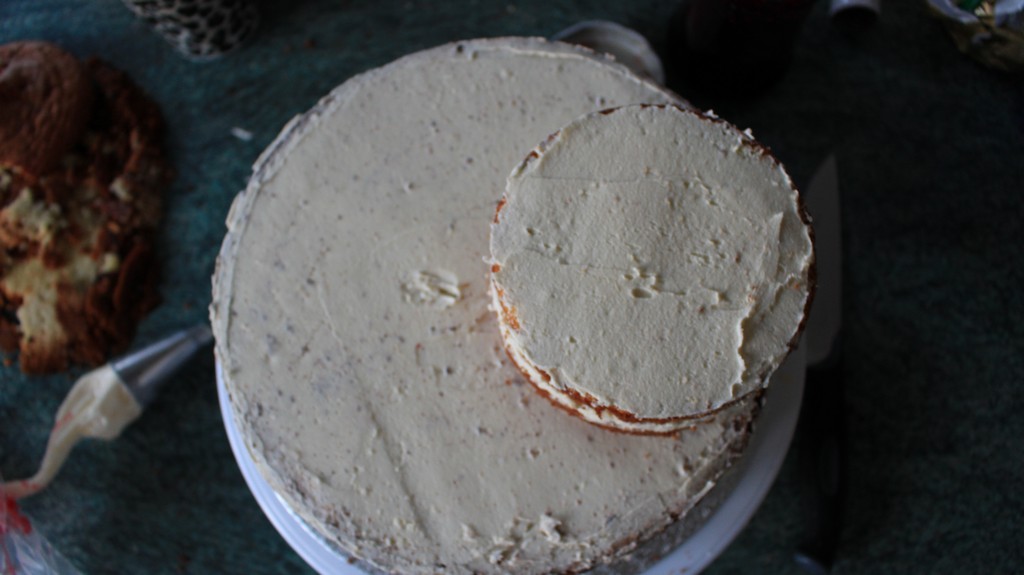
On your top layer spread your frosting and smooth it over. Let the frosting set before moving on to the next stage of decorating.
Using your pink frosting, coat the sides and tops of your cake. Spread it generously around the cake. Don’t panic about it looking patchy, this is a ‘nude’ cake so the cake decoration/toppers will catch the eye. Our frosting is really only there to seal the cake and keep it from drying out.
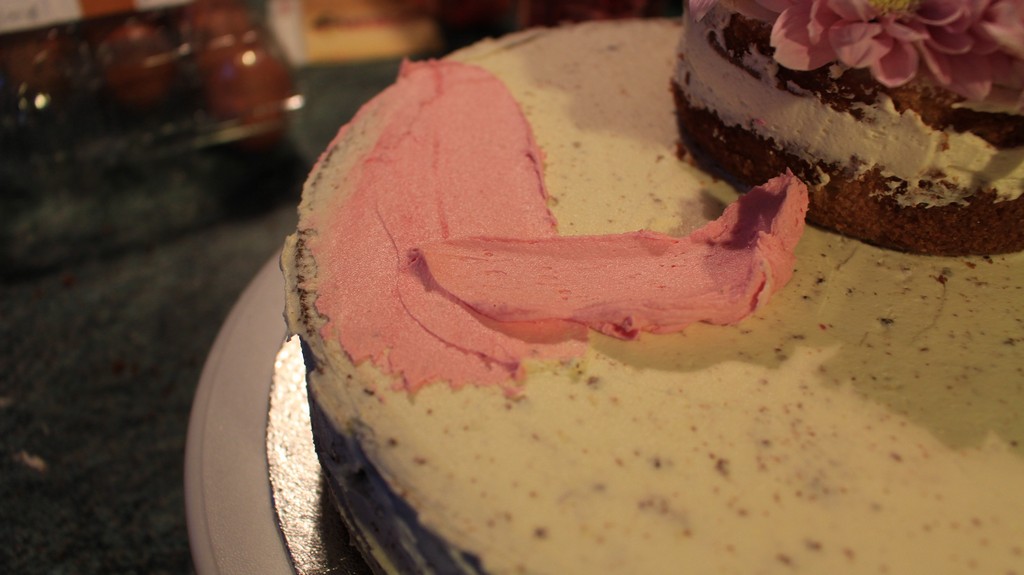
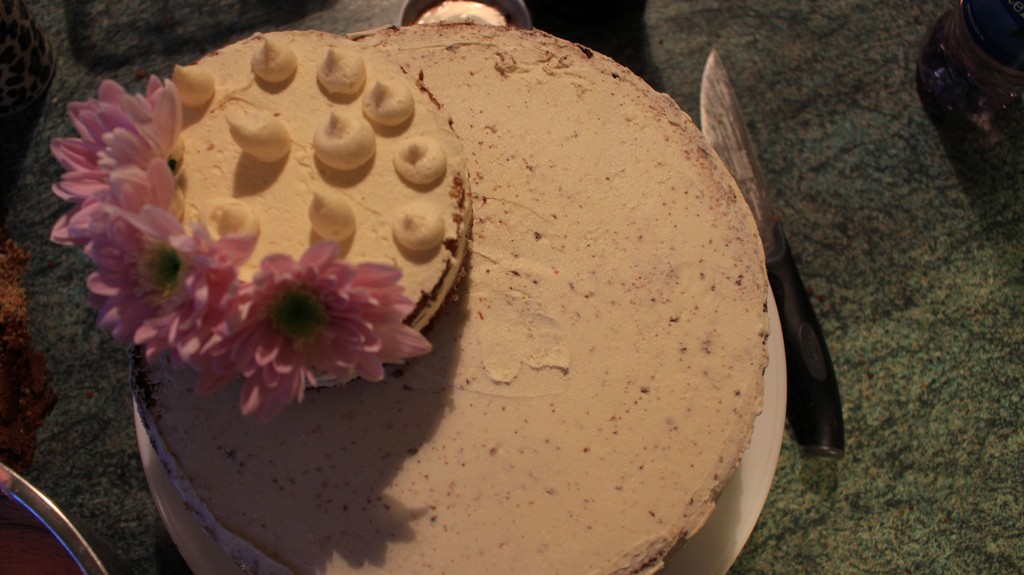
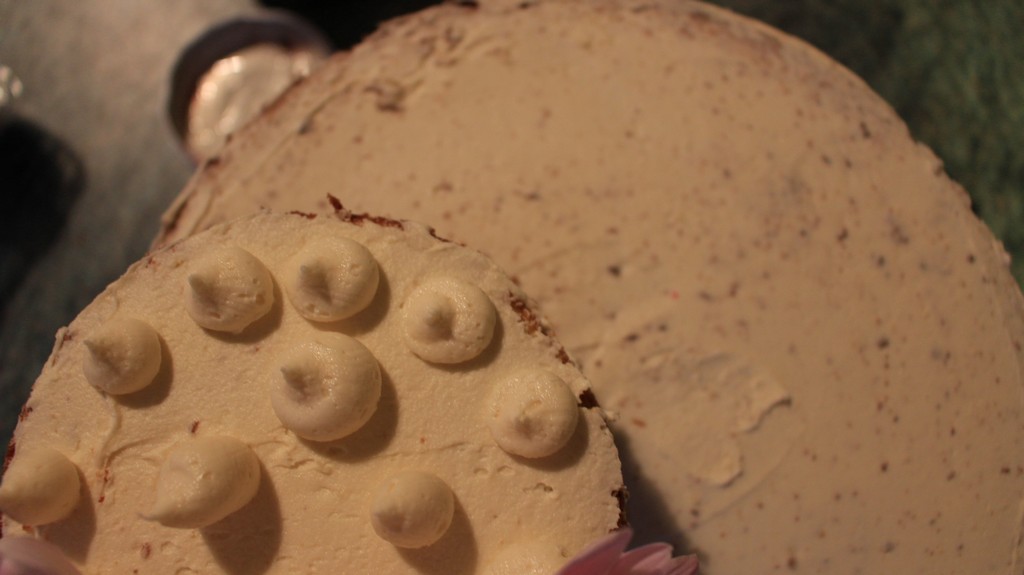
Using your remaining frosting from the piping bag, blob some on your top layer to act as glue for your decorations. For my cake I chose to use some small pink flowers on the top and on the sides. For my larger cake, I topped some fresh strawberries and fixed them to the cake with some frosting.


Take a step back and admire your work of art! Take a large knife and carve yourself and that special someone up a slice, serve with some tea and watch the sun set on your own kingdom together.

Editor-in-Chief, part-time super villain and hoarder of cats. If you can’t find me writing, I’m probably in the kitchen!