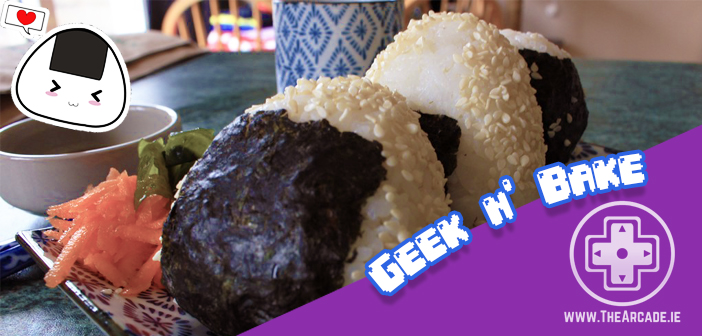


I can’t believe I’ve been doing Geek N’ Bake for nearly two years and only now are we tackling Onigiri! One of the most popular snacks in Japanese cuisine, this handy little rice ball makes the perfect lunch filler. Seriously, you’ll forget all about hot chicken rolls, tuna salad stuffed pocket breads and tomato sandwiches. You’ll never want to have anything but onigiri for lunch again.
The rice ball dates back to the Nara and Heian periods; 710BC 794BC respectively. Meaning these delicious little snacks predate the use of chopsticks! Writings from the 11th century shows how the rice snacks were fashionable at picnics. Texts from 17th century show us that even samurai took them into battle in case they got hungry mid battle. Today they are mass-produced and can be picked up in most convenience stores around Japan.

Forget what you’ve heard about working with sushi rice, the onigiri gets nowhere near as complicated. So grab a saucepan and let’s kick off this Geek N’ Bake!
DIFFICULTY
Easy
TIME
25 minutes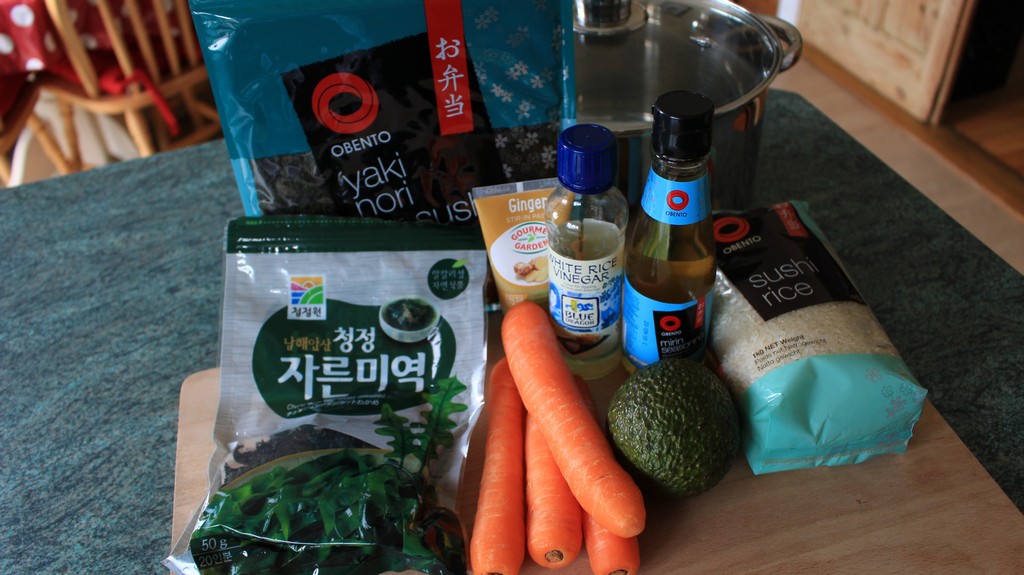
INGREDIENTS
2 cups of sushi rice, 2 cups of water, 1 sheet of nori (sea weed), sesame seeds (optional)
Filling – depends on your taste, we’re going to use seaweed, carrot and avocado
PROCESS – Stage 1-a
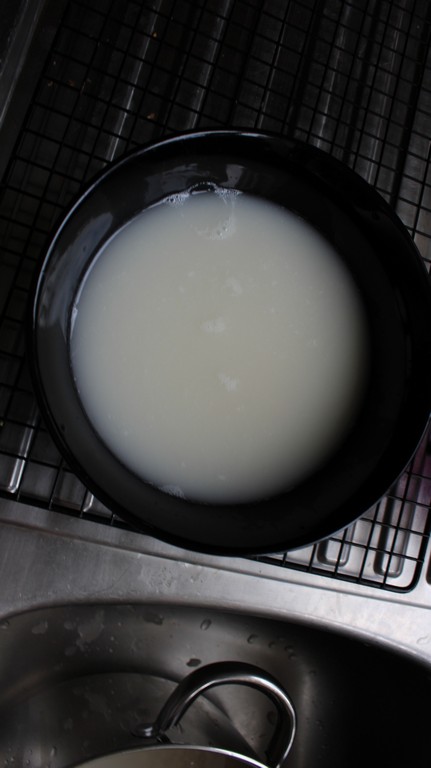
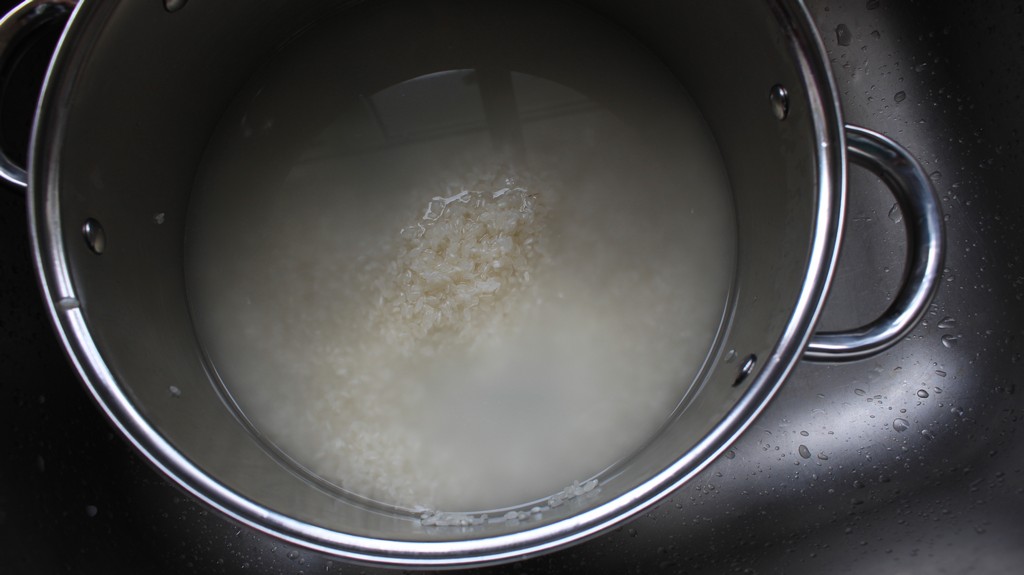
Measure out your rice, 2 cups of rice is going to make about 10 medium onigiri. Before you start cooking your rice, you’re going to want to wash and polish it. If you cook the rice now without washing it, the starch will cause the rice to turn into complete mush and it will end up a sticky gloopy mess. So be thorough in you washing and scrubbing.
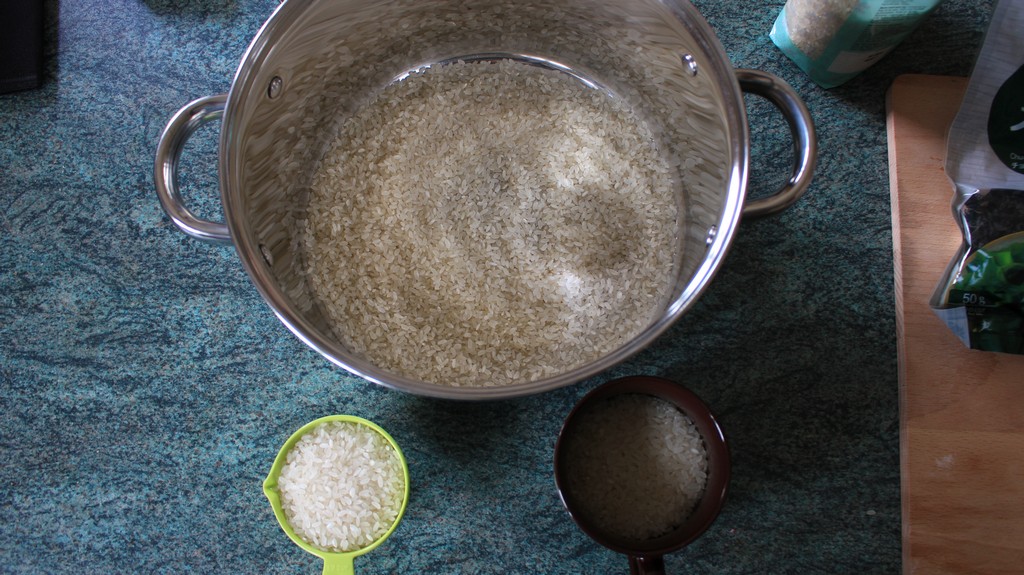
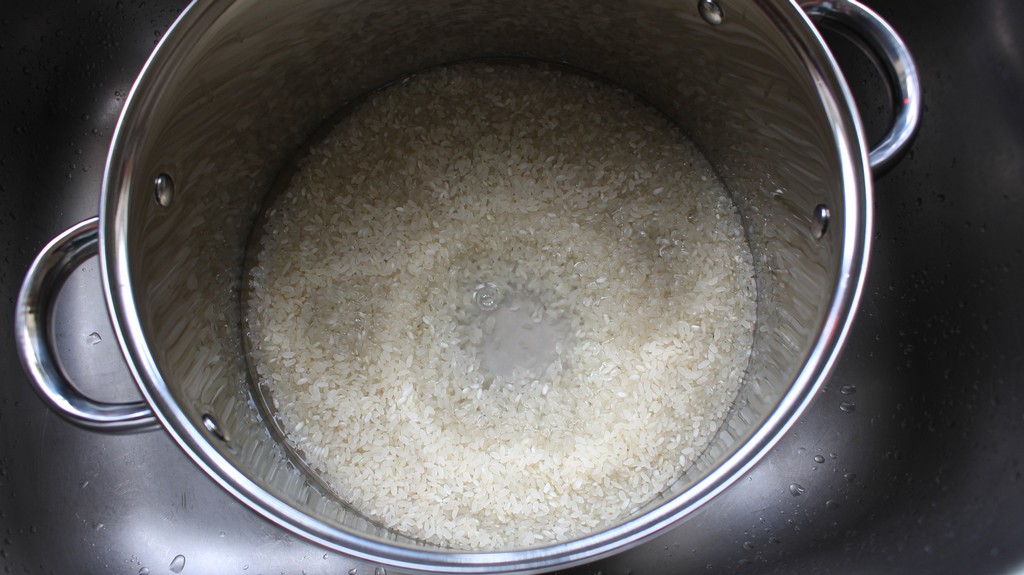
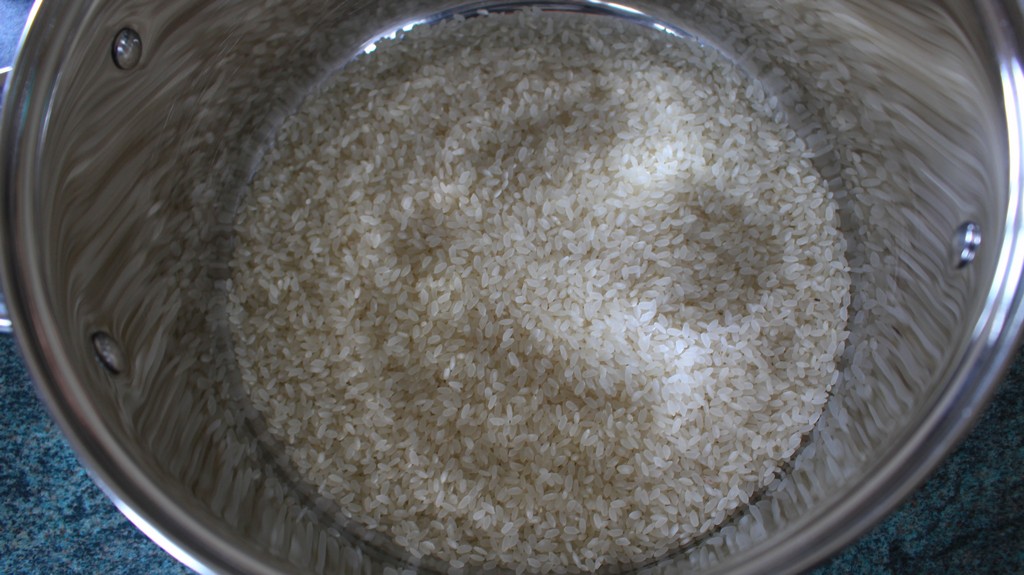
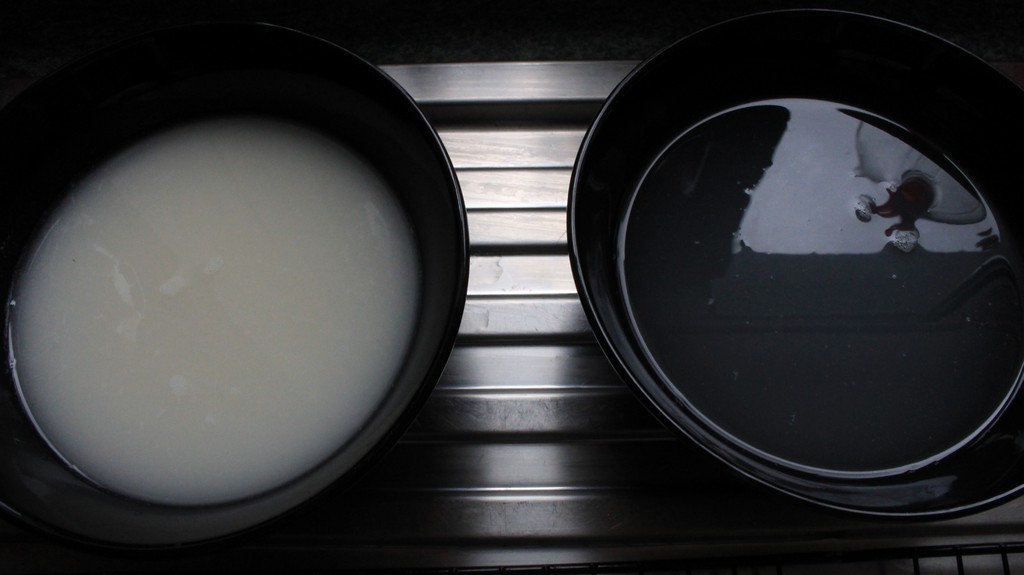
You’ll need to repeat the washing about 3-4 times, you’ll know it’s done by how clear the water is after each rinse. The first bowl of water below was drained after the first wash and the other is from the fourth.
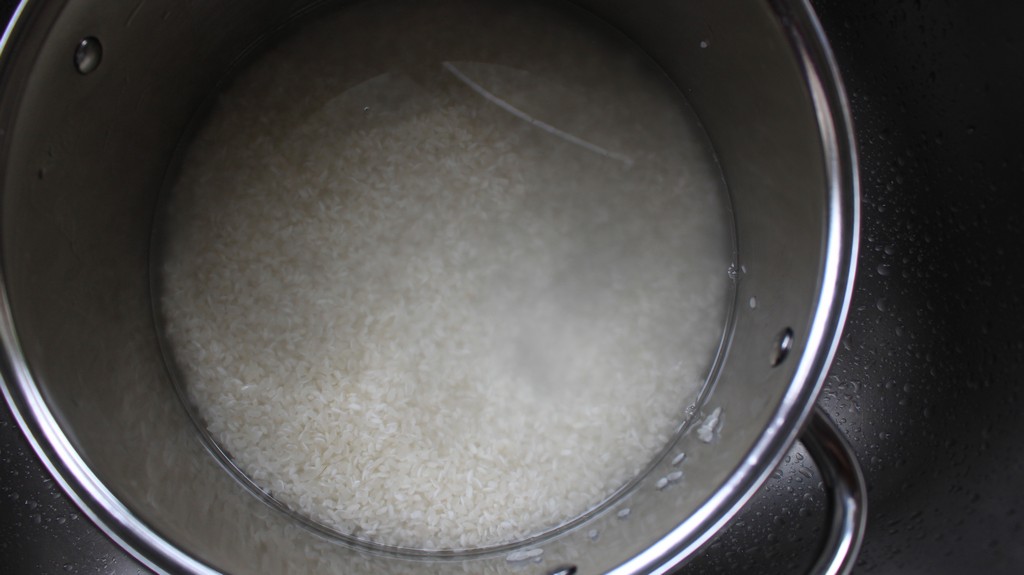
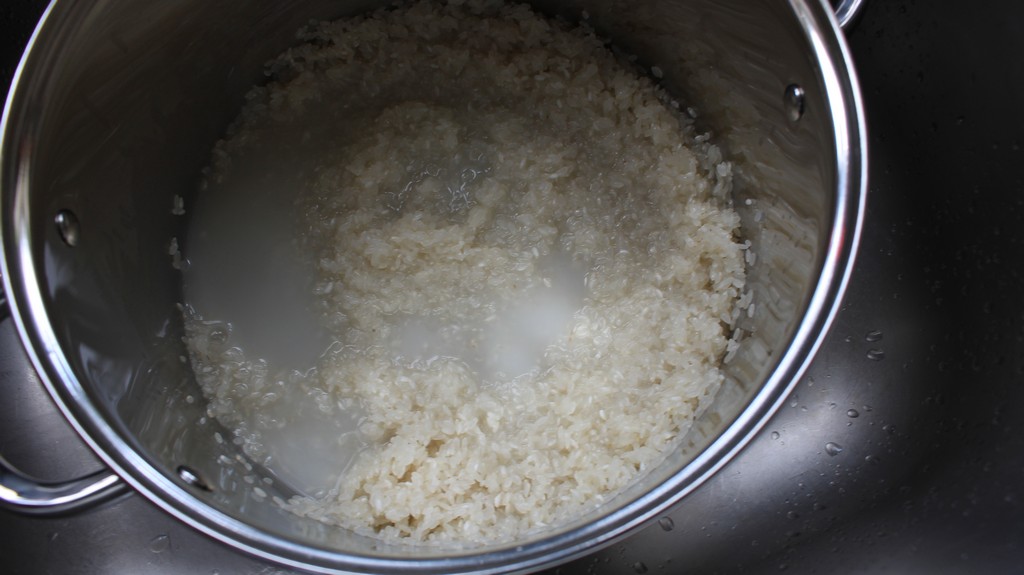
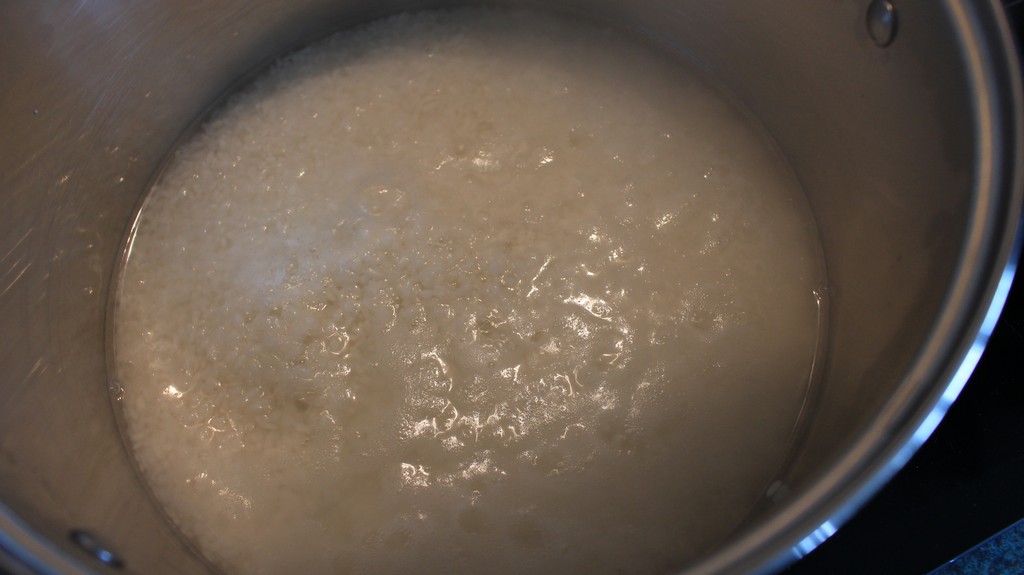
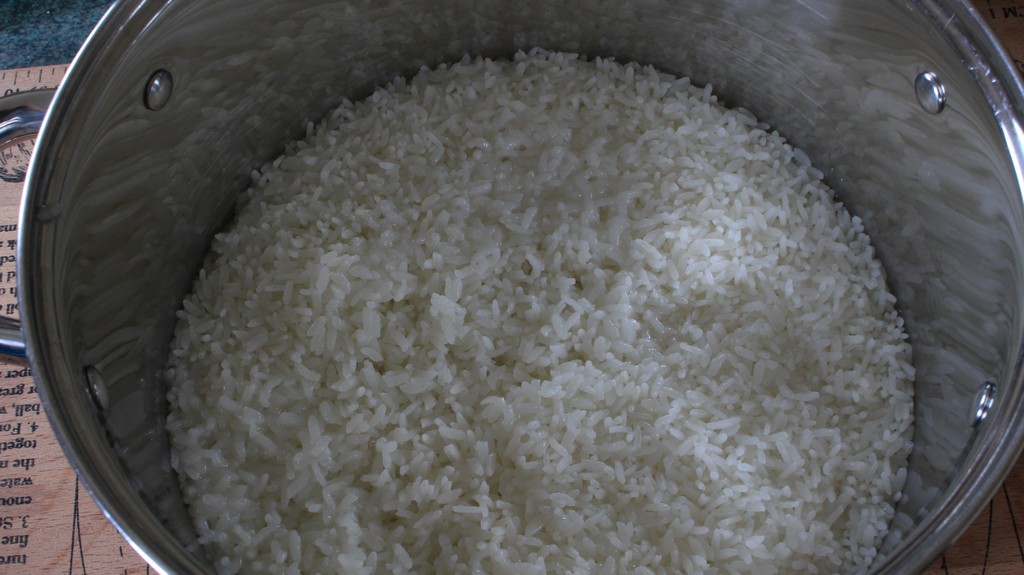
Once your rice is clean you can now start cooking it! For every cup of rice, you’ll a cup of water so in our case, 2 cups of rice equals 2 cups of water. Bring the rice to the boil then immediately reduce the heat to the lowest it can go on your cooker, cover and make the pot is sealed. Let the rice steam for 10 minutes. Now under no circumstances should you lift the lid to check on the rice. It won’t burn, it is cooking and all will be well and delicious very shortly.
PROCESS – Stage 1-b
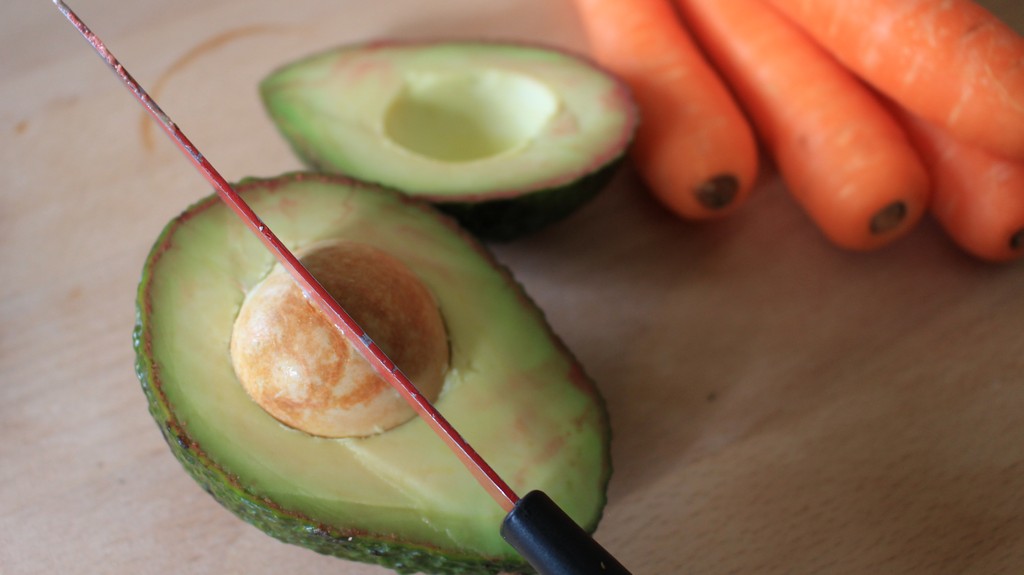
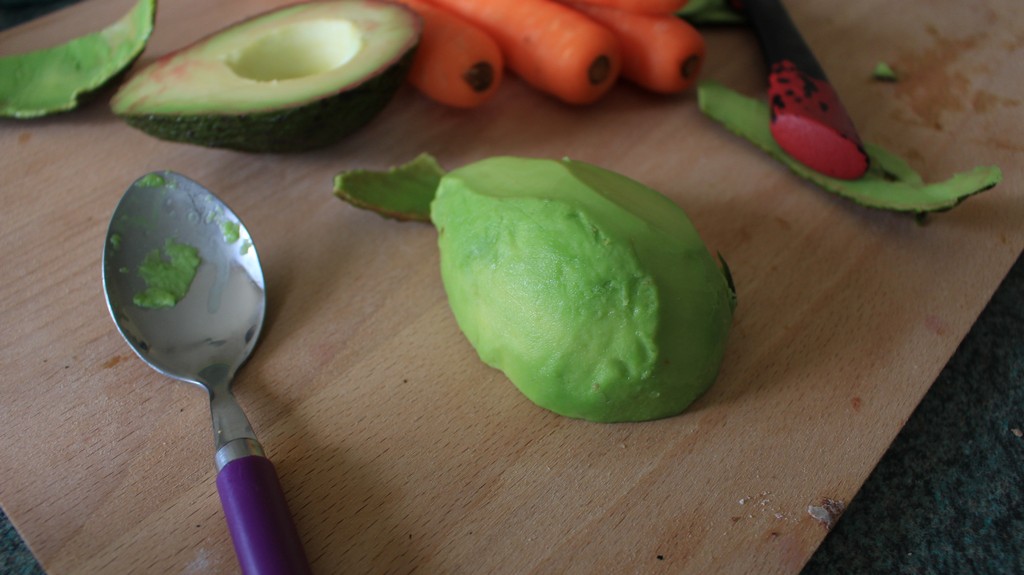
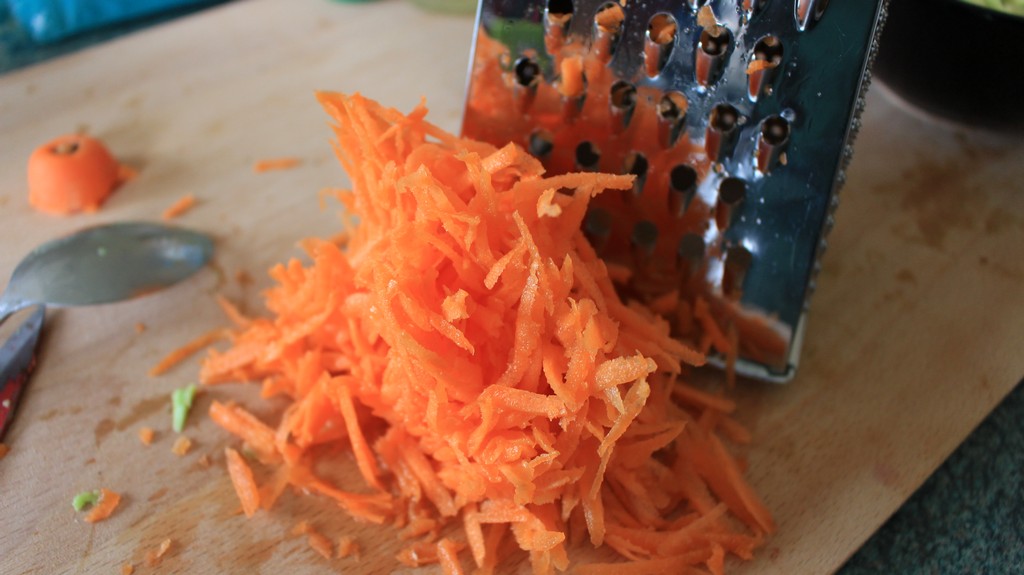
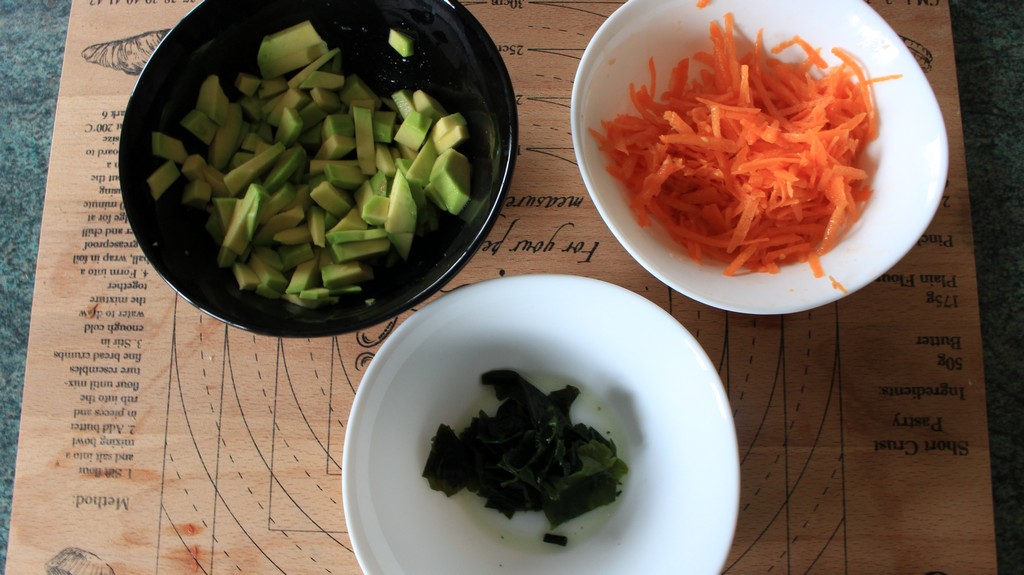
While the rice cooks you can prepare your fillings. Onigiri are typically stuff with pickled ume (sour plums) or salted fish. I wanted to have my favourite sushi fillings so I’ve taken avocado and carrot.
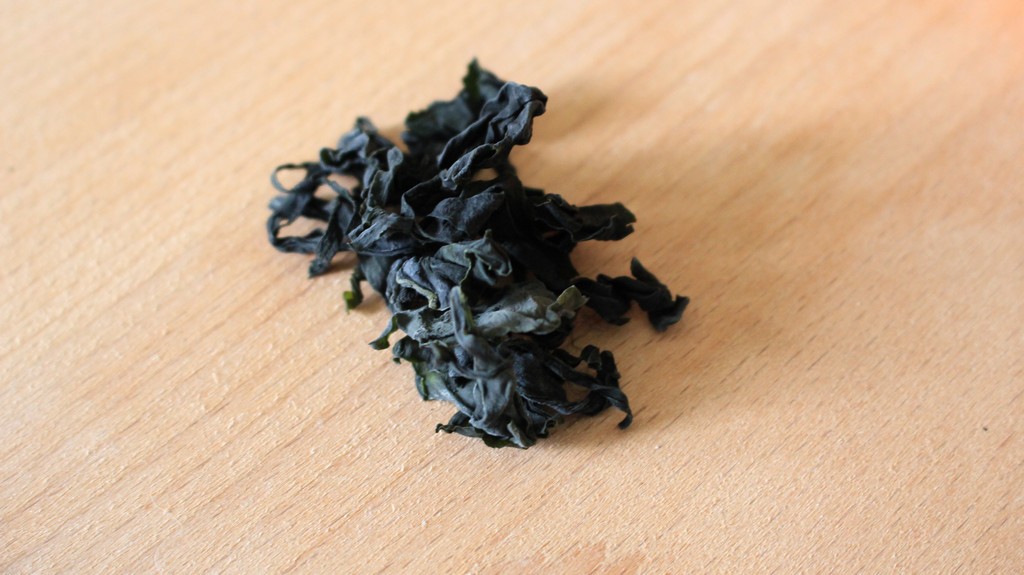
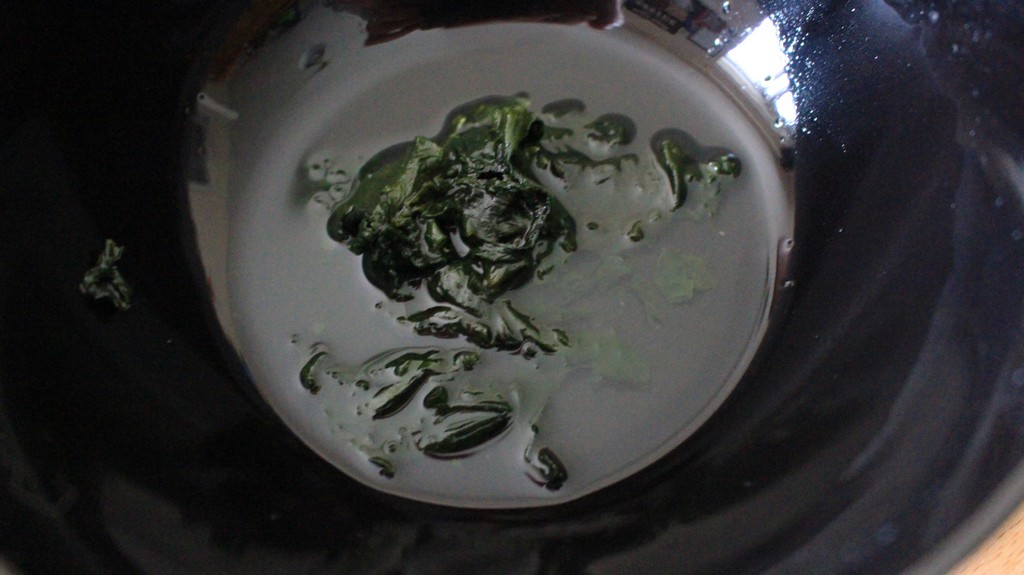
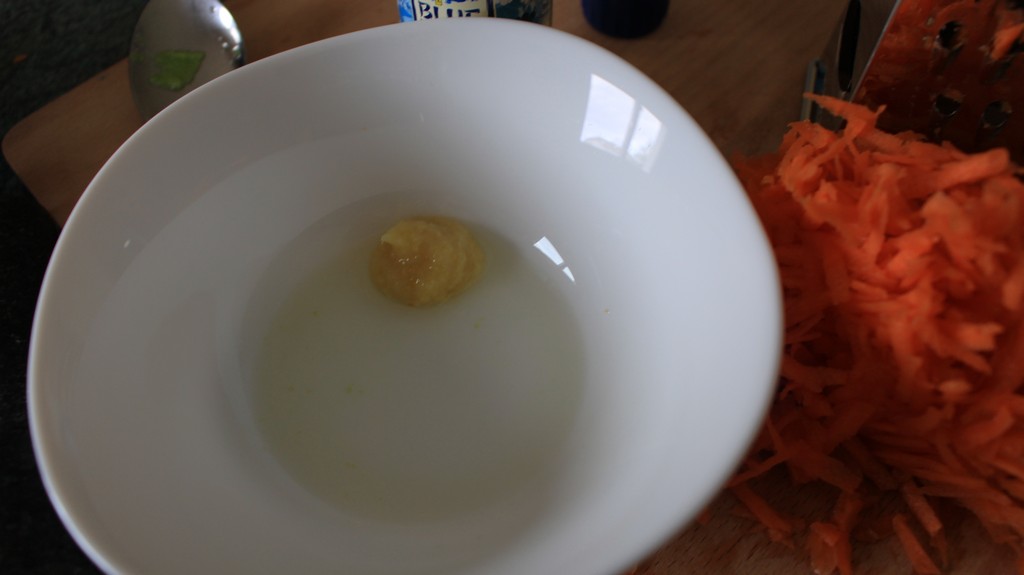
To add a little flavour, I mixed a teaspoon of minced ginger with a tablespoon of white rice vinegar and then added it to my shredded carrot. For the avocado I chopped into small pieces and added a teaspoon of mirin just for a sweeter taste. Additionally I took some dried seaweed and rehydrated it in some water for a different flavour combination.

PROCESS – Stage 1-c
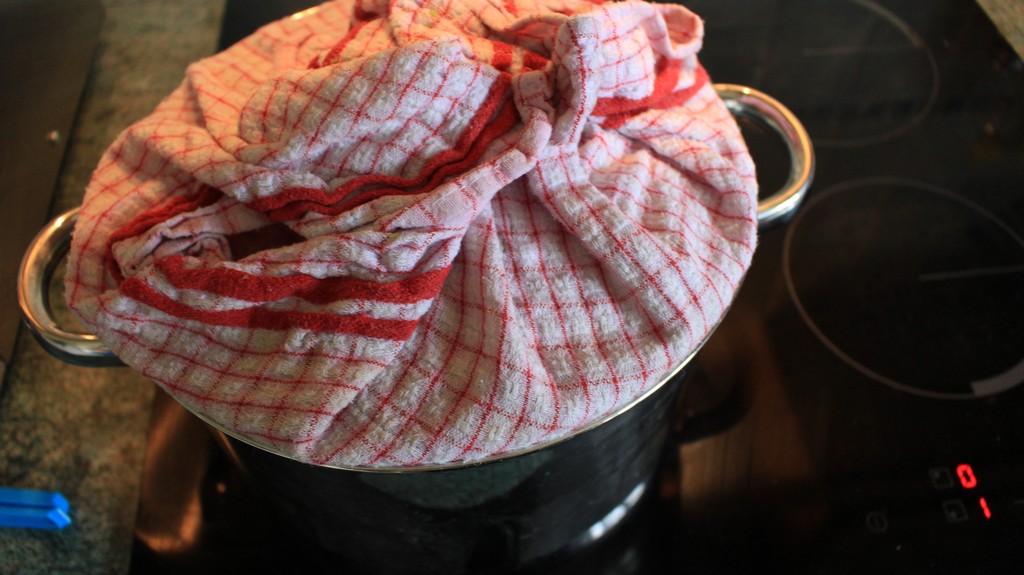
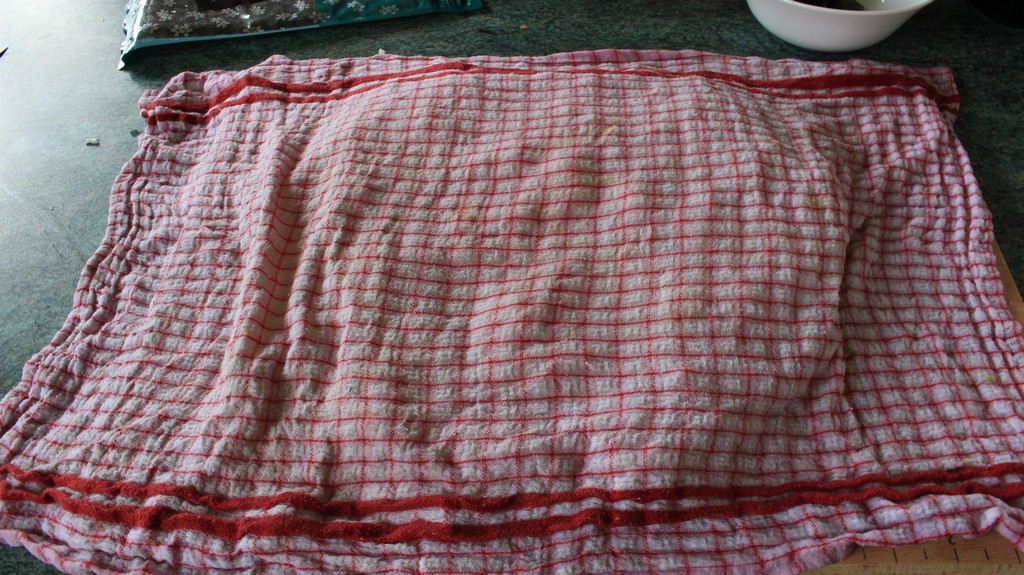
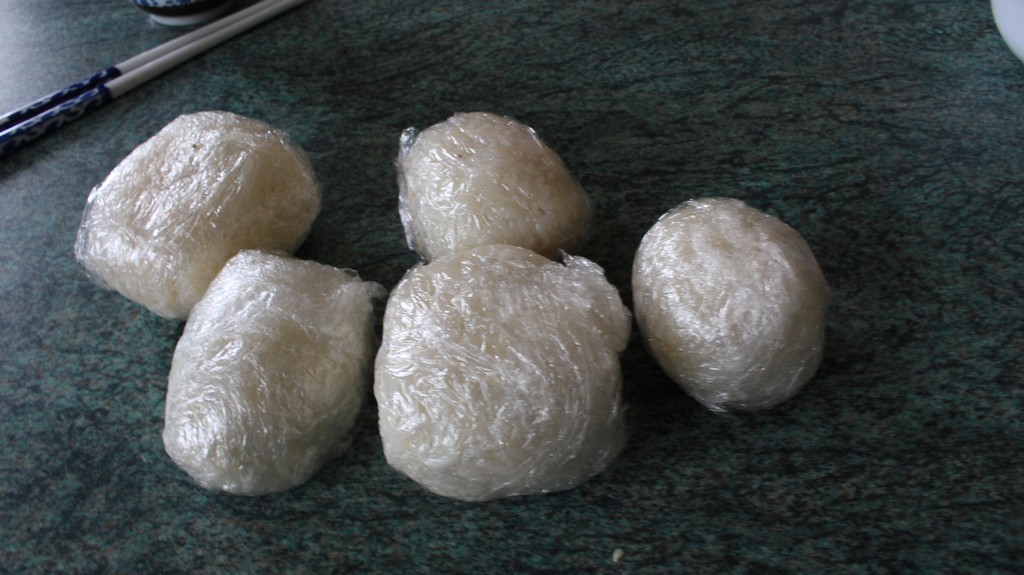
By now your rice should be cooked, remove from the heat and tip it out onto a clean surface. Make sure it’s spotless as any crumbs or dust will stick to the rice. Alternatively you can coat the surface in some clingfilm. Cover the rice with a damp kitchen towel and allow it to cool.
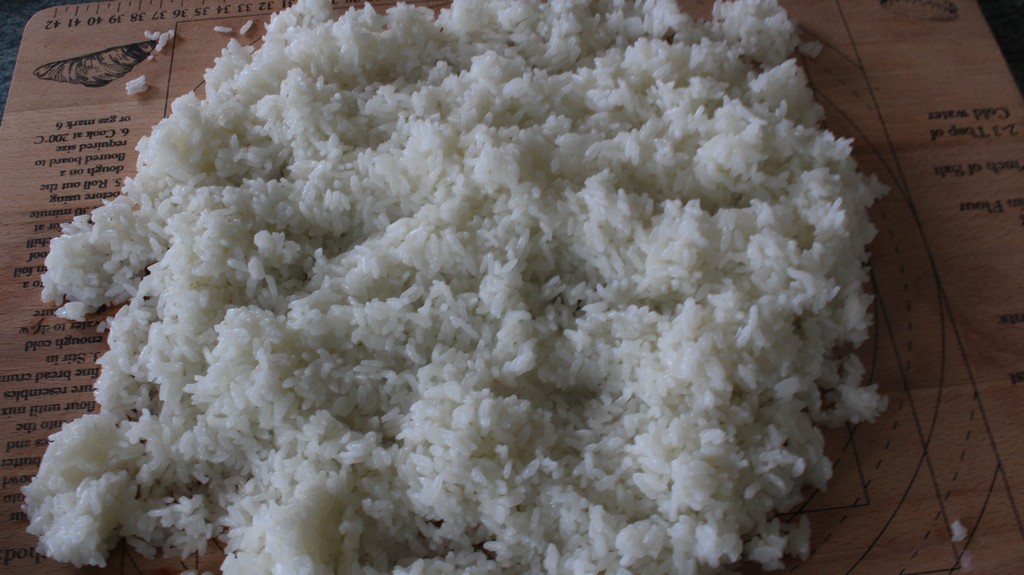
Now comes the fun part!
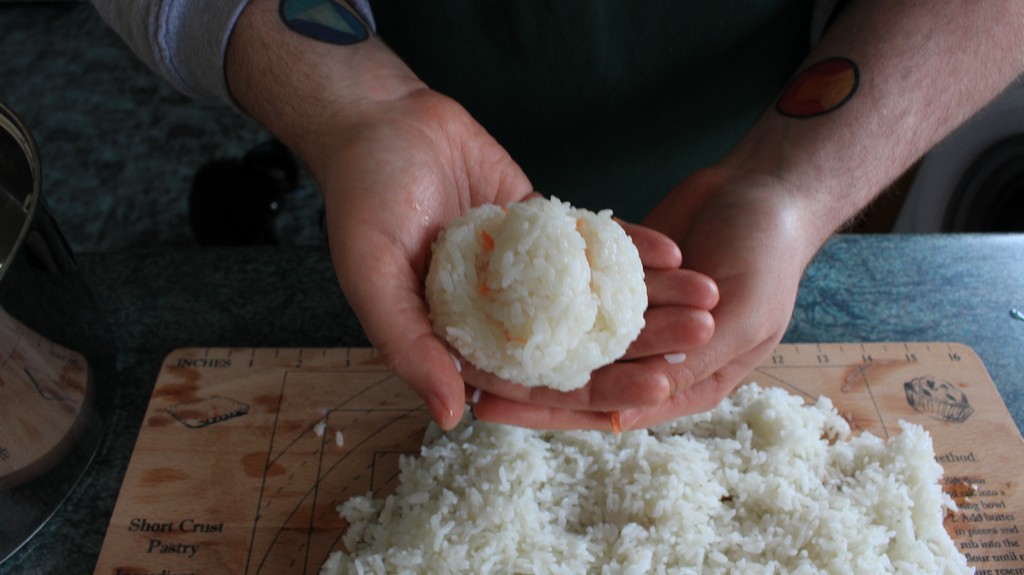
PROCESS – Stage 2
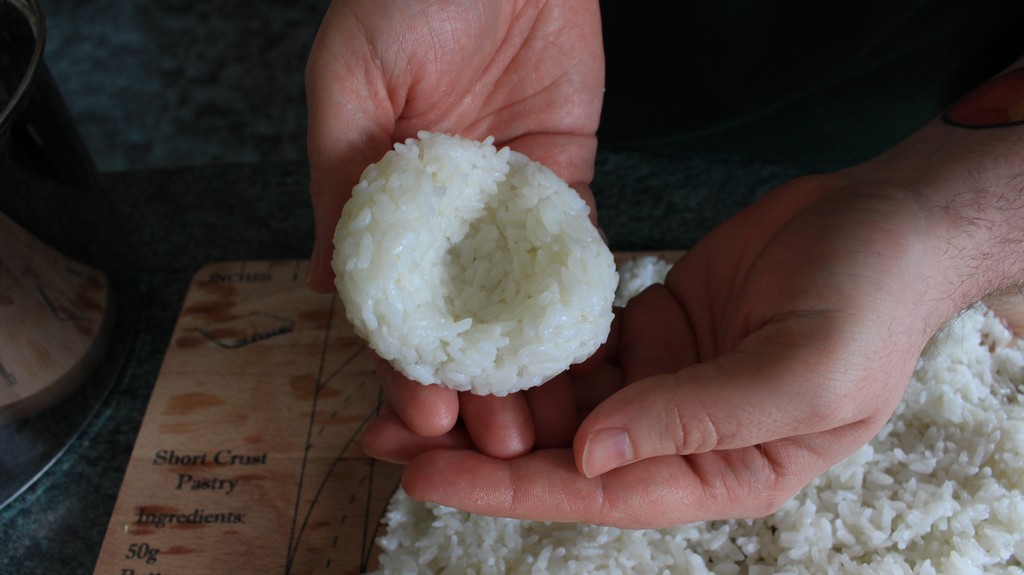
With the rice now cooled, you can handle it and begin filling it. First off, fill a small bowl with water and wet your hands. This will prevent the rice from sticking to you while you’re preparing the onigiri. Take a good handful of rice and roll it into a ball then using your thumb make a well in the middle.
Now take a pinch of your filling, you can mix and match or just use one but make sure not to overfill the ball. Take a smaller amount of rice and pinch it over the filling like a hood.
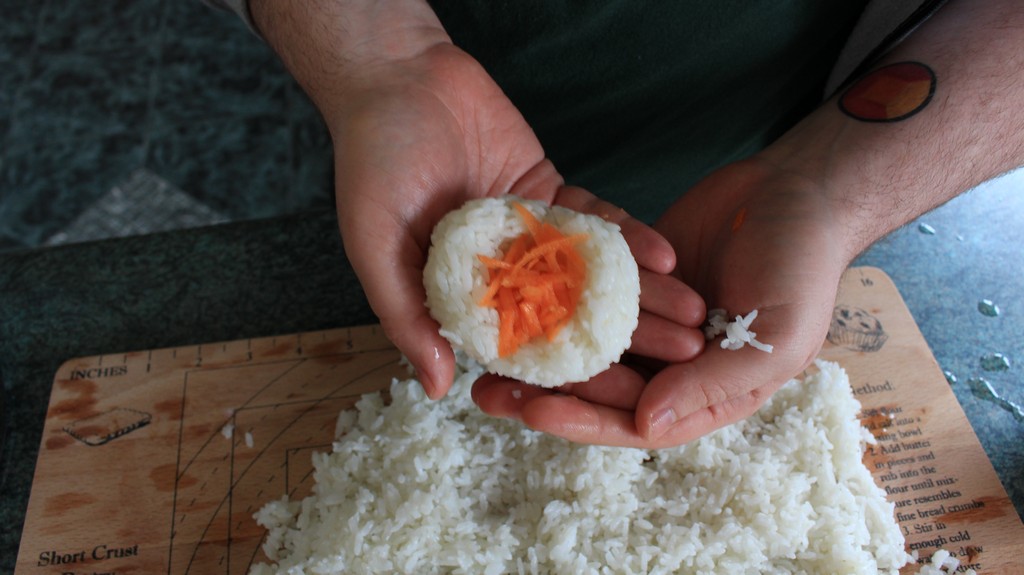
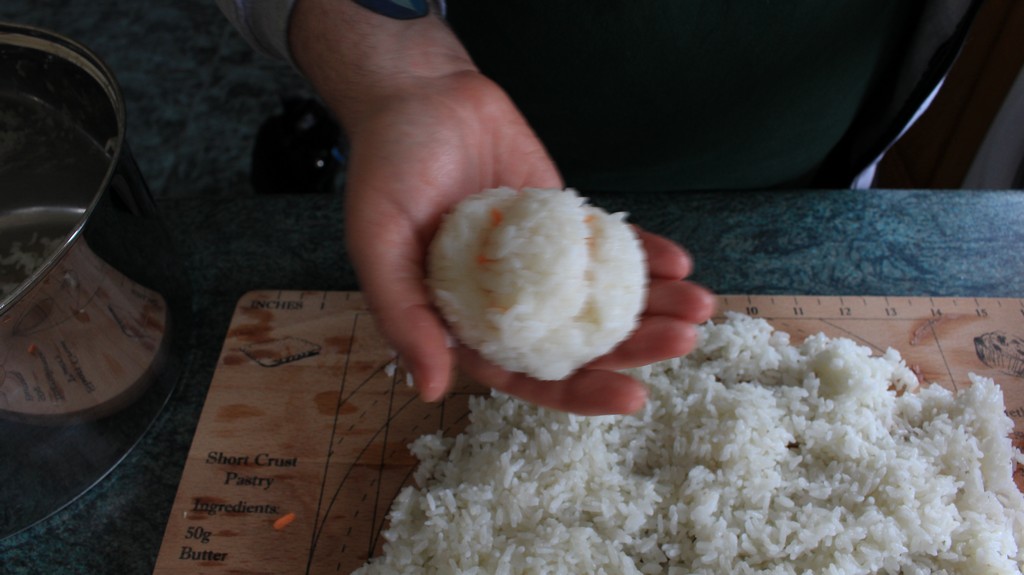
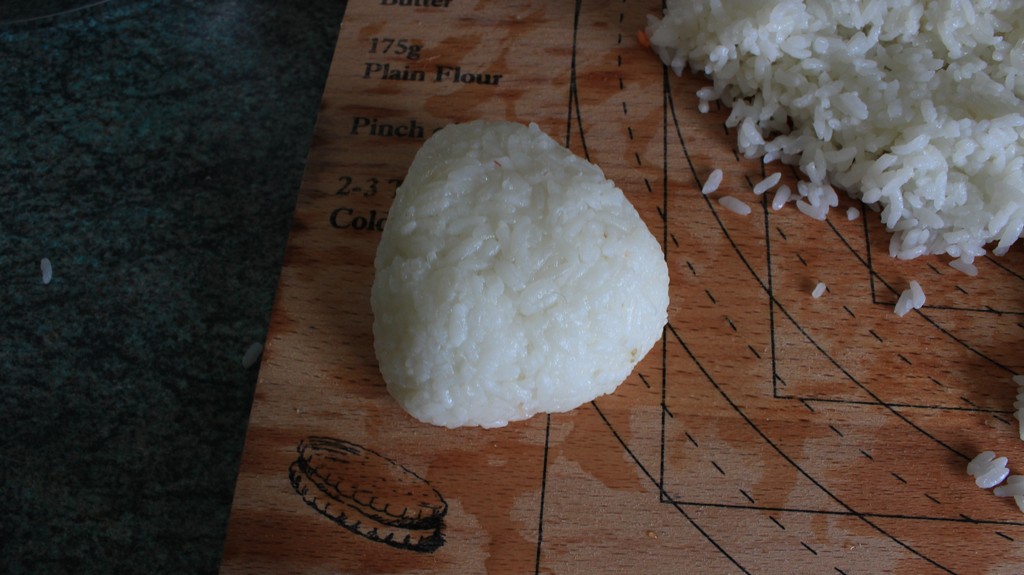
Typically onigiri are fashioned into little rice pyramids. If you don’t have a mould to help get that shape you can do it by hand, just make a little triangle with your hand and press the rice, squeezing gently to make sure the filling doesn’t come loose. You can shape it however you like , even keep it as a little ball, whatever is easier.
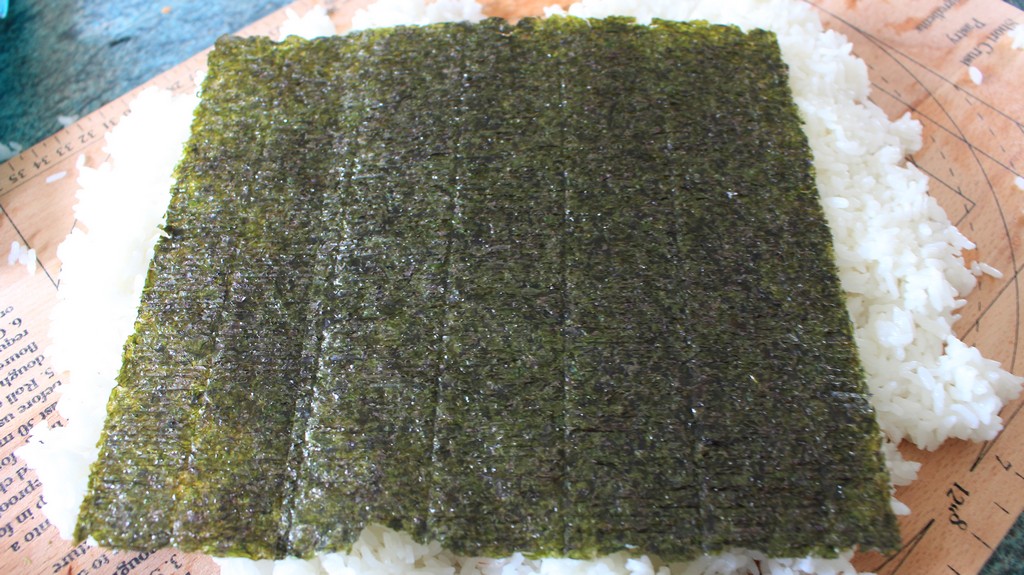
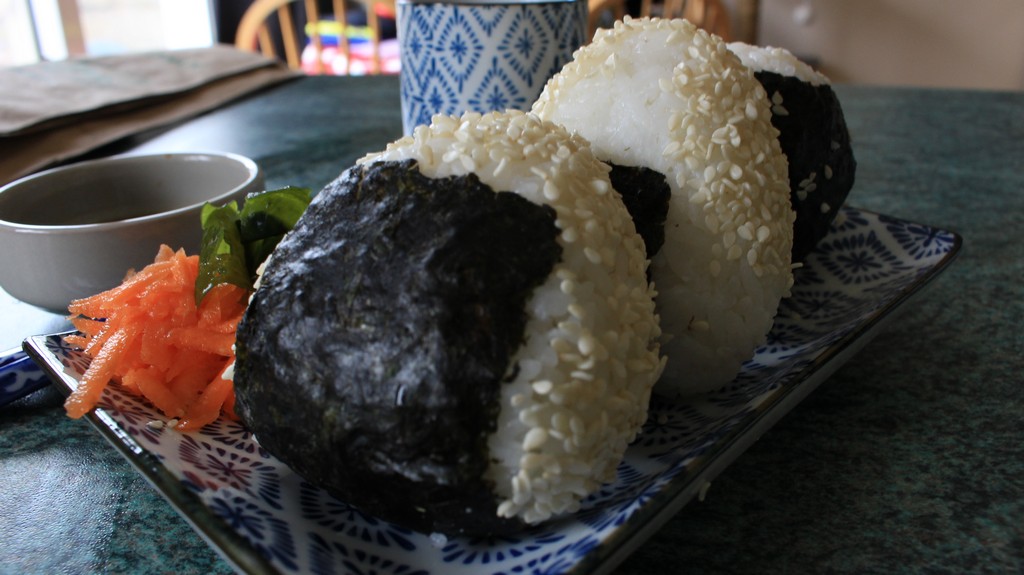
Take a sheet of nori and snip a little rectangle out of it to wrap around the rice, this will help you hold the rice ball as you devour it later on. If you’re making this onigiri but not having them the same day then don’t wrap them in the nori as it will become soggy overtime. You can store the rice balls in the freezer, wrap in some cling film and set aside. You can defrost them in the microwave but make sure to serve them at room temp.
Dip the onigiri into some sesame seeds if you’d like and serve with some tea and soy sauce for dipping. Enjoy all by yourself or share with a friend!

Editor-in-Chief, part-time super villain and hoarder of cats. If you can’t find me writing, I’m probably in the kitchen!