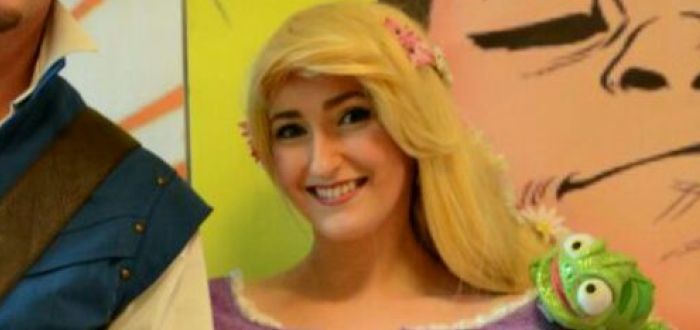


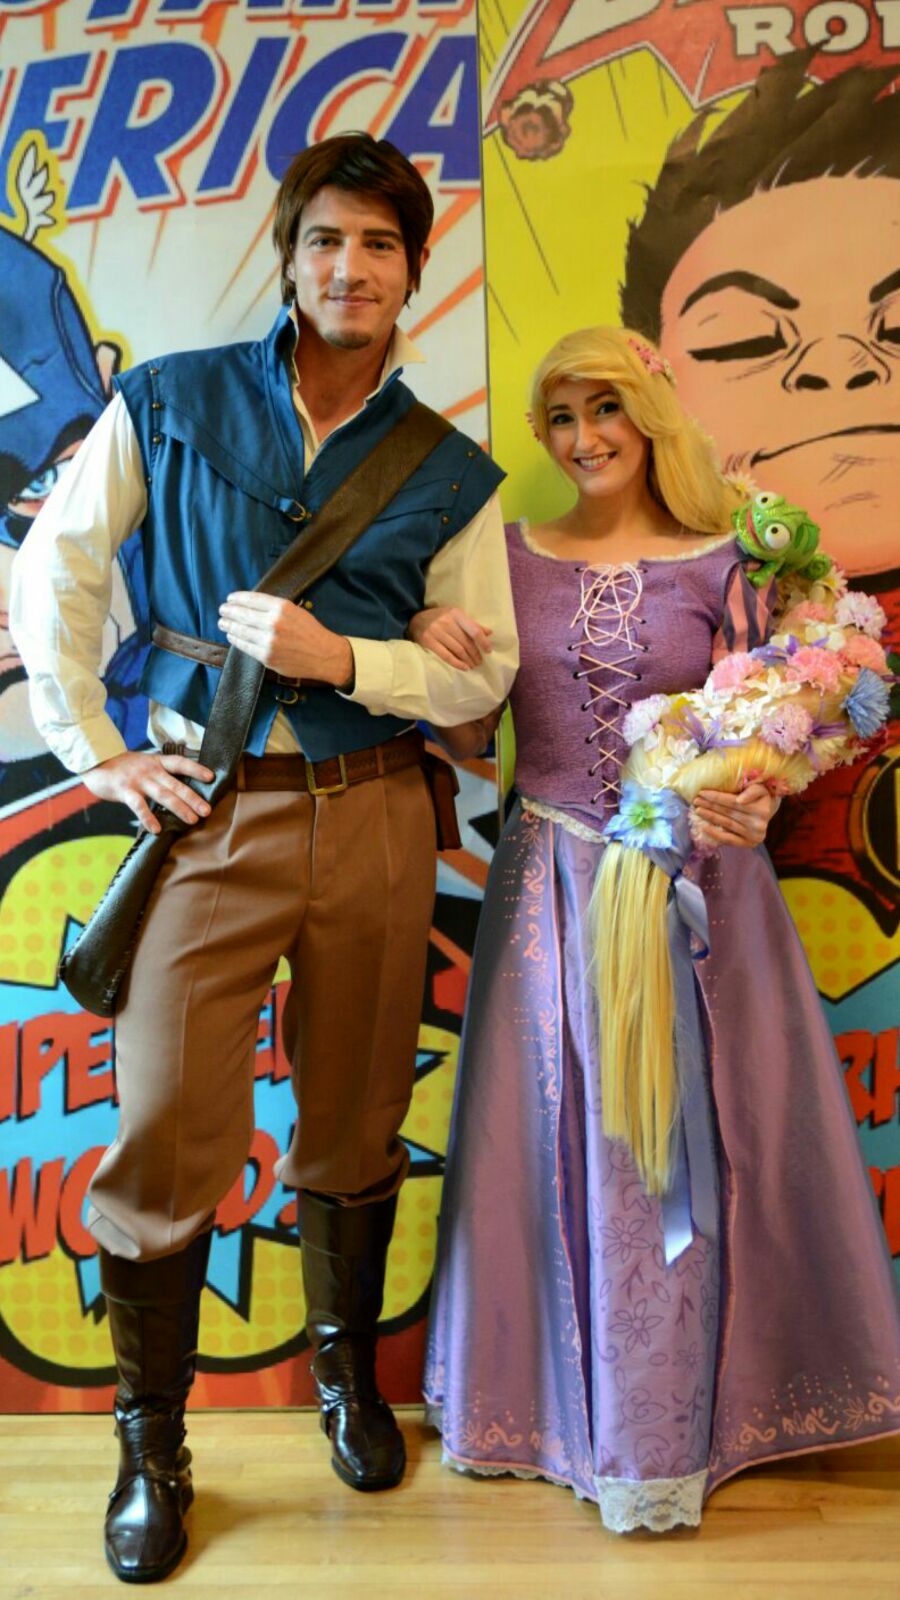
This week’s Cosplay Closet is just a little bit different! See, for the past two and a bit weeks myself and my Mam have been working on a Rapunzel wig for a Rapunzel cosplay! I decided it would look better to have the braided hair that Rapunzel has in the film, Tangled, and let’s face it, it’s far easier than wearing hair that you’re going to keep tripping over every few seconds. There are some unbelievably beautiful Rapunzel wigs on Etsy, but unfortunately most range from 200-600 and you may not get a thick braid with flowers for those prices! So basically, I decided I’d make my own, or at least try to make my own. So, lets get down to business and go over the steps I used to make my quite heavy and very thick Rapunzel braid?
What did I use?
1 Arda Delilah Wig in Fairy Blonde
2 packs of Fairy Blonde wefts
Hot glue gun
Pack of natural coloured tights
Coat hangers
Pegs
Glass head pins
Scissors
Lots of flowers
Needle and thread
Wig head
Wide tooth comb
Single duvet/stuffing
Part One (parts of the braid):
So your first step is to secure your wig onto your wig head and leave it there, we’ll need that soon but not just yet! Also. Be careful with wigs that are about five foot long, or even four-foot, they definitely tangle with just the slightest of movement and they’re hard to deal with when they do get tangled!
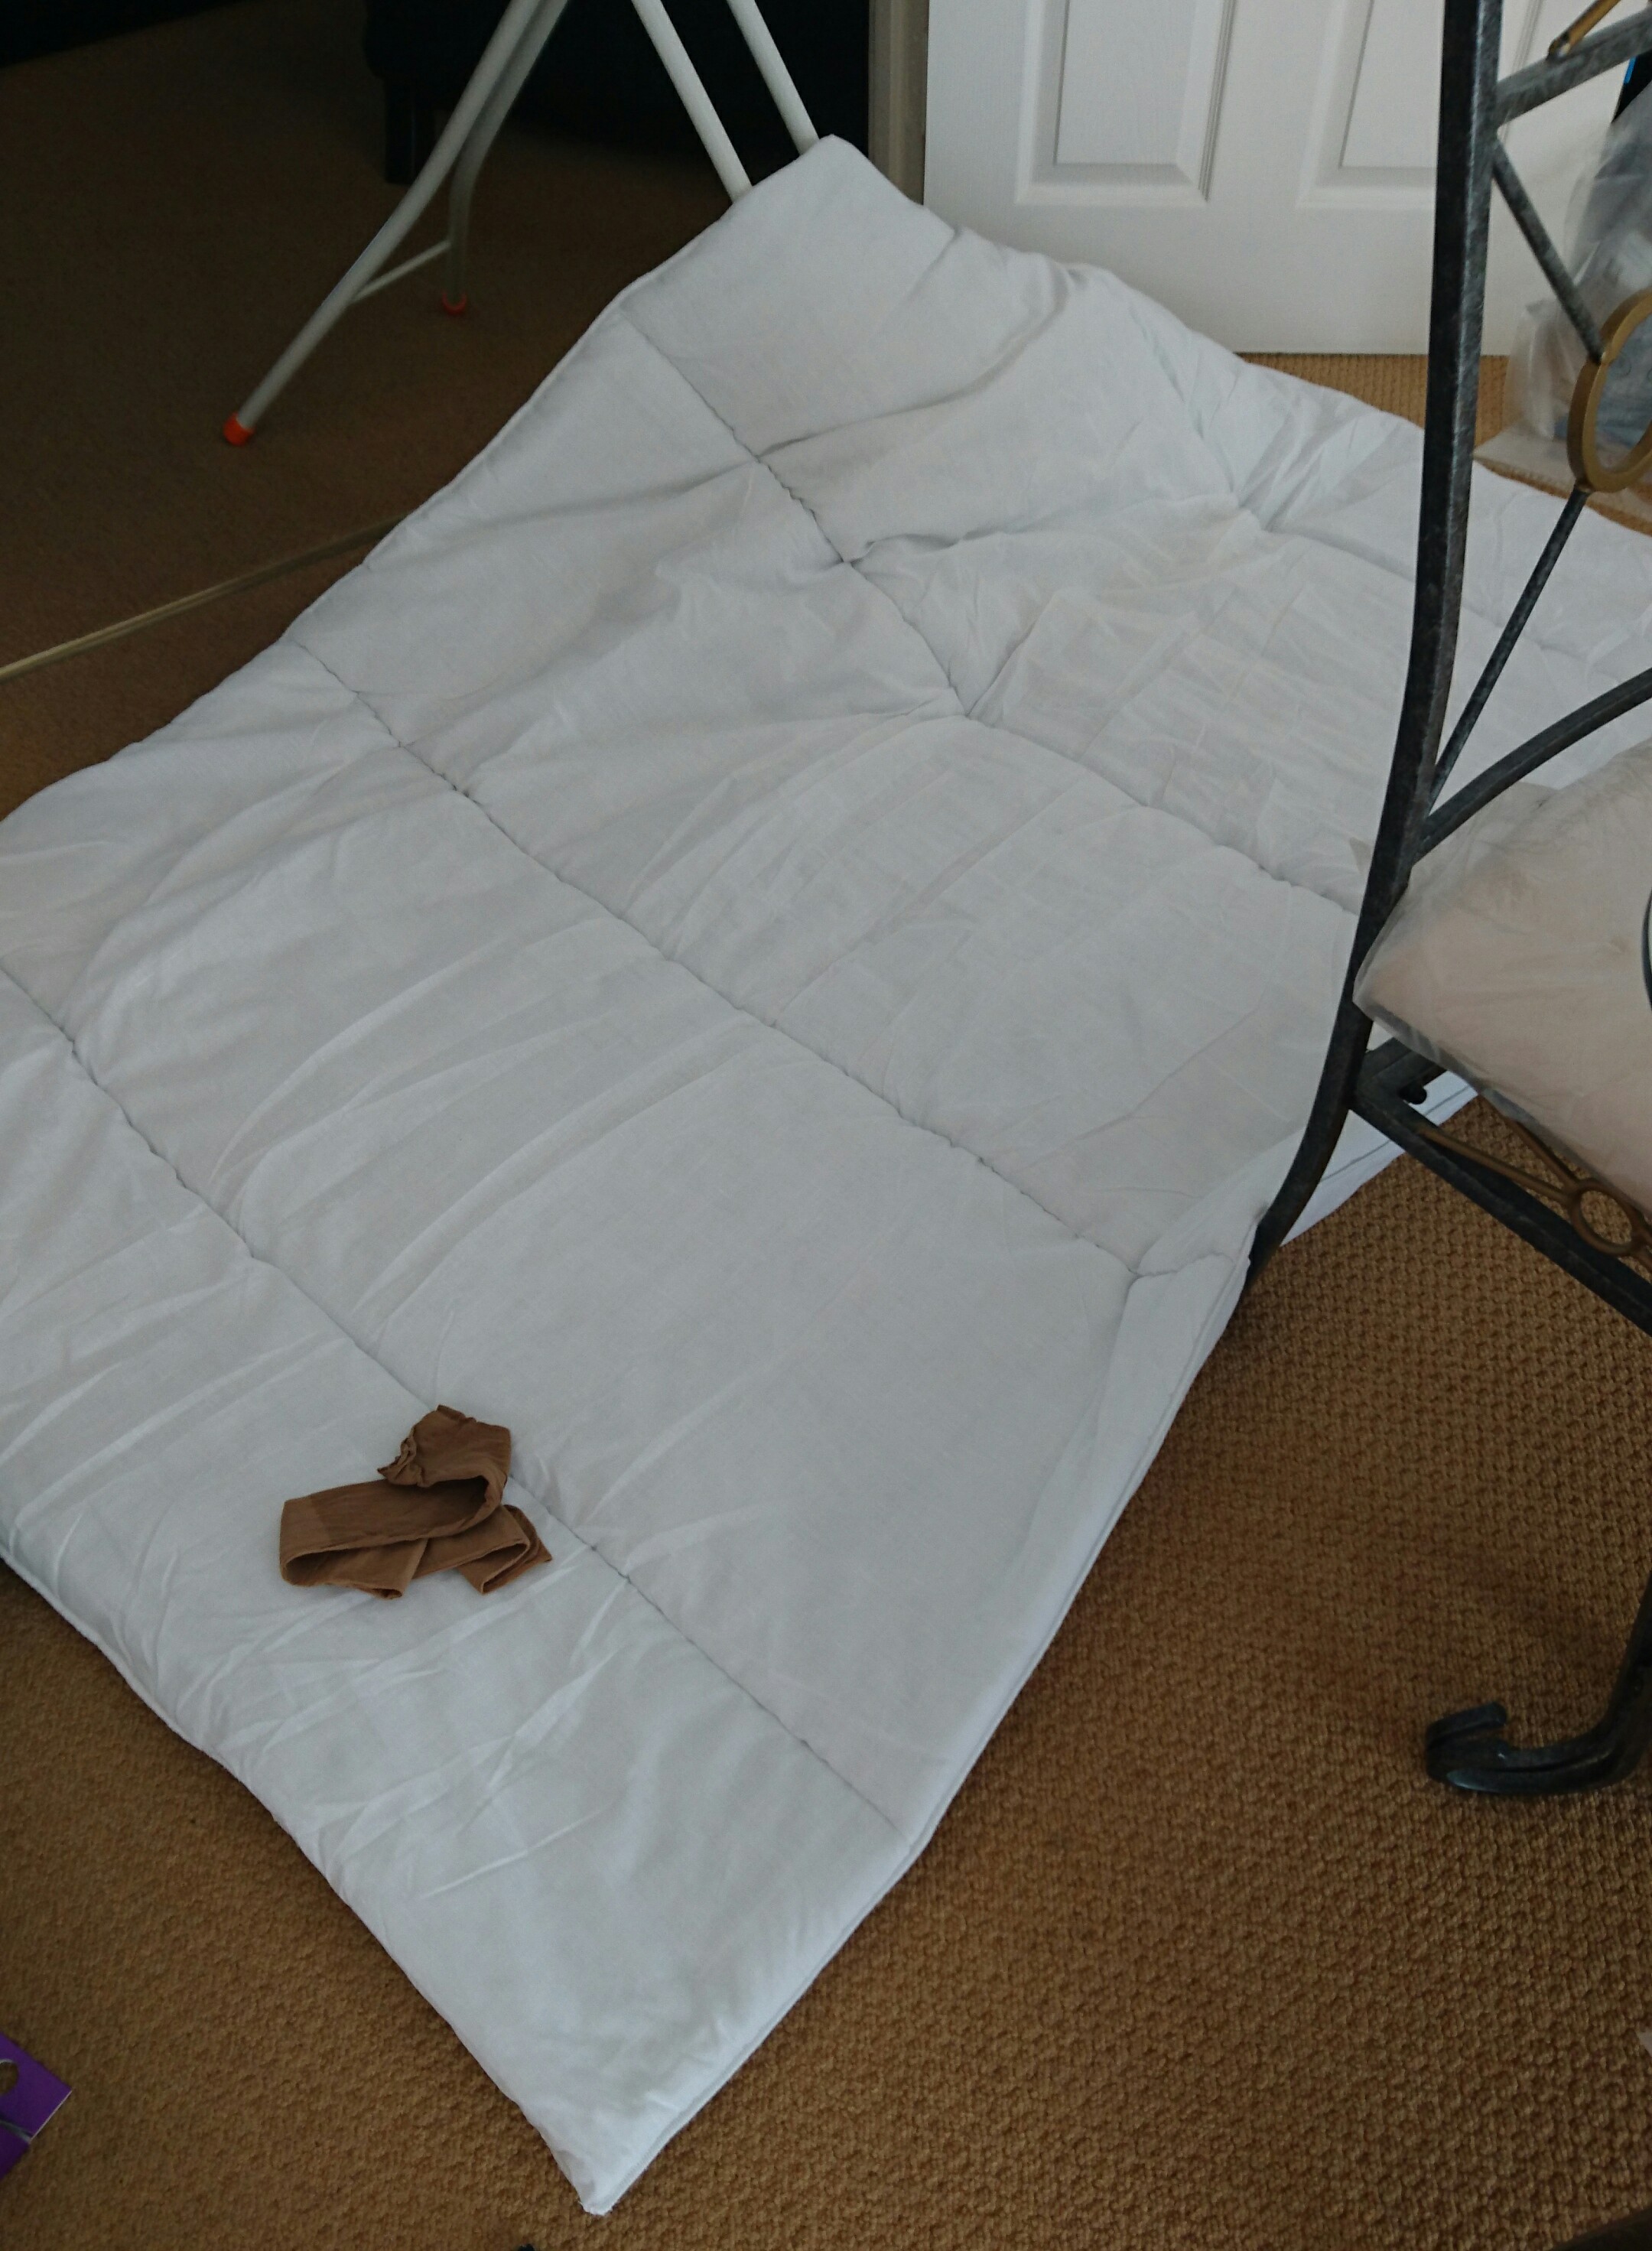 Get your single duvet (it’ll be easier not to use a single duvet, but that’s what I used for this one, if you get cotton wadding or stuffing then that’ll work perfectly, it won’t be as heavy and it’ll be more pliable but more on that later) and get your scissors, mark out three lengths of the duvet and get cutting! These pieces are going to make the three parts of the braid itself!
Next, get your natural coloured tights, get a length of your duvet which you had already cut and start stuffing. You need to measure how long you’re going to want the braid itself so measure from the base of the wig to the floor, or just above it. You can then make the braid part that length, and tie it off at the top so the stuffing doesn’t come out. Do this another two times until you’ve got three lengths of tights stuffed with duvet.
Part Two (wefts and gluing):
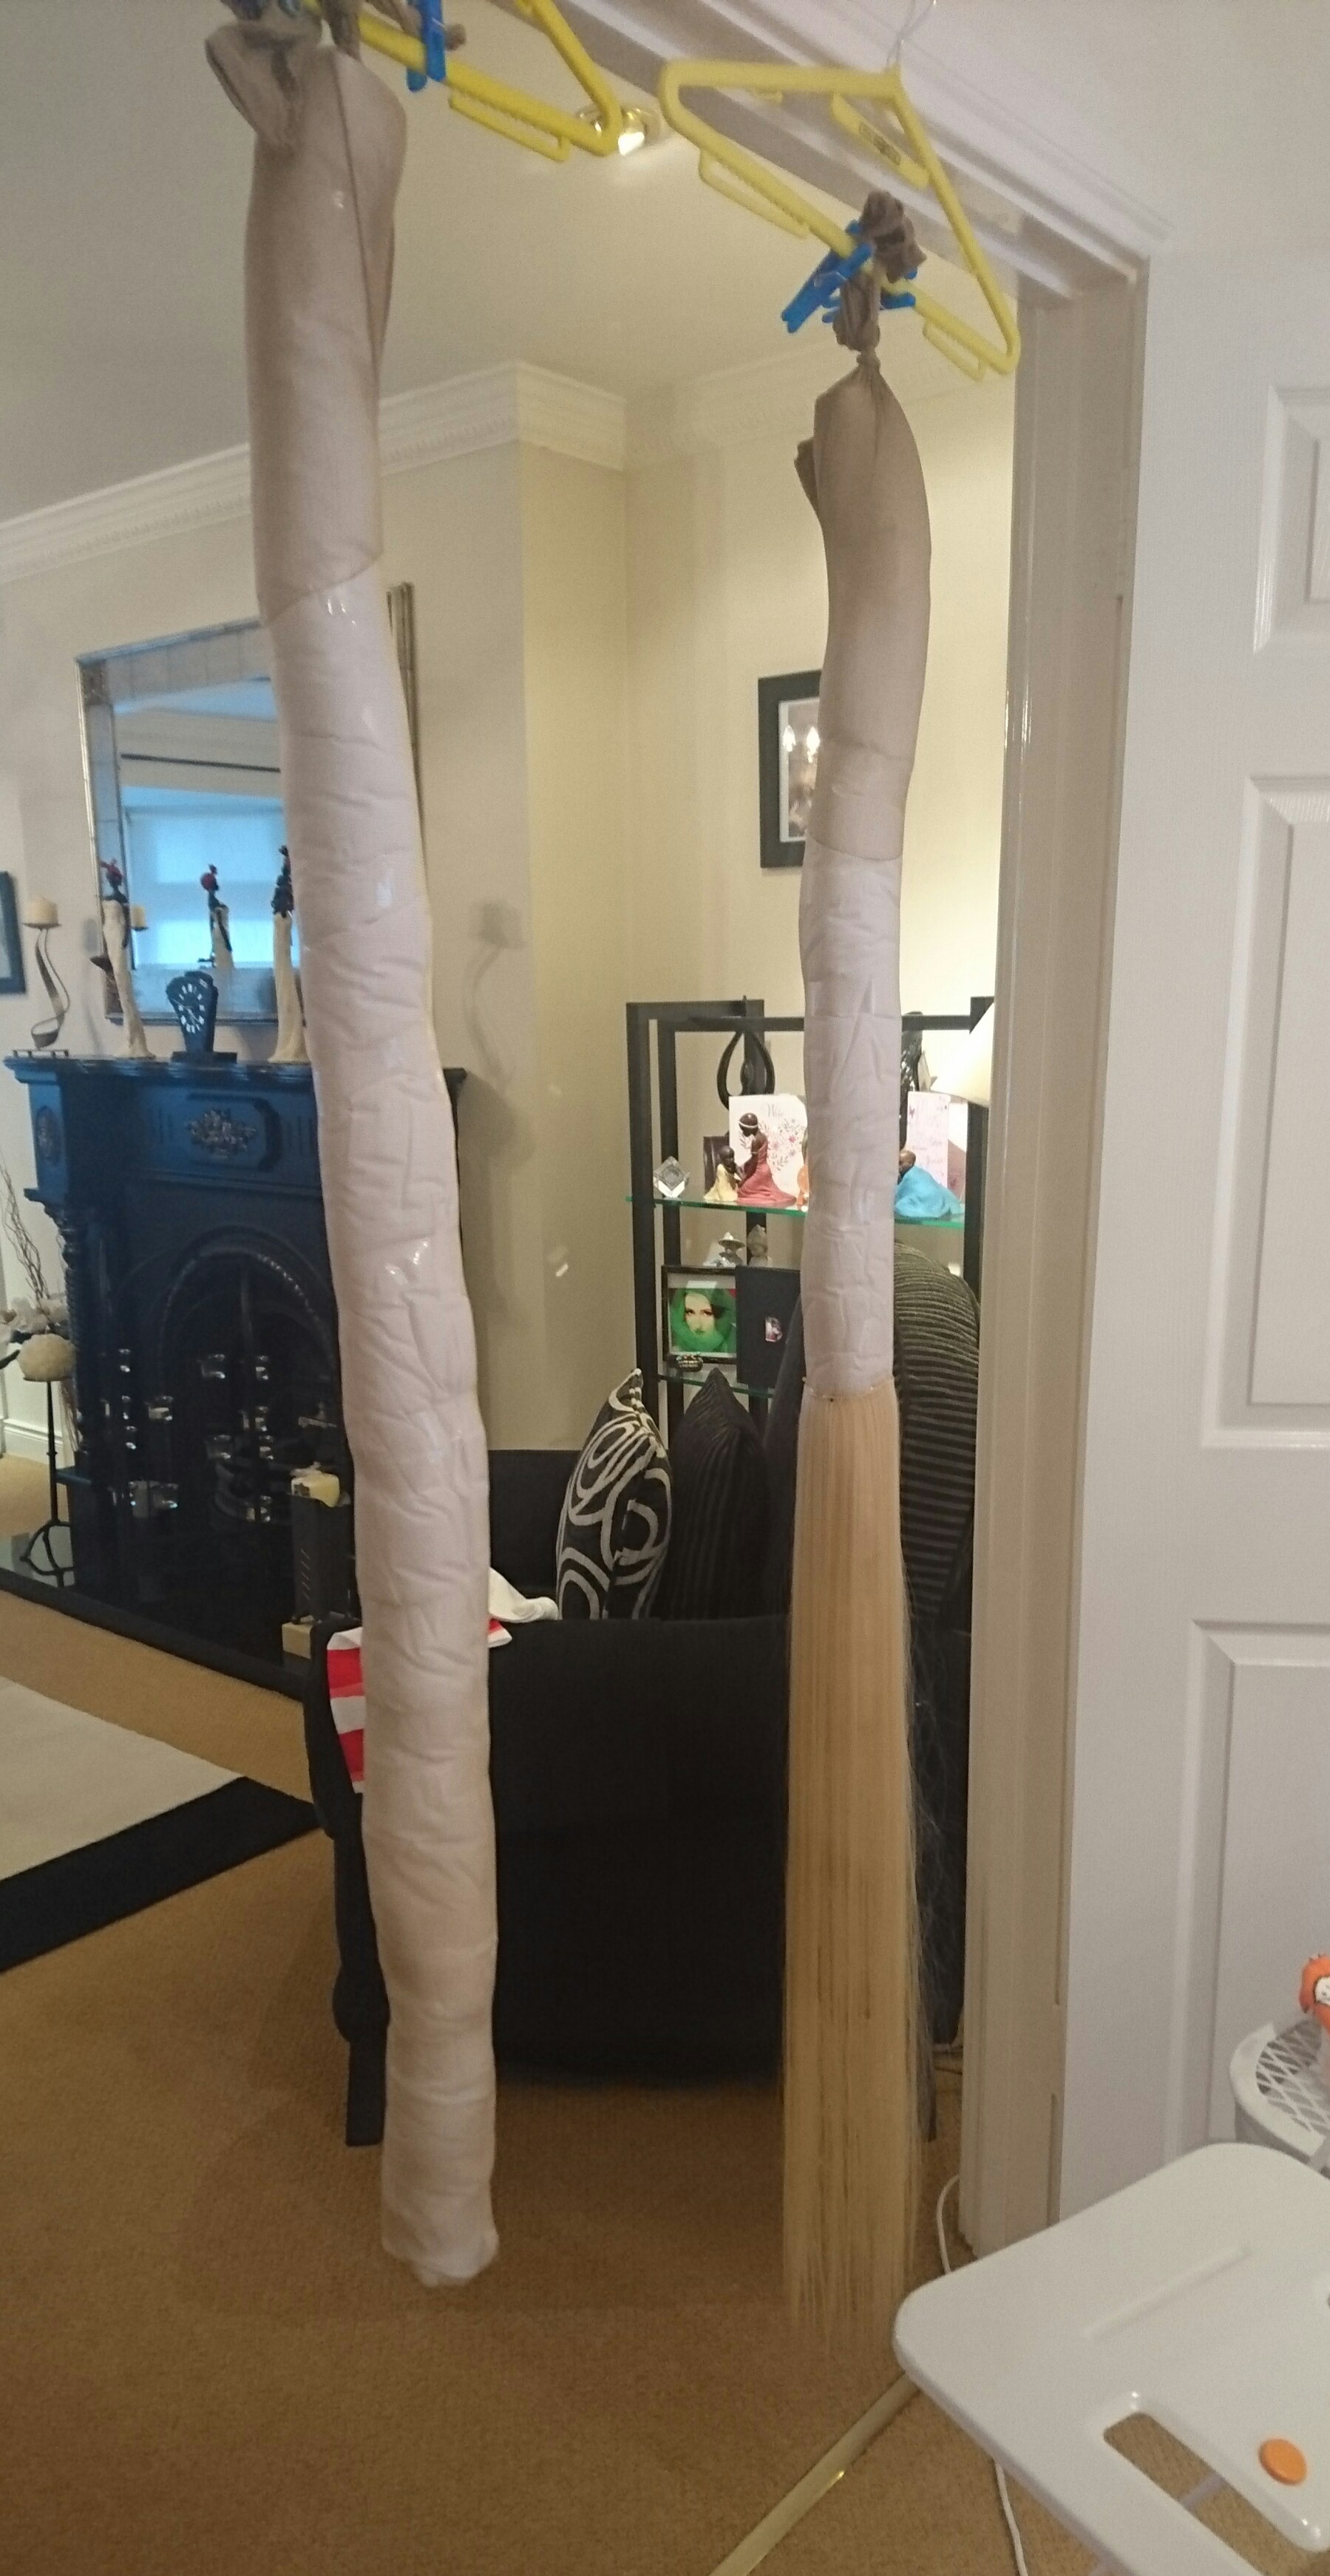 Now you need to take your coat hangers and your pegs, attach one of the lengths to the coat hanger with the pegs and do the same with the other two. Hang them up somewhere you can get around the full thing, 360 degrees. Now, get your wefts from the pack and lay them out. Measure out how much you need to cover around the top and around the bottom. You need to start about half down the length, enough that it falls down to cover the end of the length. You’ll need at least two people to help you with this part.
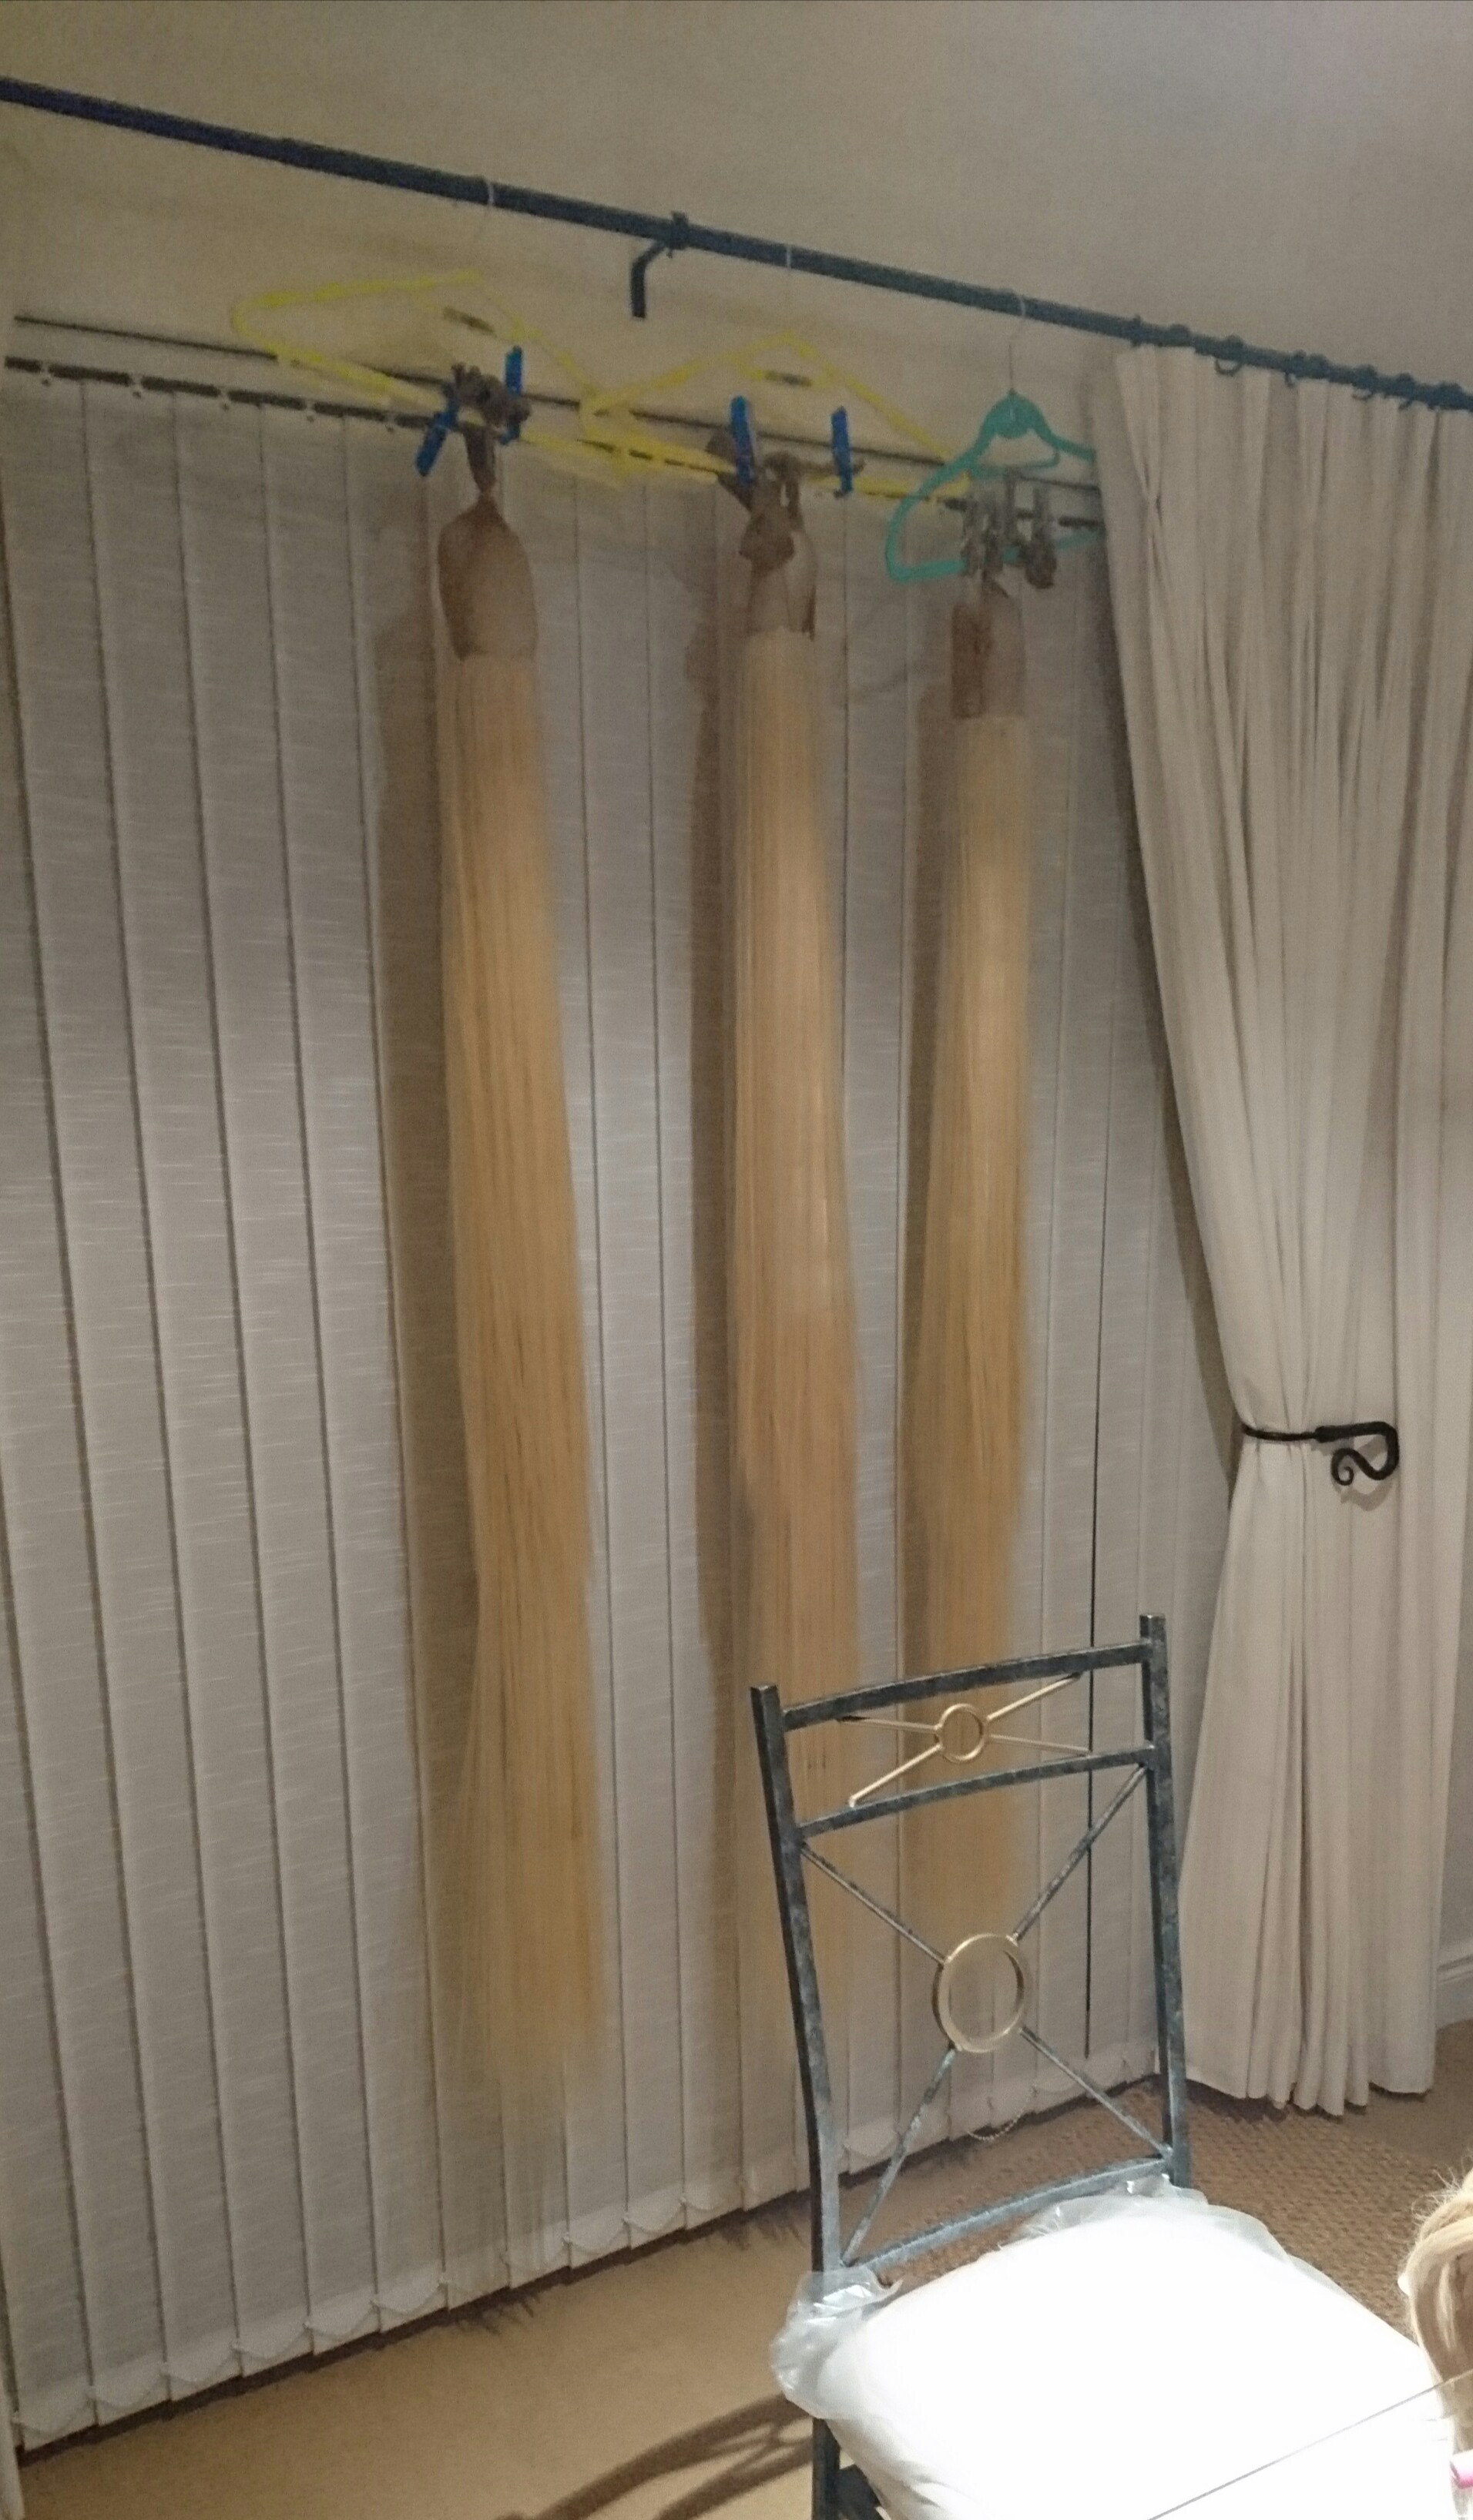 Take the cut weft and place it around the middle of the length, pin it where you want it and then get your hot glue gun and start gluing the weft to the length. Careful not to burn yourself or get glue into the actual hair of the weft. Do at least two wefts around the middle, you may need more to get the best coverage. Basically, use as many wefts around it as you can so you don’t see the tights underneath. Now, once the middle section is dry, you can start at the top. Do the same around the top, pin the weft and let it drop down until it covers the glued part of the middle section. You’ll need to use at least two wefts around this as well in order to get the best coverage. Leave these off to one side, hanging up in order for them to dry! I left mine overnight, but you don’t have to!
Part Three (attaching the lengths):
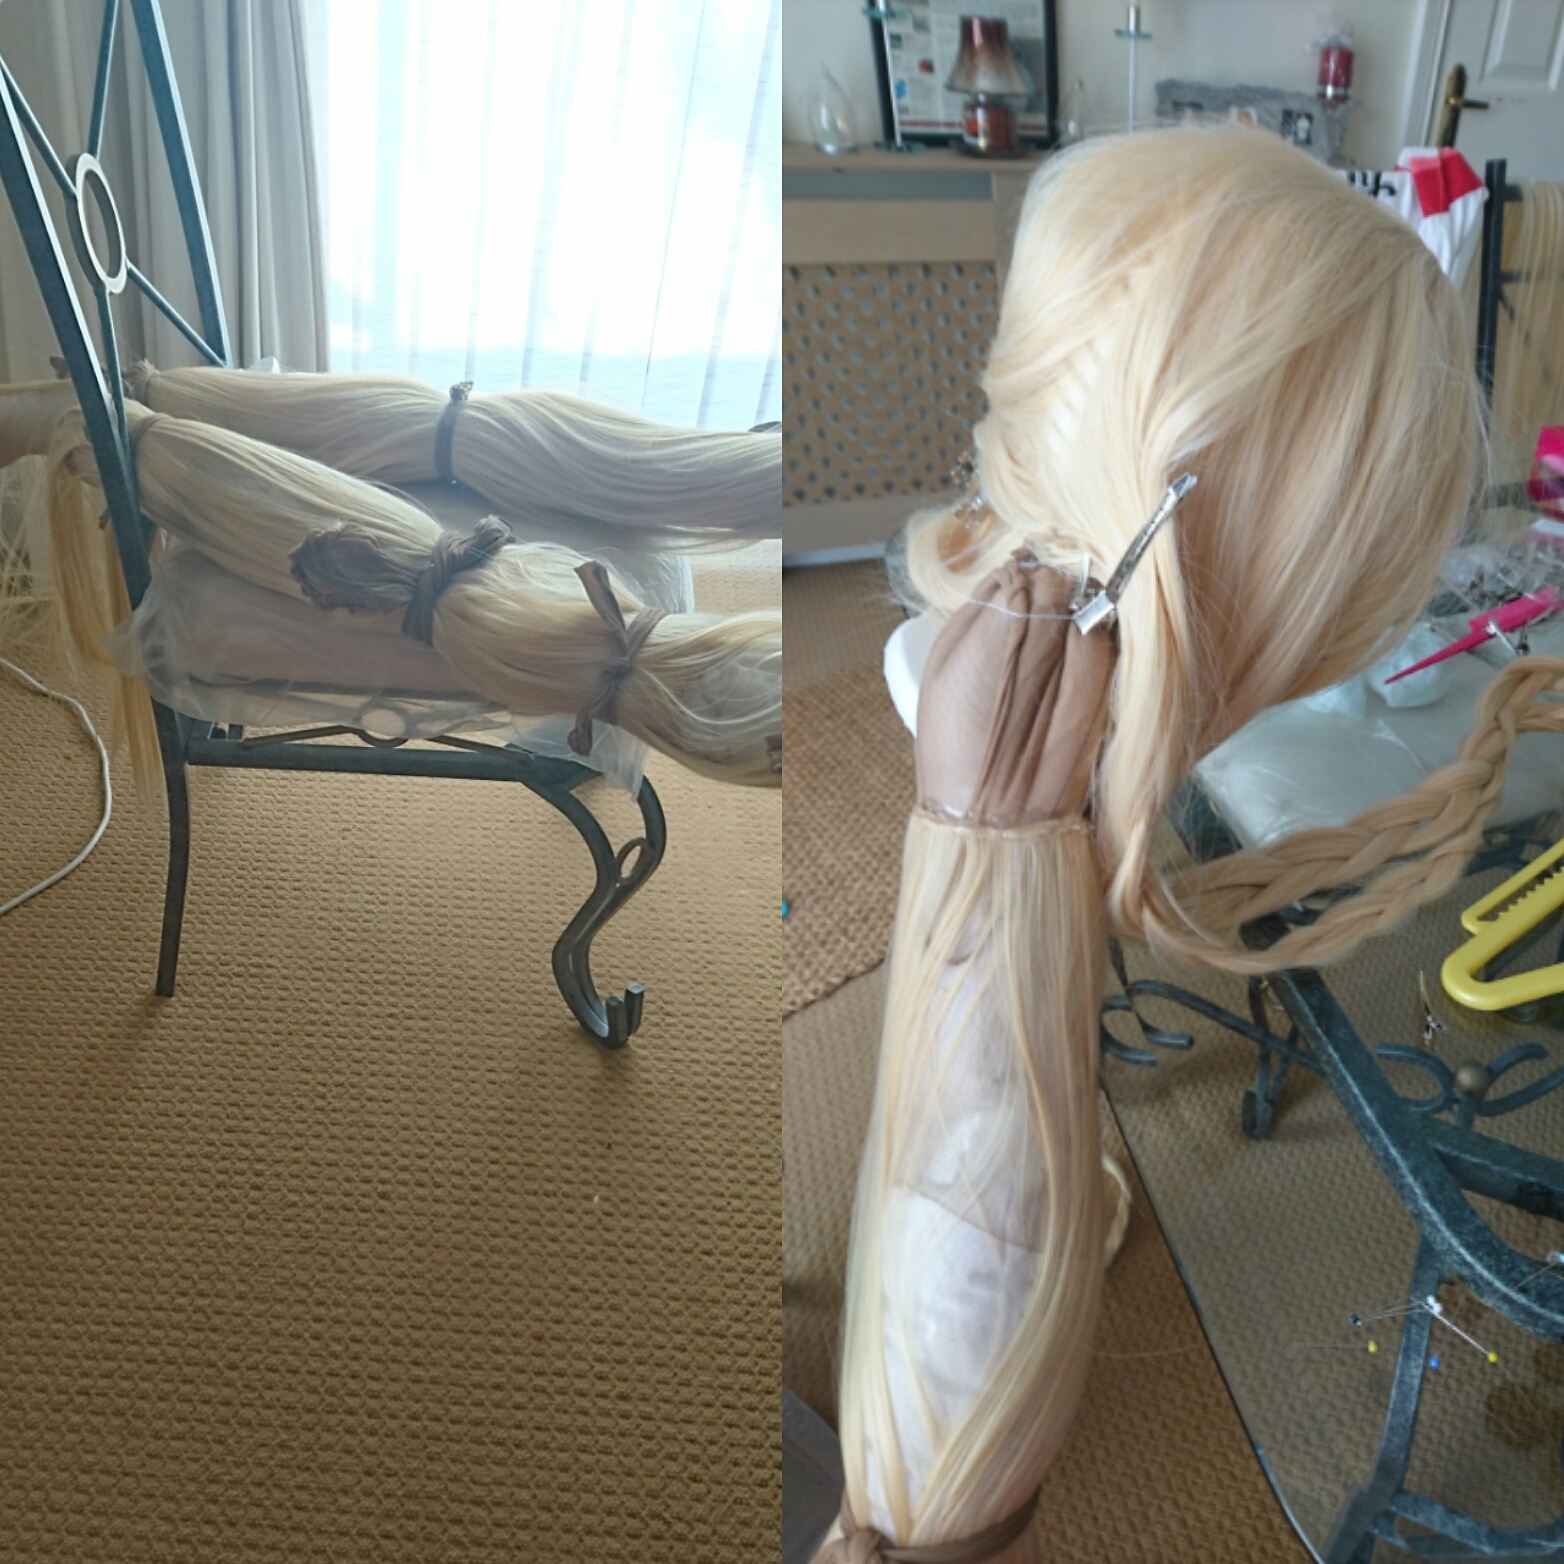 Now is the hard part! I suggest (if you’ve got a VERY long wig) braiding sections of your wig and clipping it out of the way so you can see the back wefts of your wig! You’re going to have to take your lengths, cut off the excess parts of the tights at the top and stitch it down so it’s small enough to fit against the back of your wig and not create a massive lump at the back.
You’ll need to stitch through the tights and duvet/stuffing and attach it to the end wefts of your wig. Don’t worry about things not looking like they’ll be covered just yet because the rest of your wig will cover it up, so will the flowers!
Oh, to keep the hair of on your lengths tidy, we tied the lengths with tights to make sure the hair didn’t get tangled in any way.
Part Four (braiding and flowers!):
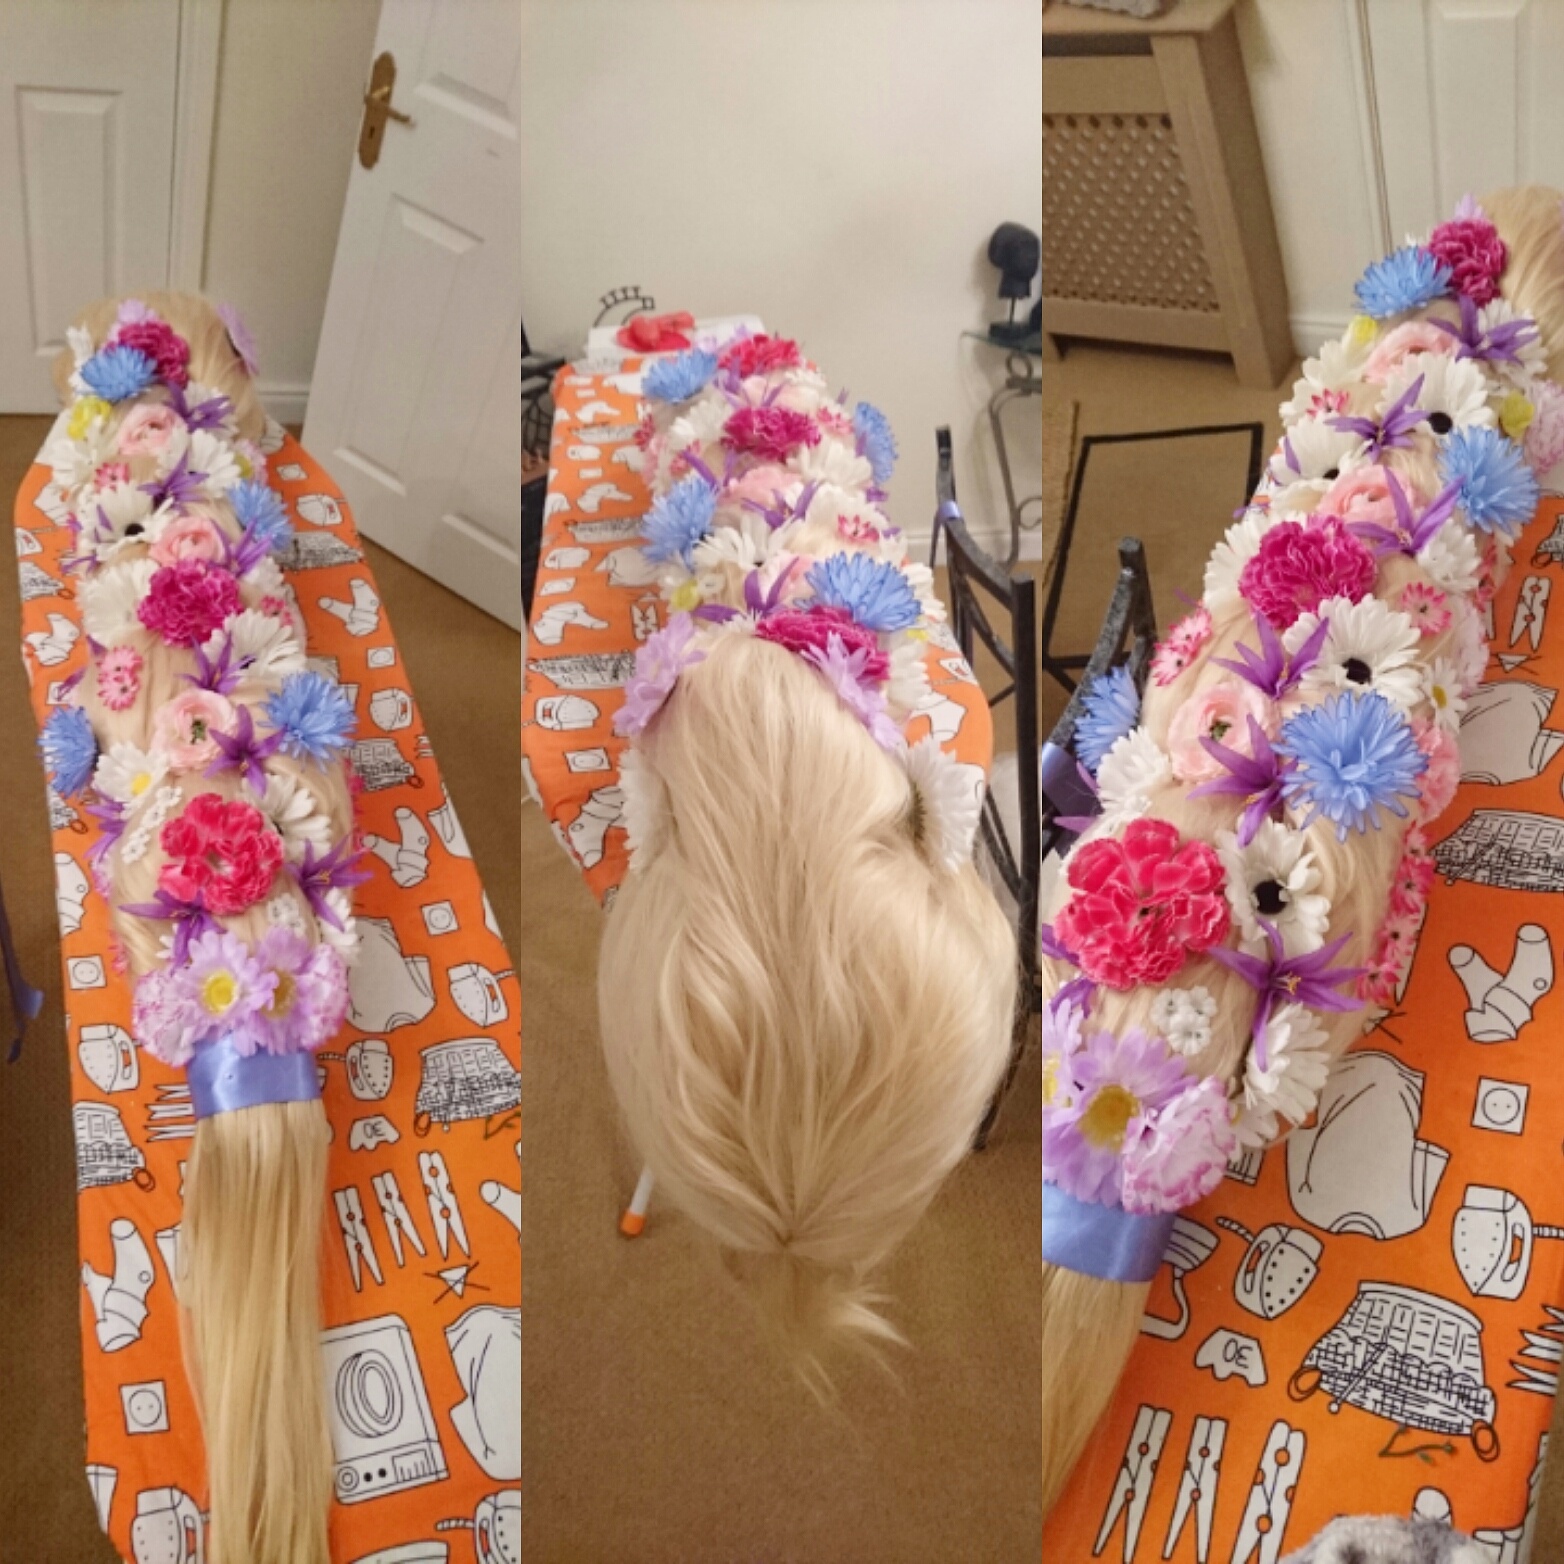
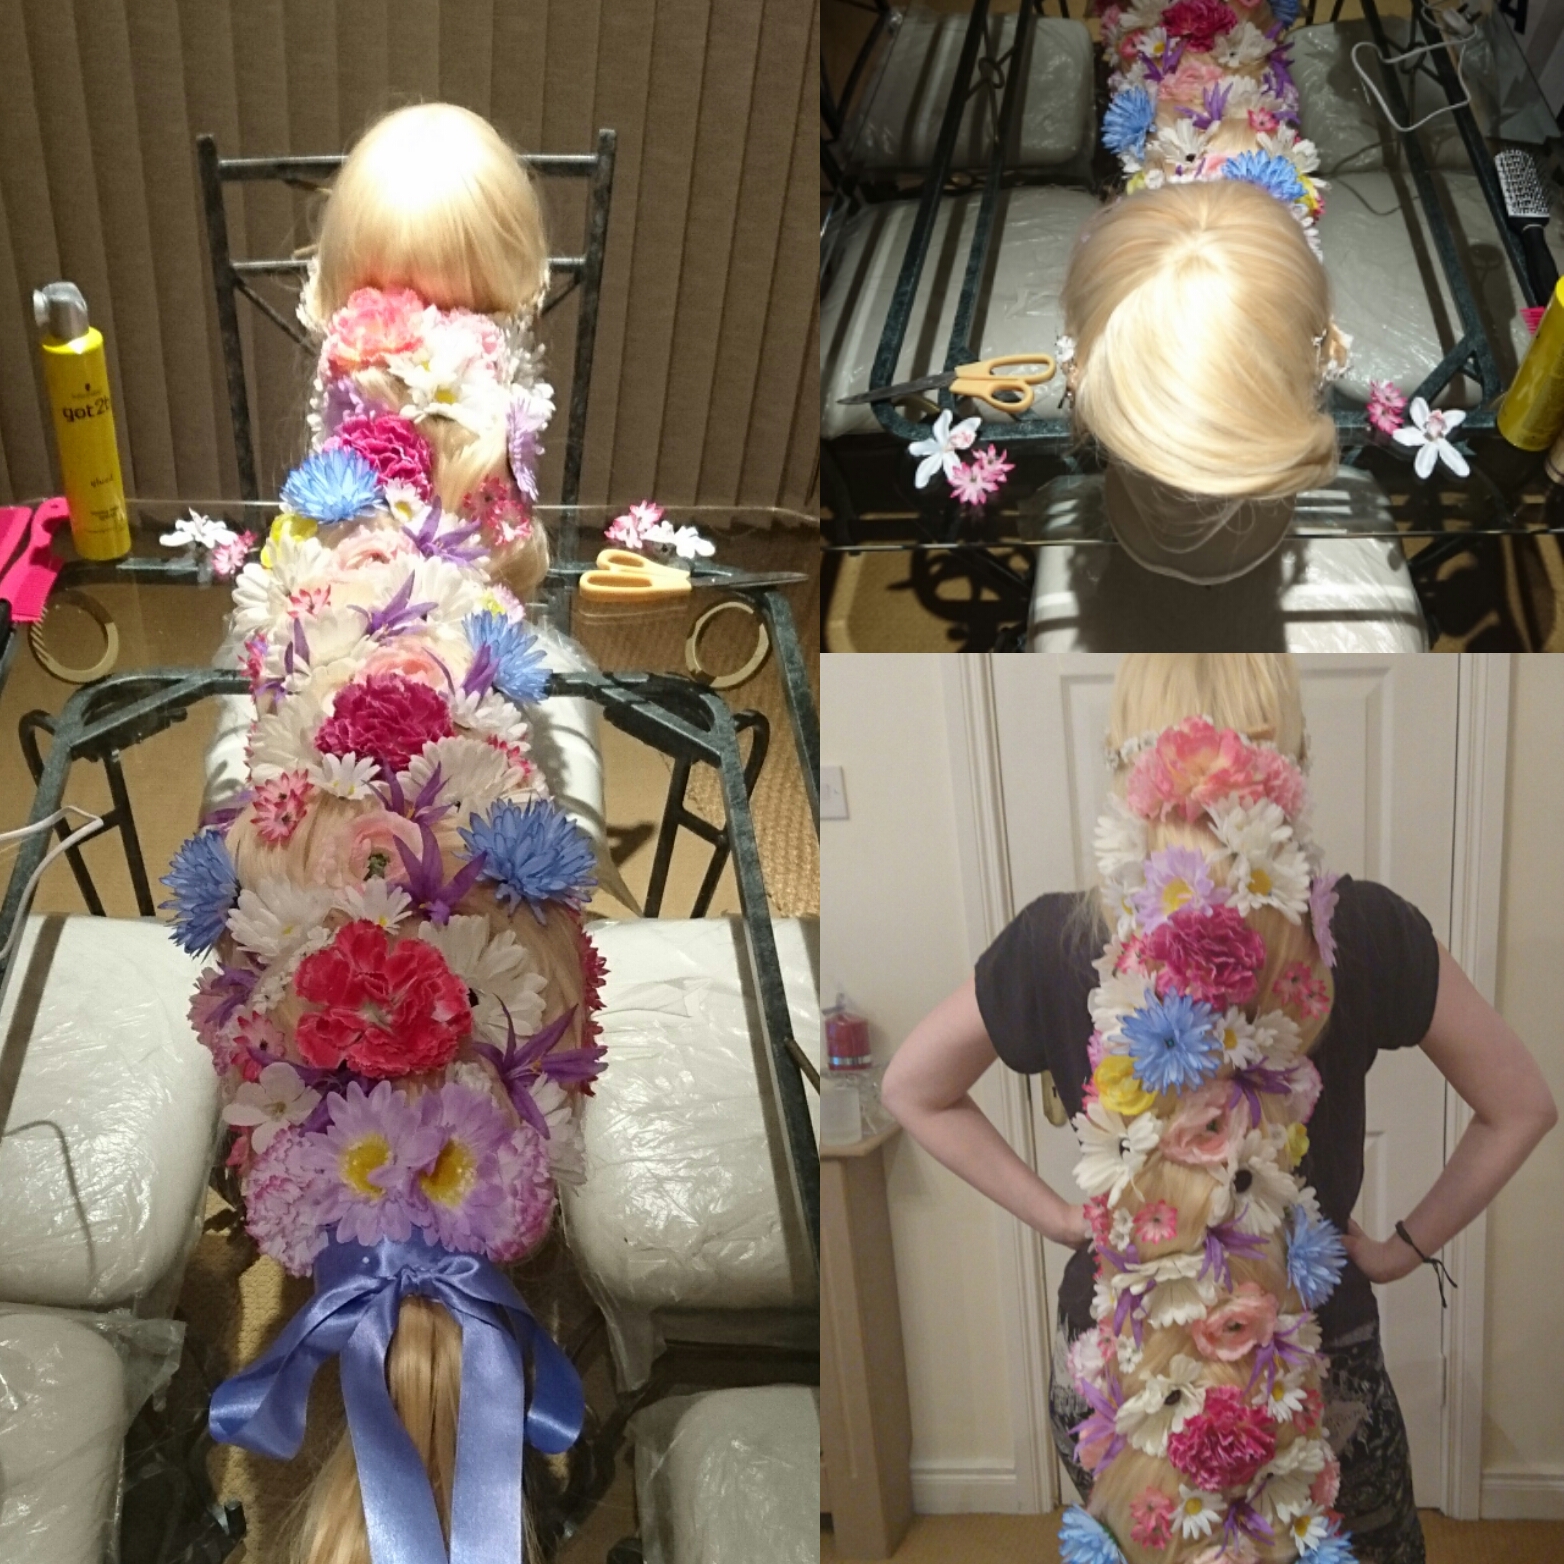
You need three people for this next part, at least!! You’ll need one person to hold your wig head up high, another person to hold one of the lengths, another to hold the middle and another to hold the other. Now, you’ve got to braid the three lengths! Try keep it as tight as you can, and remember if any bits of tights are showing then you can always cover them with flowers. Once its braided, secure the bottom with a length of tights as they’re flexible and you can tie it to keep in place.
 Next, lay your wig high up, take it off the wig head and don’t worry about the fringe/bangs right now, we’ll fix them afterwards! Now you get to cut the tights from around each braid section, careful not to pull any hair out. You should be left with a clean braid now and you can start arranging your flowers.
You can either glue your flowers onto little clips and place them into the braid that way, or if you’re like myself and you need to cover a LOT of the wig because you didn’t use enough wefts for coverage… then you can glue them directly into the wig. Yes, you won’t be able to take the braid out and fix it if you need to so make sure you’re happy with the way your braid is sitting, okay?
It’s up to you how you want to arrange your flowers, it actually took myself and my Mam a few goes with arranging them because the first time you couldn’t see the braid at all. We fix a ribbon to the end as well to hide some sections down there and hid some little bits and pieces with different placements of flowers, and then sprayed the entire thing with hairspray, well wherever it was needed.
Part Five (the fringe):
 Get one of your combs and section off the bottom and top part of your fringe. Rapunzel’s fringe is off her face so you’ll need to backcomb the bottom part of your fringe and set it with hairspray. Let down the top part and if it’s not sitting up off the face then backcomb some more of the underneath and use more hairspray. Brush it to the side, smooth down the top and voila, the fringe is basically done!
Tips and things I’ve learned:
 So, I used way too much stuffing for the braid, it’s far too heavy and won’t go over my shoulder. Also, the use of a five foot long wig was terrible as it got tangled every few minutes. I have designs to make a new one, one that resembles the Disney Park’s Rapunzel. I’m going to use a shorter blonde wig and about four to five packs of wefts this time, I’ll also be using a dutch braid and a french braid in order to get the braids throughout the larger braid itself, just like Rapunzel’s hair. But hey, it’s a learning curve!
Have you ever made an ambitious wig? Let us know in the comments!