
Geek N’ Bake: Harry Potter Chocolate Frogs


Chocolate lovers lend me your ears, eyes and tastebuds! I remember being slightly weird out when watching Harry Potter And The Philosopher’s Stone and the chocolate frogs that Harry bought off the sweet cart onboard the train to Hogwarts, came to life and started jumping all over the place. I don’t like frogs!
I do like chocolate!

This is a mix and match recipe, I’ve selected two fillings for our chocolate, if we can’t bring them to life with magic extra sweet things will be just as nice! You can choose any kind of filling or chocolate type you want – milk, plain, dark or white, just try get your hands on good quality chocolate as it will make all the difference.
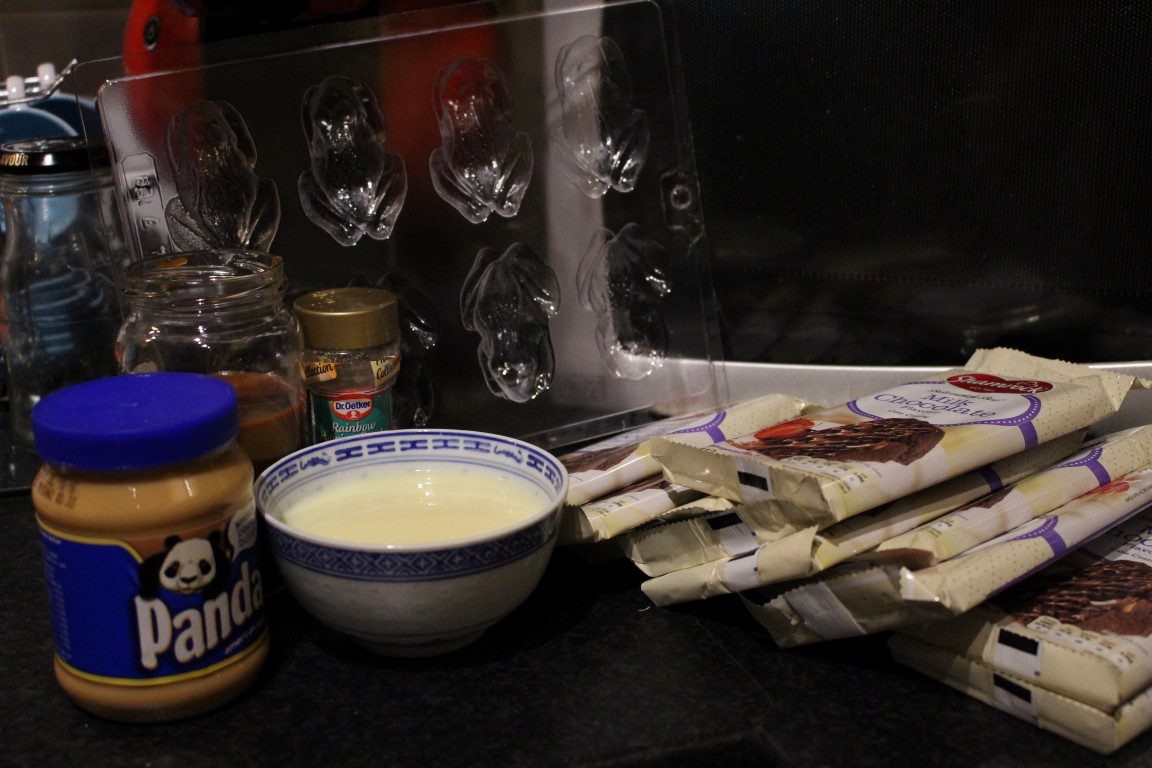
For this recipe I also did a bit of searching online and found an ideal mould for our chocolates – eight happy little frogs, picked up for only a few euro on eBay but again you can use any plastic or silicone mould when working with chocolate – if you’re add a filling something with a depth will allow you to cram more deliciousness inside!
DIFFICULTY
Easy
TIME
15 minutes
 INGREDIENTS
450g cooking chocolate, 2 tablespoons peanut butter, 160g condensed milk, popping candy (optional)
PROCESS
Honestly this couldn’t be simpler! There are two handy methods to melt chocolate, you can do the double-boiler, which is slower and a little more difficult to handle or you can do what I did and bang the chocolate into the microwave into the chocolate for 30 seconds!
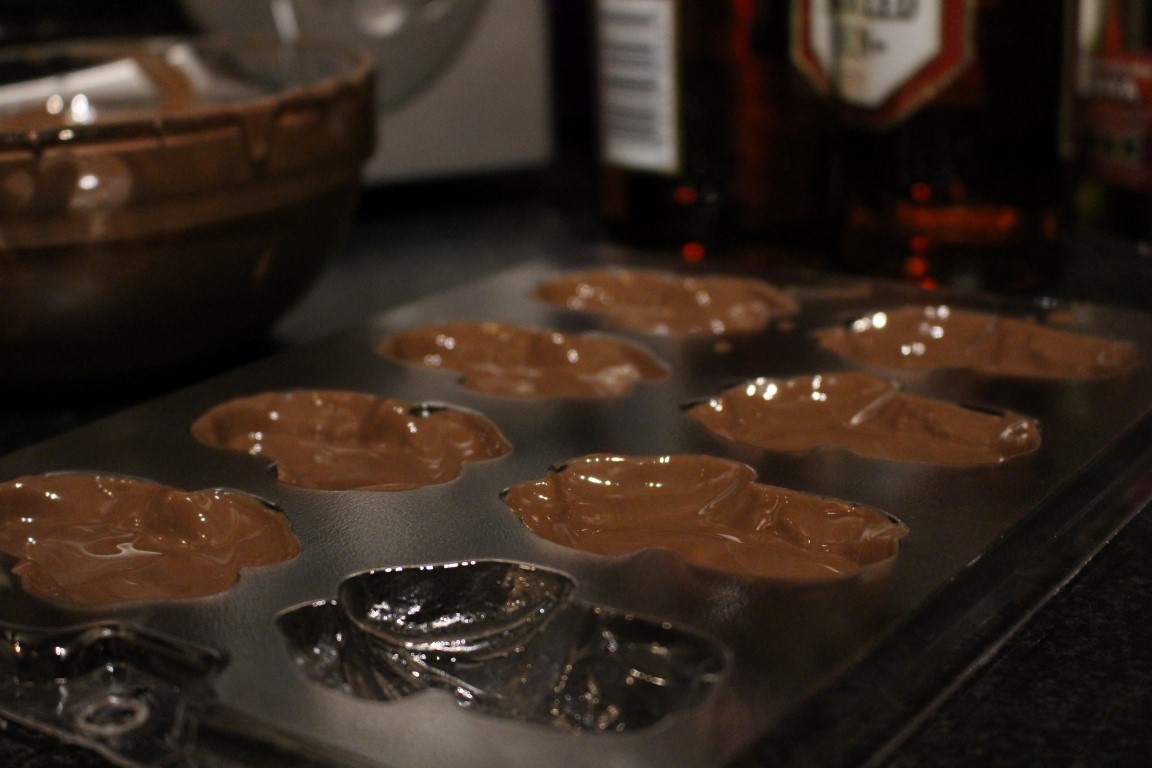
Yeah seriously! Break about half your chocolate into a microwave safe bowl and set timer for 30 seconds. Once down take the chocolate out and stir and repeat until the chocolate is completely melted. At this point pour about a tablespoon into your moulds (this will depend on the depth of your mould) and then pick up the mould tilting it around to spread the chocolate. Make sure the chocolate coats right up to the edge of the mould. Place into the fridge to help set quicker.
At this point set the rest of the chocolate aside and let’s make the creamy peanut butter filling.
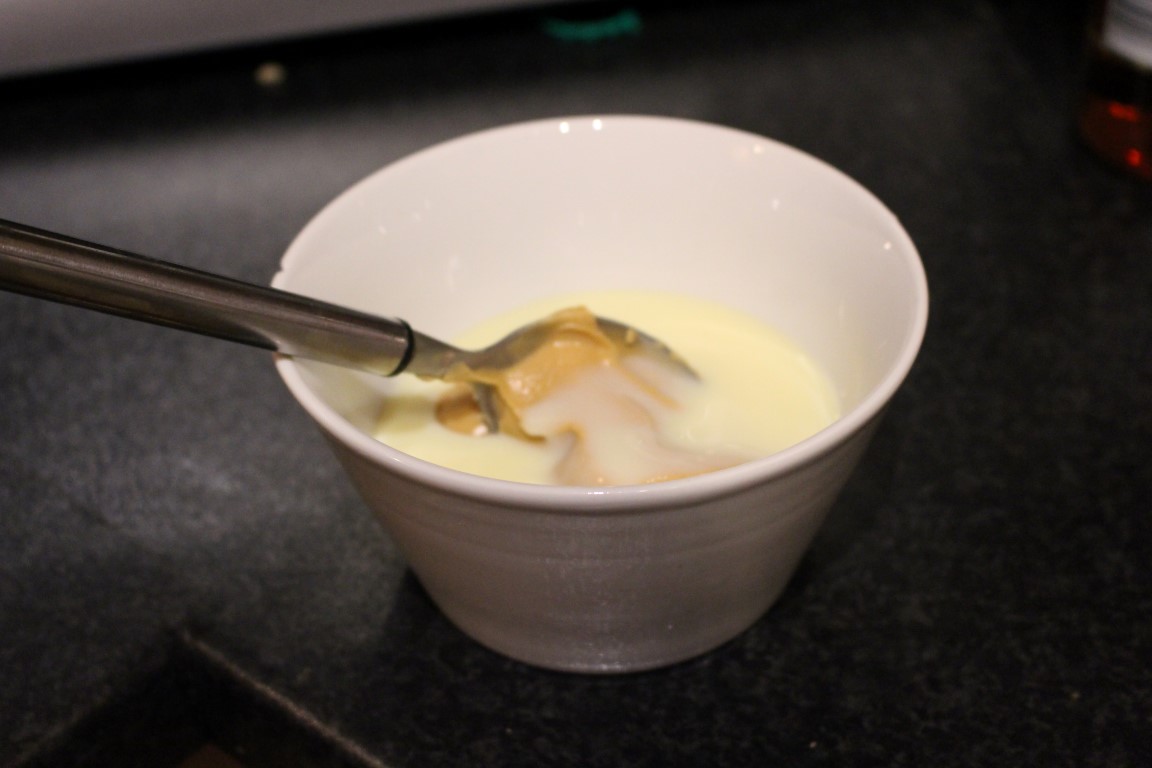
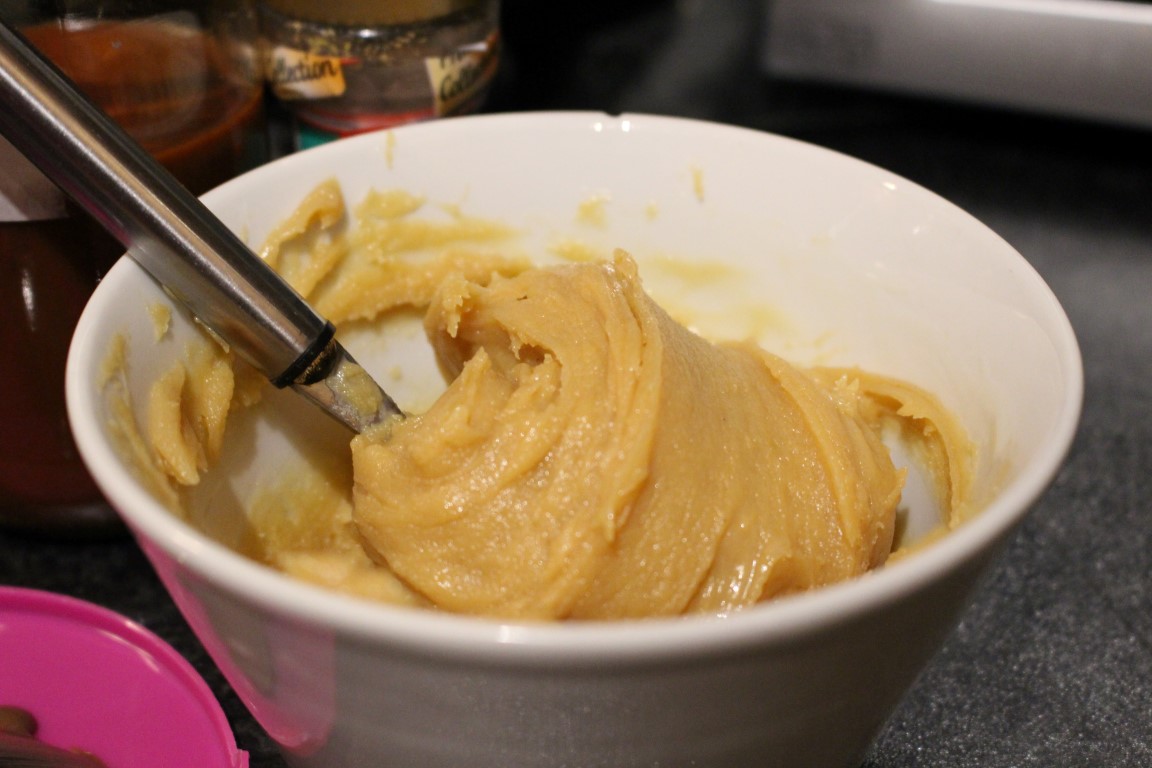
In a seperate bowl add the peanut butter and condensed milk and mix them together until they’re fully combined. This will leave you with a richy, creamy and sweet filling for your moulds.
I told you this was simple!
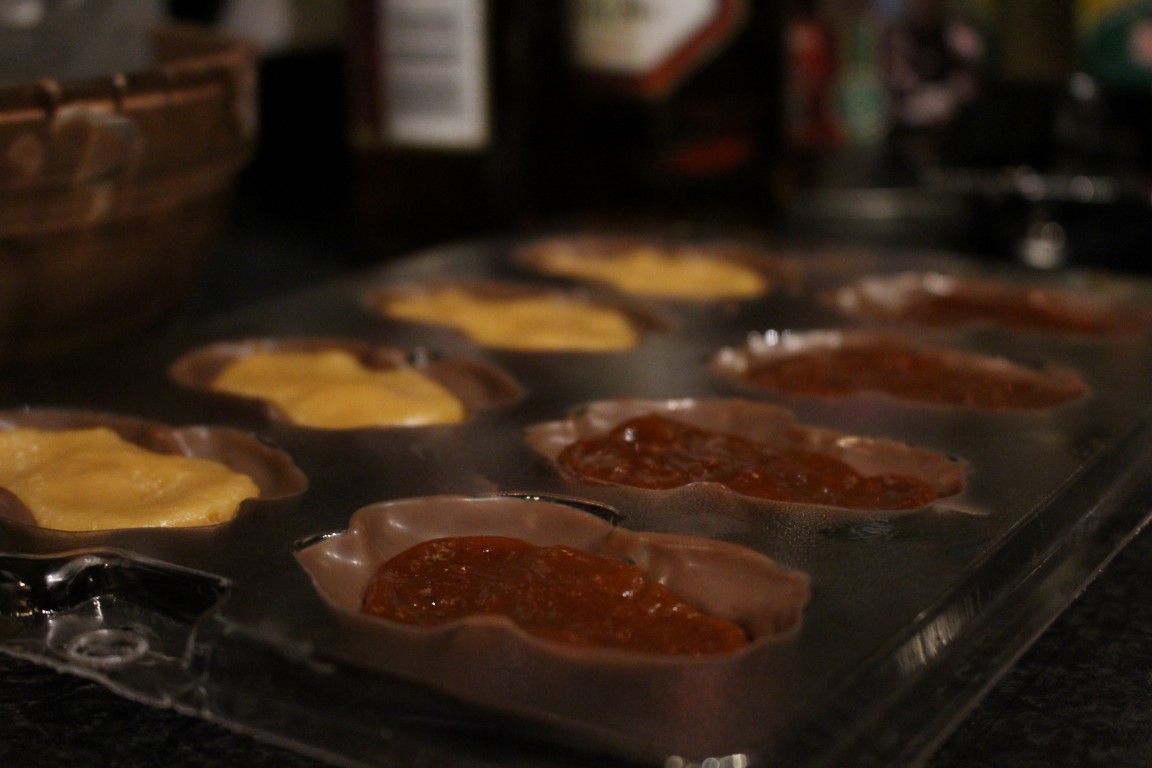
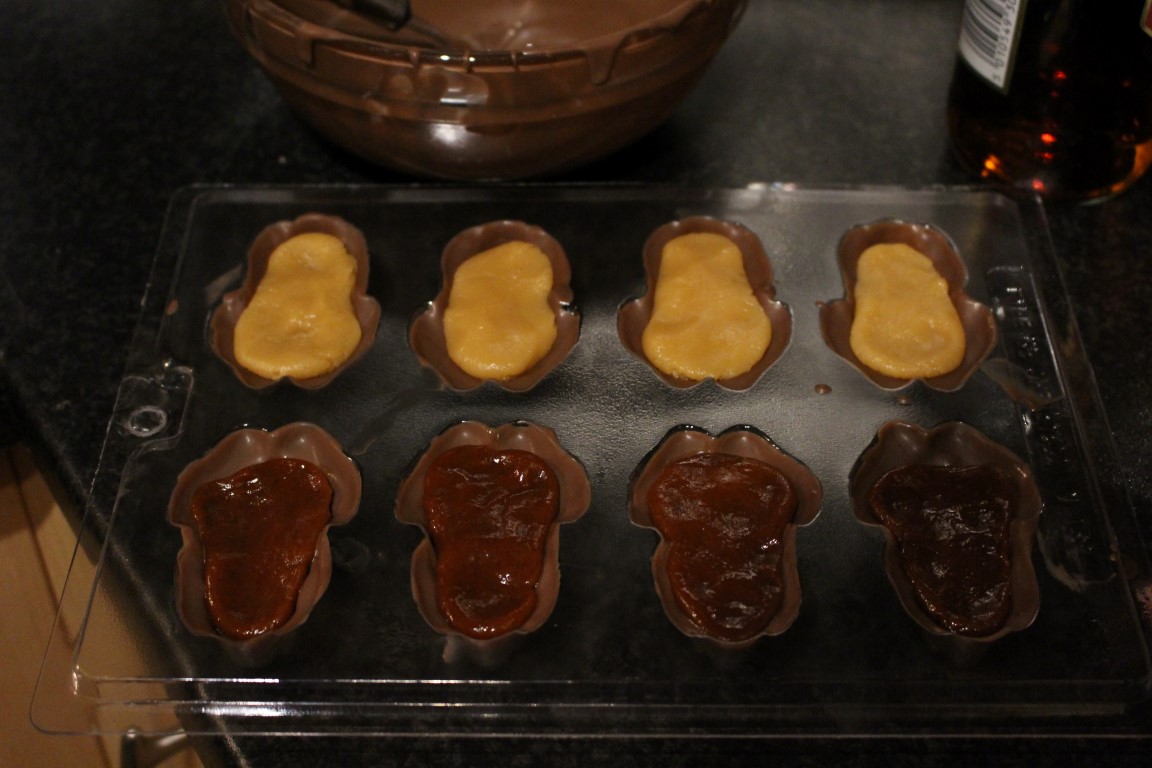
Take the chocolate back out and then proceed to fill the centre of each design with filling. I rolled mine into a ball then spread that out in the mould itself. Once you’re happy with your filling use the rest of the left over chocolate to cover and seal. If you run out, then melt the remaining chocolate and repeat the step.
Place the chocolate into the fridge to set, I left mine alone for a good two hours (it sets much quicker) and then pop them out when done and serve! These are awesome treats for Harry Potter lovers and not even a chocaholic with ranidaphobia couldn’t turn away from!

BONUS ROUND UNLOCKED
Oh thought these were two simple for you? Well fancy kicking it up a notch?
Salted Caramel
DIFFICULTY
Veteran
TIME
20 minutes
INGREDIENTS
200g granulated sugar, 160g condensed milk, 1 tsp rock salt
PROCESS
Okay let’s get this out there right now! I’m terrified of making caramel from scratch! You can buy this in a can if you wish and there’s no shame in that. You can burn yourself pretty badly when melting the sugar and you’re going to need to be careful when working with this recipe.
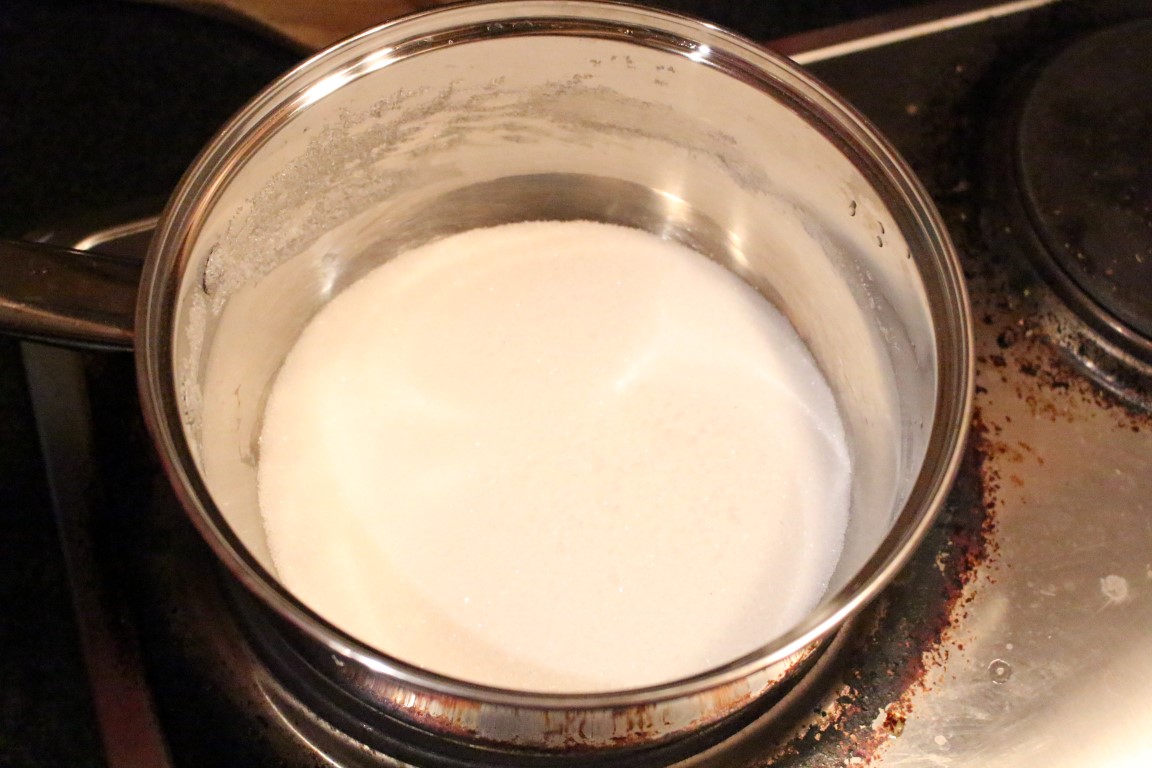
In a heavy set pan, tip the full 200g of sugar in and set it on a medium-high heat and start stirring! You’re going to want to use a wooden spoon and seriously don’t stop stirring! You stop, it burns and your caramel is ruined.
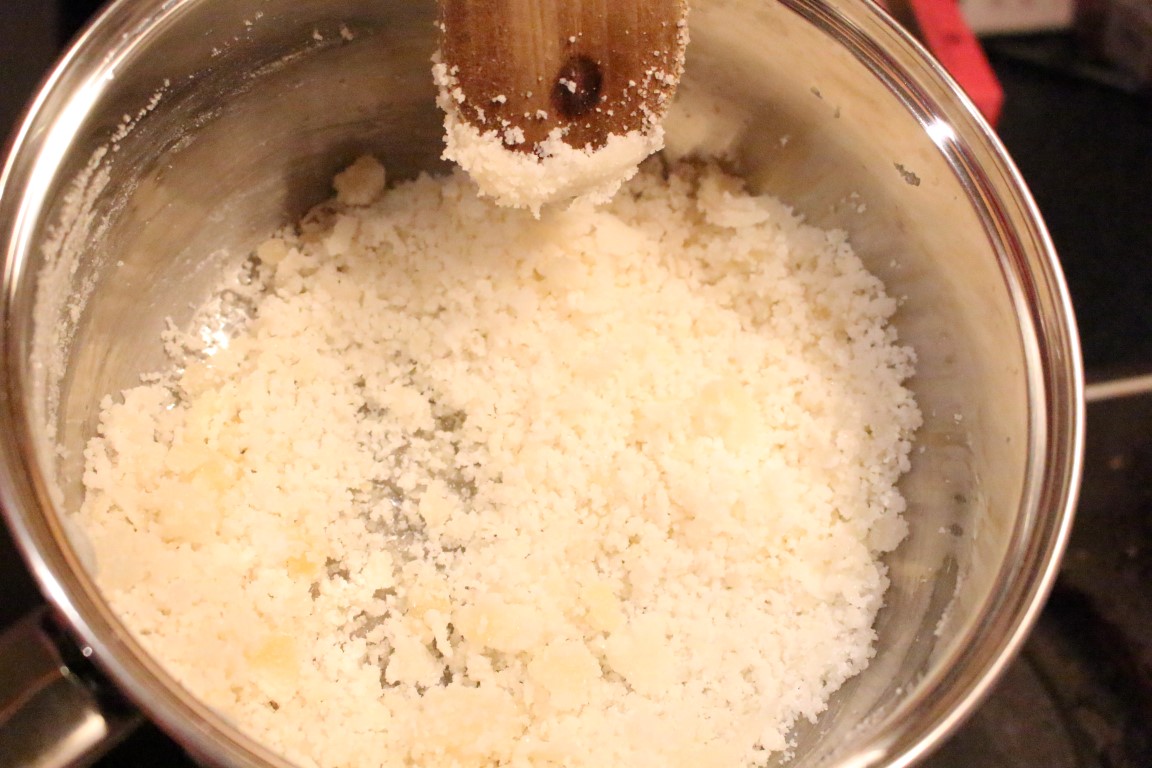
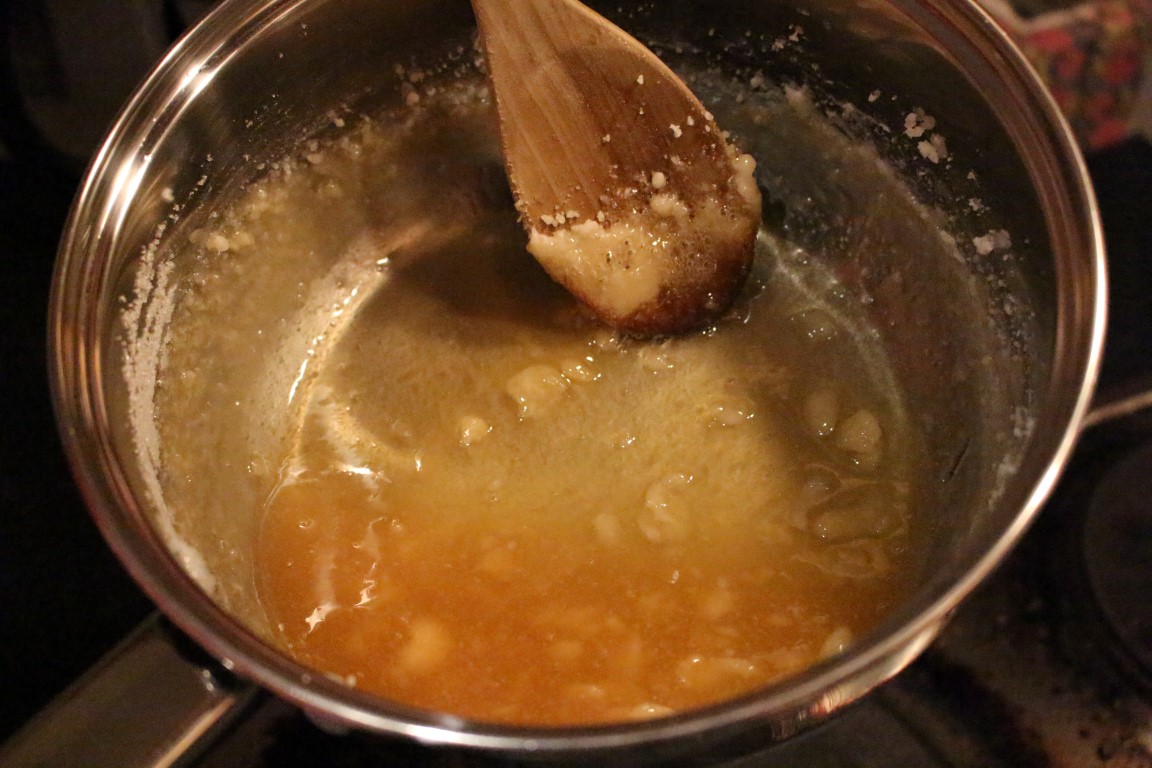
It will start to clump and it will start to brown and then it will start to become a thick liquid. When it turns a deep dark golden brown you’ve got caramel. Later in the week we’ll be using this recipe so think of this as good practice for then.
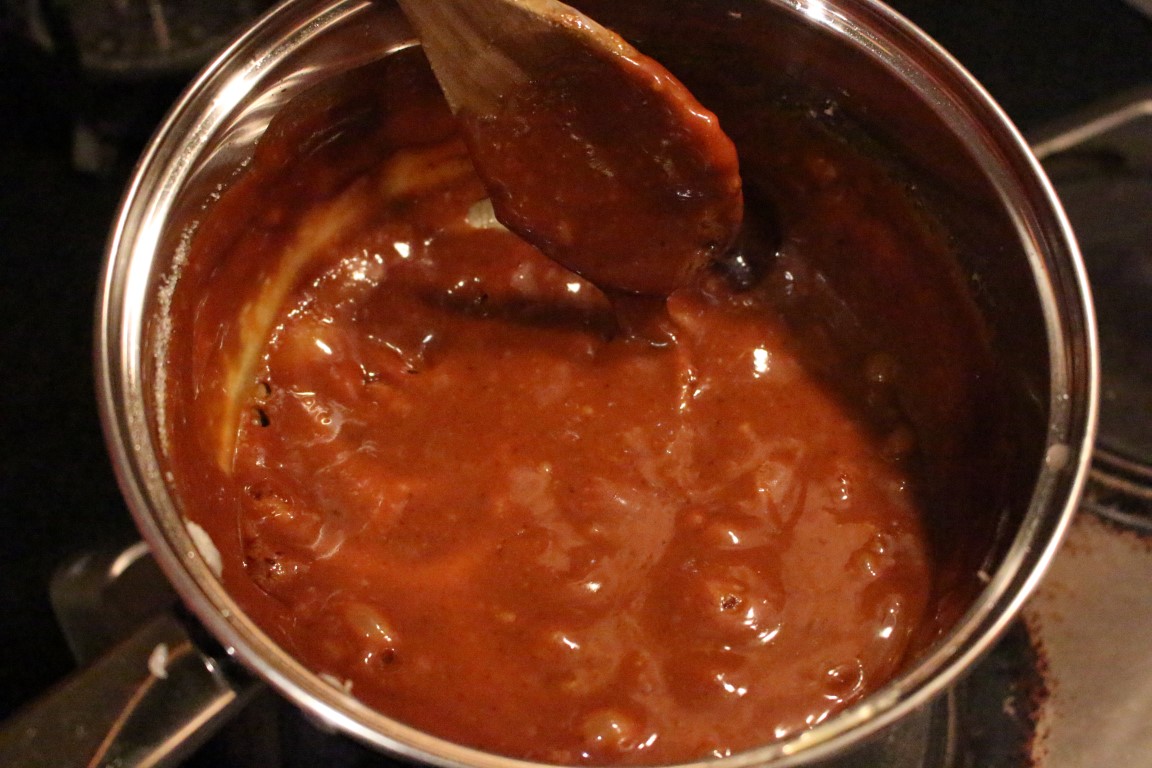
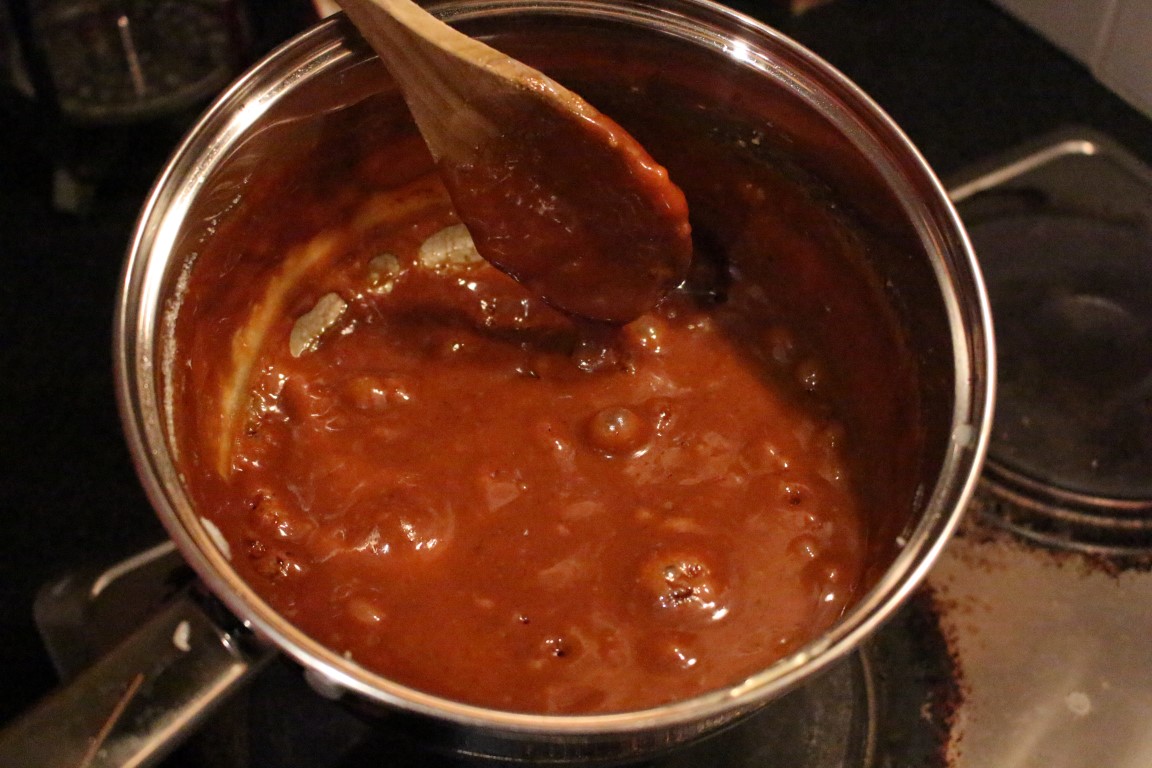
Now reduce the heat and add the condensed milk – be careful! Adding liquid at this point will cause the caramel to hiss and spit and even rise in the pan. Lift it from the heat and keep stirring, it’s going to look a little weird at first but it will taste amazing. Once it’s stopped reacting, add the salt and then pour into a container.
As it cools this will get stiff and you can shape it for your moulds. If you store it in a jar or sealed container, it will keep in the fridge.
To soften, just place in a bath of hot water and it can be used to top treats, hot chocolates or if you’re like me … eaten by the spoonful! Hey! Salted caramel is essential for a growing wizard!
Editor-in-Chief, part-time super villain and hoarder of cats. If you can’t find me writing, I’m probably in the kitchen!