


Let’s get this out there first! I suck at Minecraft, I mean I am awful! I’m terrified of the spiders, terrified of the creepers and terrified of being buried alive under the weight my crappy mud house! I do however appreciate that the game has amassed a huge following and the fact it is used as an educational aid only adds to it’s merit.
I work in an office fulltime during the day and while I’m not surrounded by avid gamers, many of colleagues have children who often ramble on about their latest adventures in mining, building and crafting.
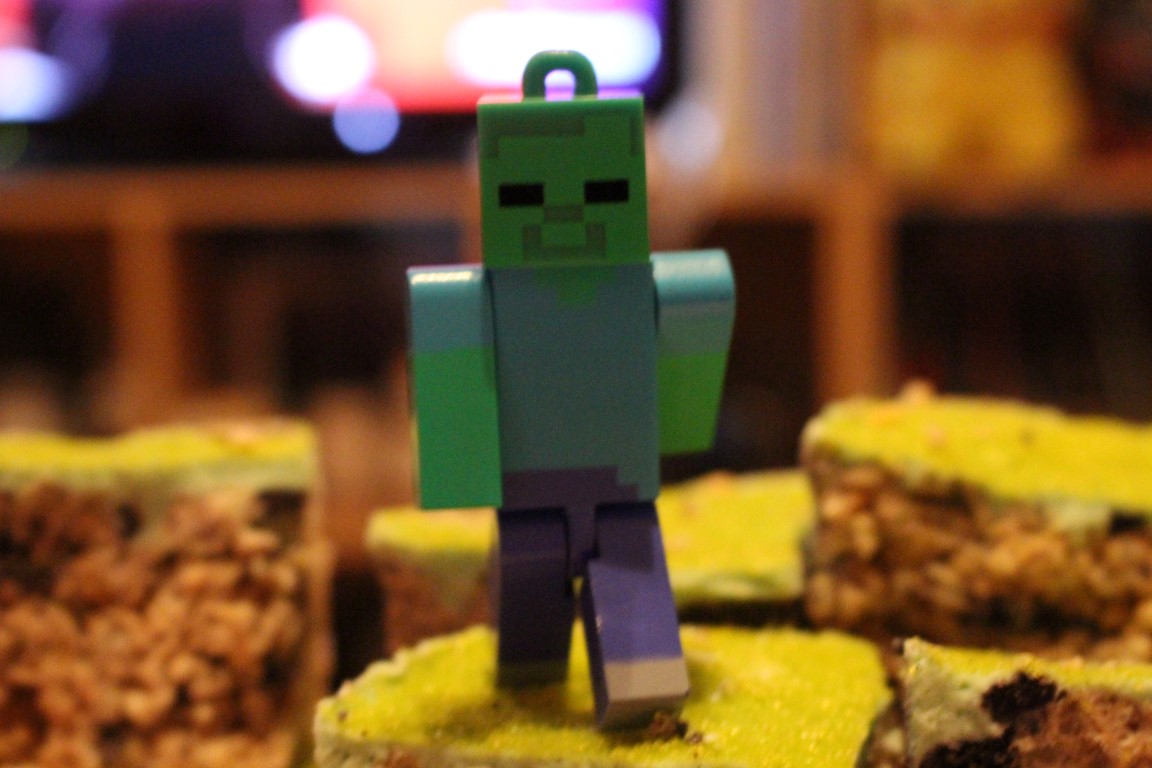
With those little nippers in mind I decided to throw my hands back into the world of Minecraft and create a little delicious homage to the world of blocks!
DIFFICULTY
Easy
 TIME
TIME
30 minutes
INGREDIENTS
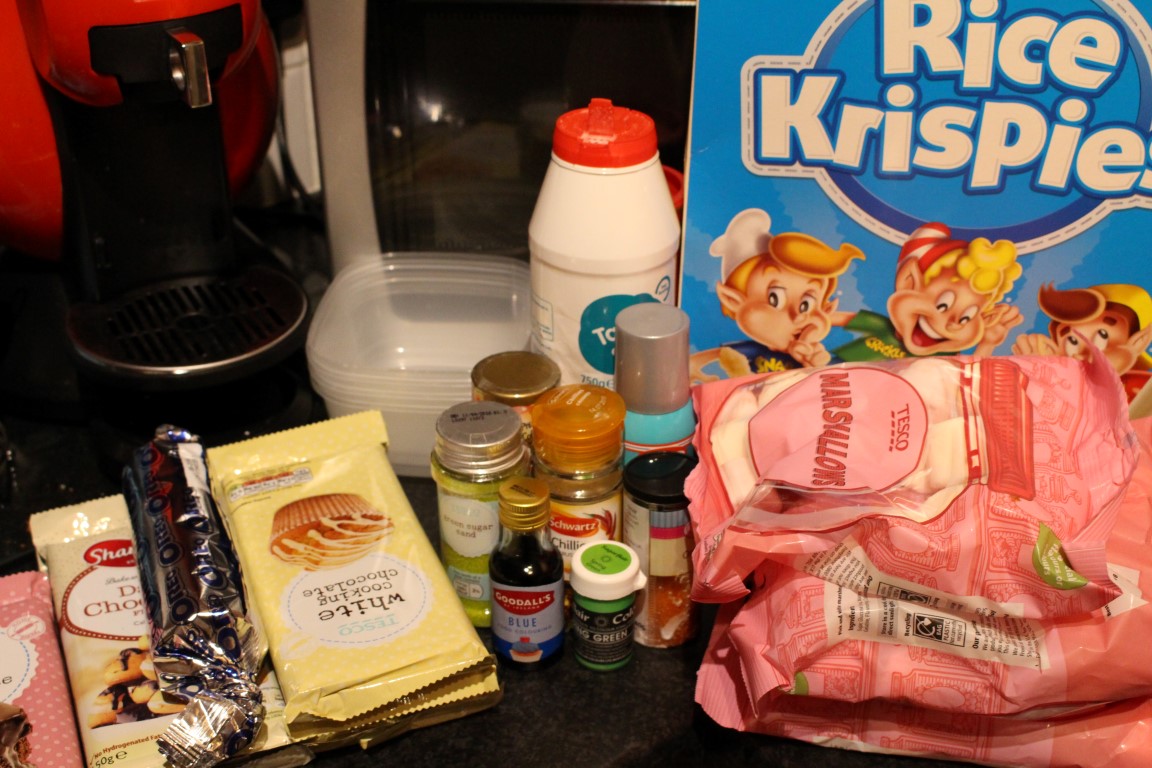
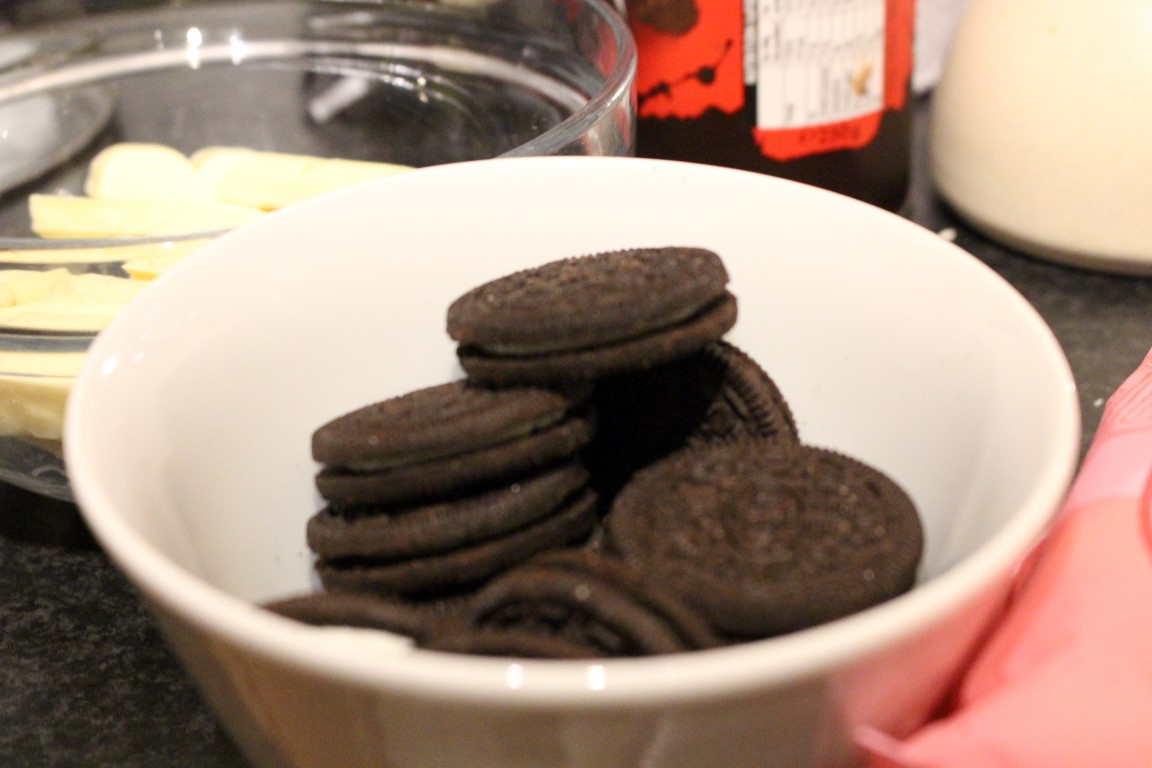
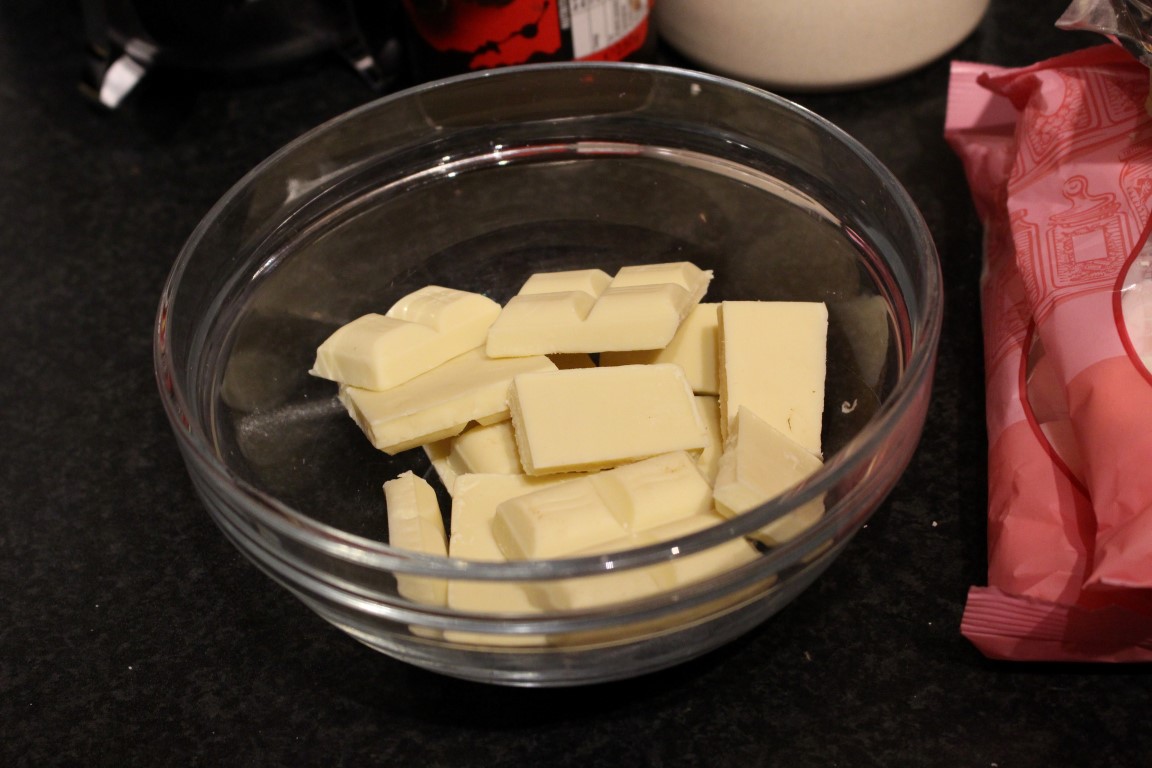
200g marshmallows, 150g white chocolate, 200g rice krispies, 150g crushed oreo biscuits, 1tbsp unsalted butter, green food colouring
PROCESS
This is probably the easiest thing I’m ever going to make on the site! If you have children or nephews/nieces and you want to get them stuck into something other than games or comics then this is a great recipe that the whole family can have fun doing together.
Rice krispie treats are a staple for any kids/adult party/weekend alone with the cat party! If you’ve ever attended a birthday party in Ireland you’ve had some and shoved a few extra into your pants for a snack on the way home.
This recipe will be a twist on those and while I’m taking you through the ropes of the ‘Grass Block’ from Minecraft, you can mix it up to make anything. I’ve even used this as a prop in an Attack on Titan birthday cake… the titans might have a hard time knocking a wall but I can devour one in no time!
Moving on!
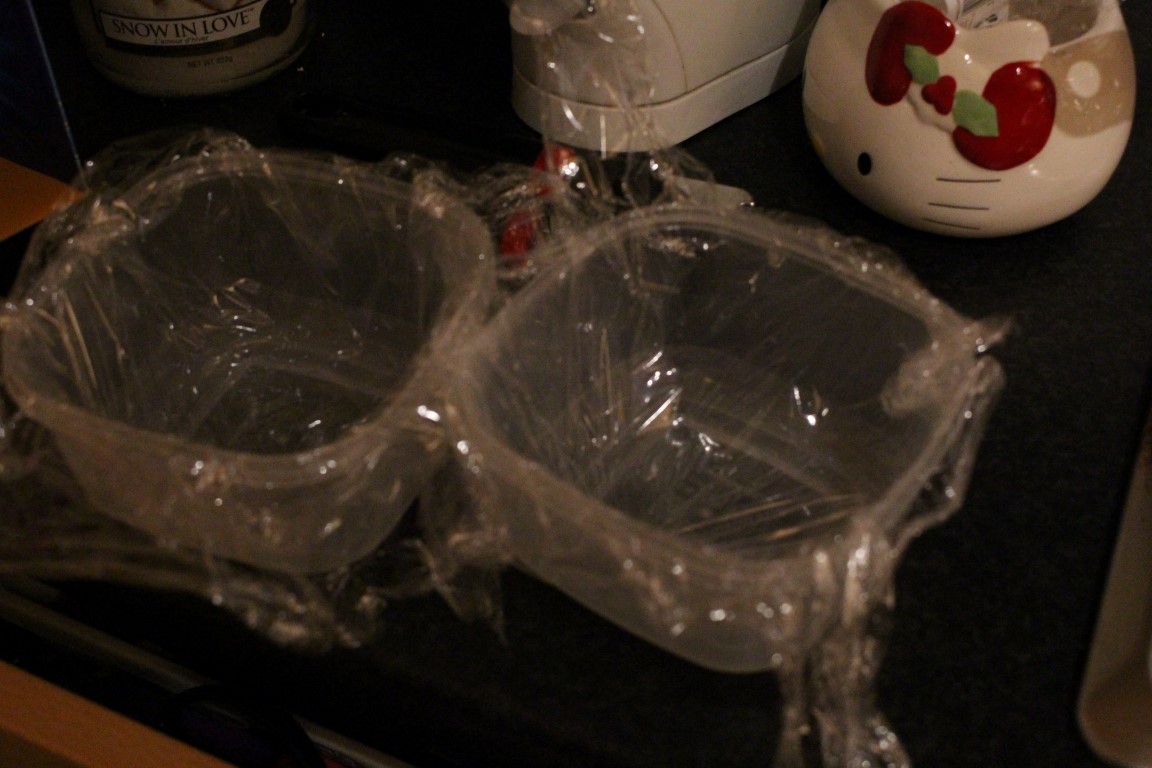


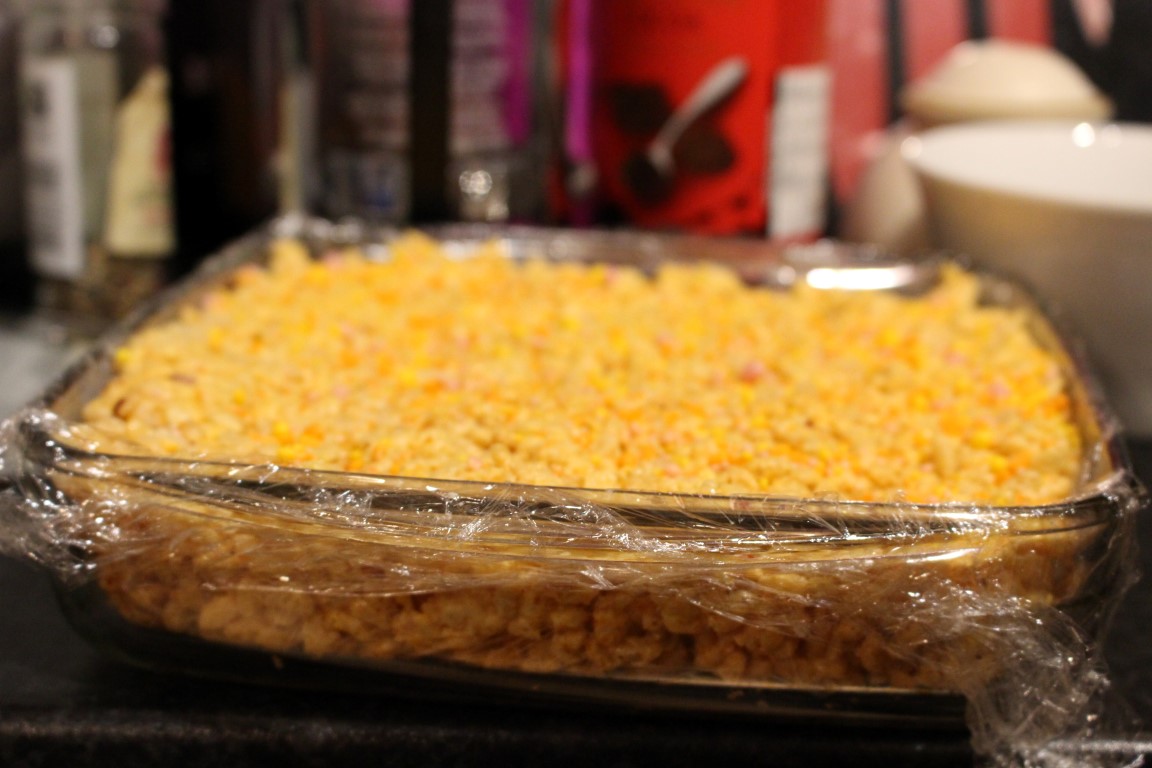
You’re going to want to start by lining your tins or holders – you’ll need something deep and square in shape. I picked up three plastic boxes in Tesco for about €3 and they’ll be used for more than just making krispie treats. Using clingfilm will save you time on cleaning chocolate up later and make it easier to remove the bricks once they’re set.
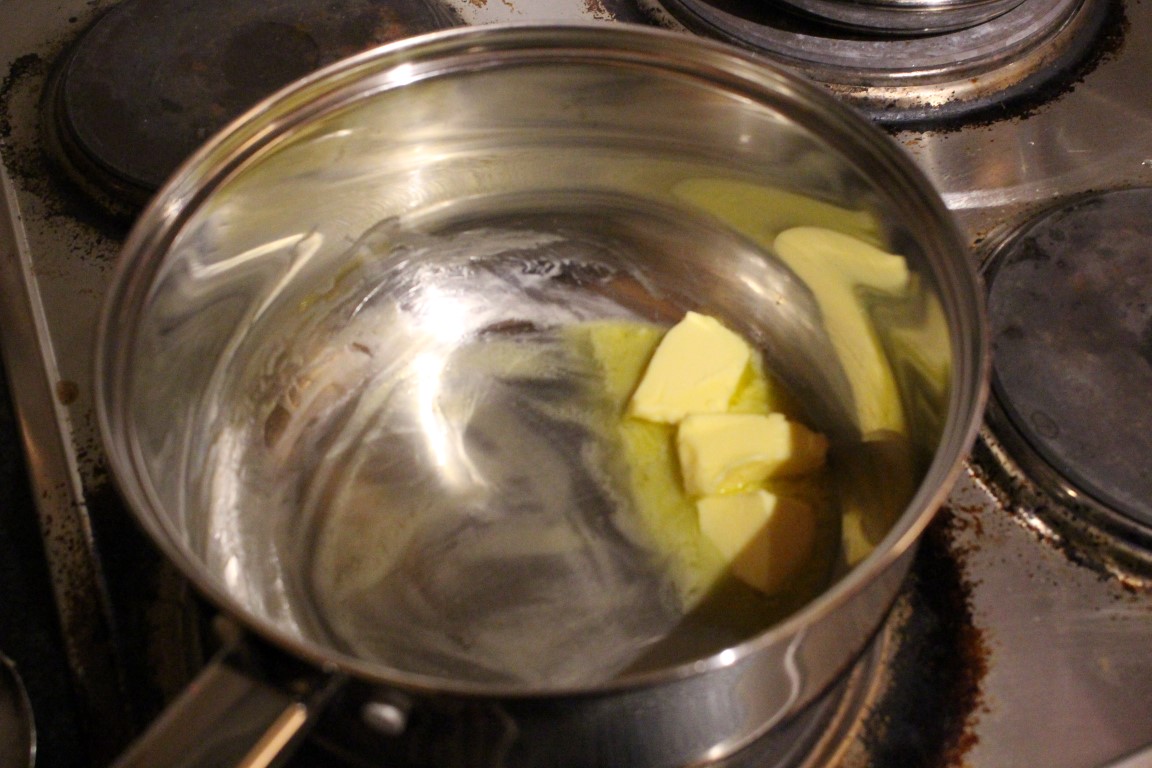
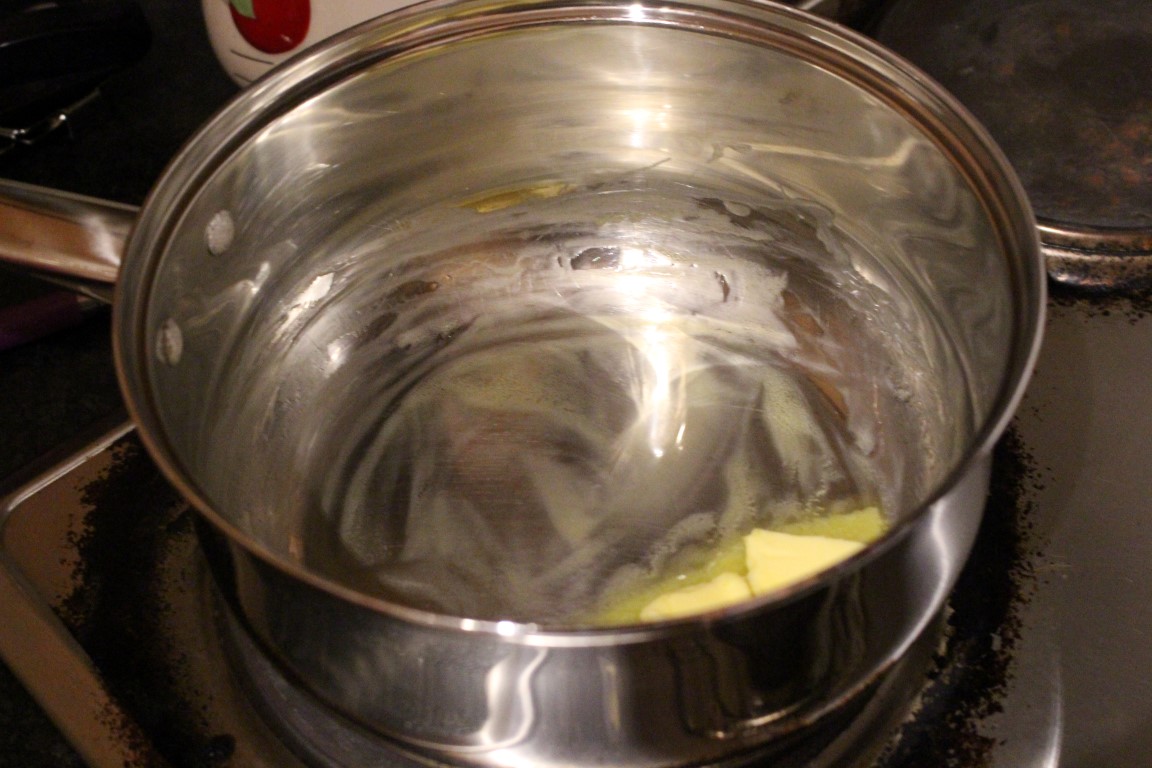
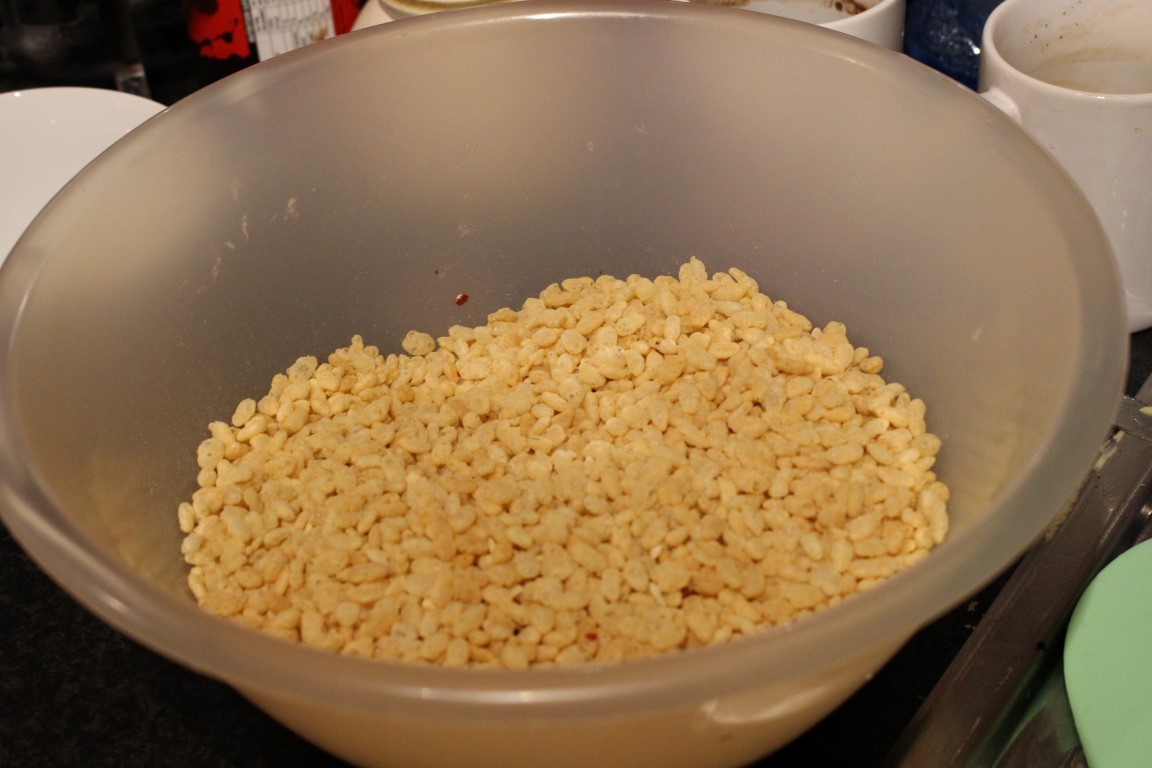
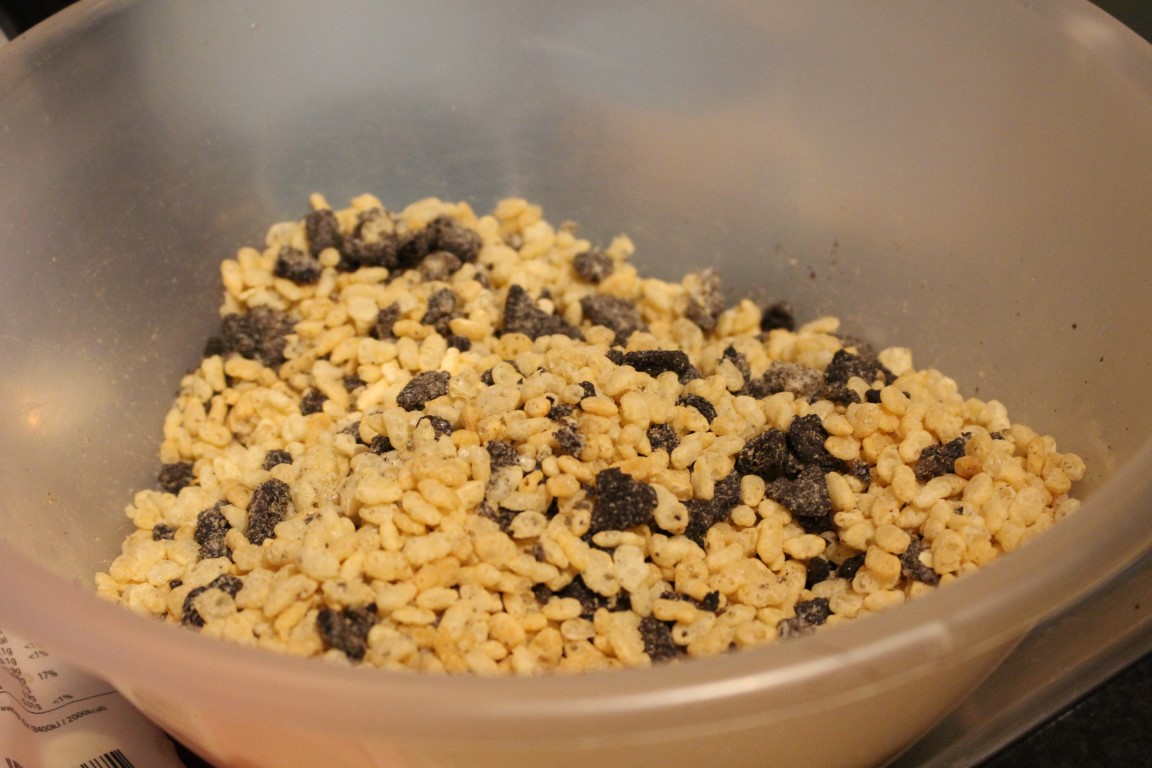
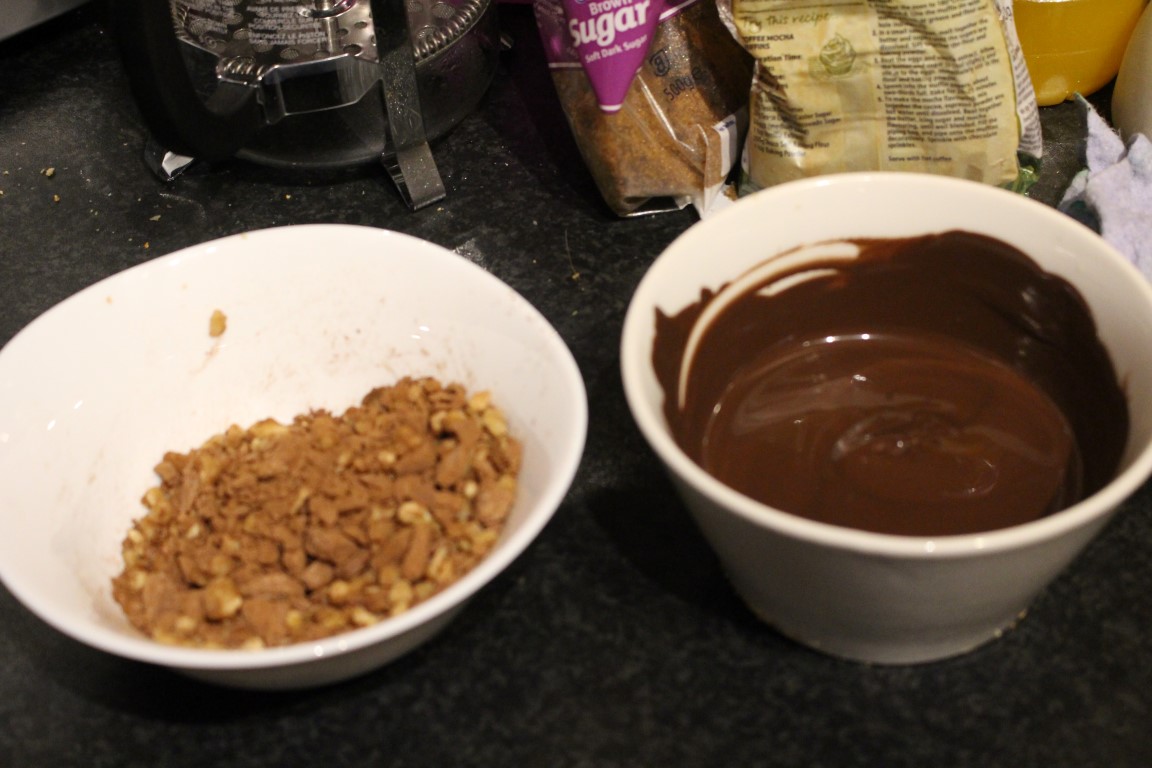
In a medium sized saucepan melt your butter on a medium-low heat. While that’s melting, weigh out your dry ingredients, crush the biscuits and combine them with krispies. You can set a second pan half filled with water on a back ring, you’ll need this for your chocolate.
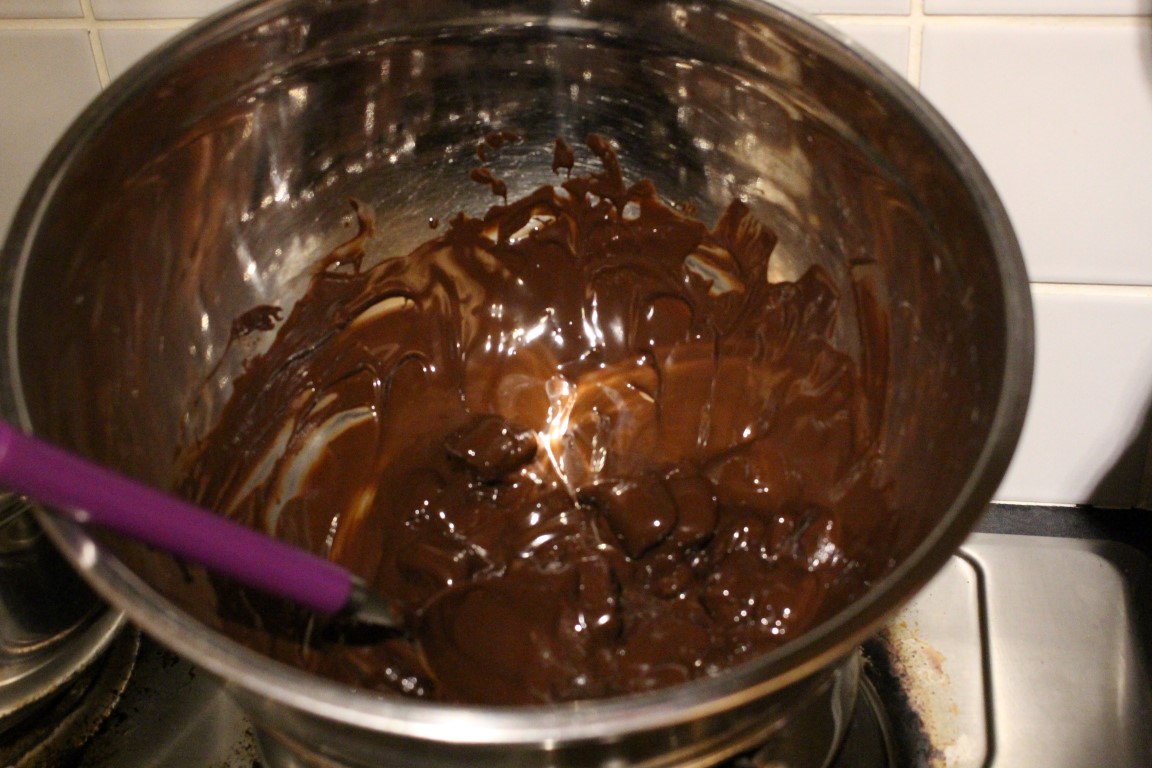
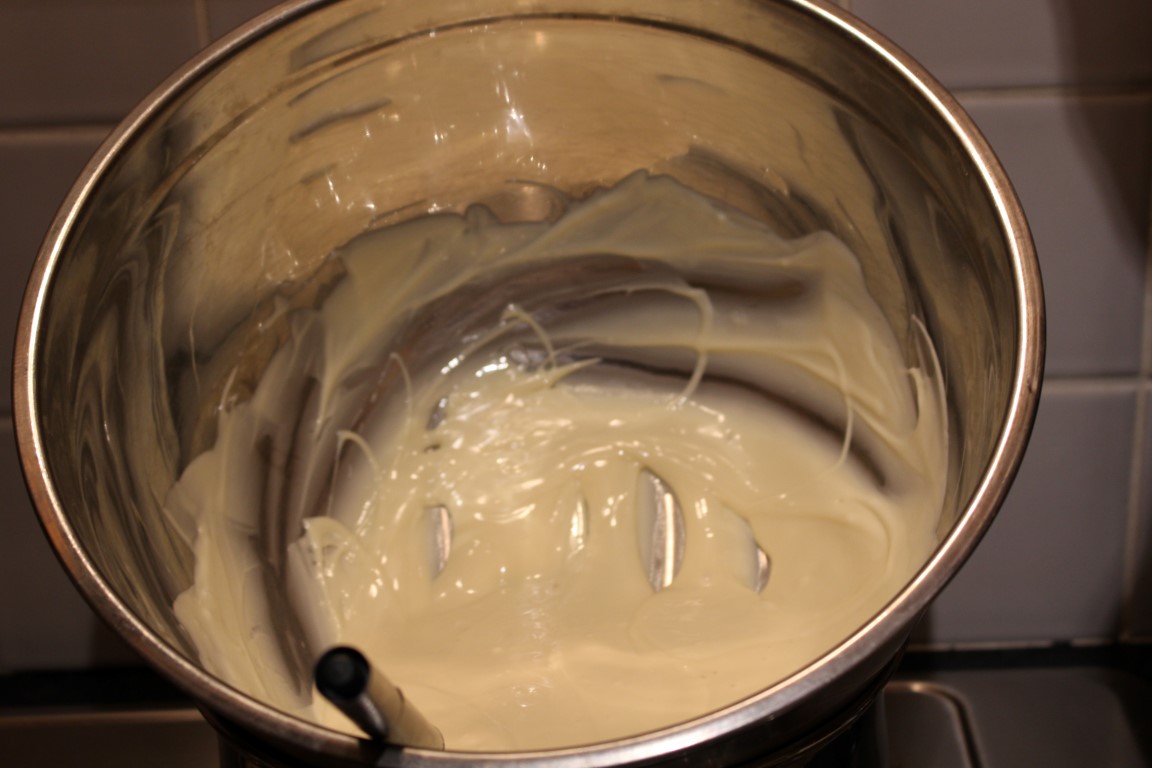
Once the pan with water begins to steam, place a large bowl on top and add the chocolate – be careful not to get any water in the bowl as this will ruin the chocolate. You can also use a microwave to melt the chocolate if you want to save time, just follow the instructions on the back of the bar.
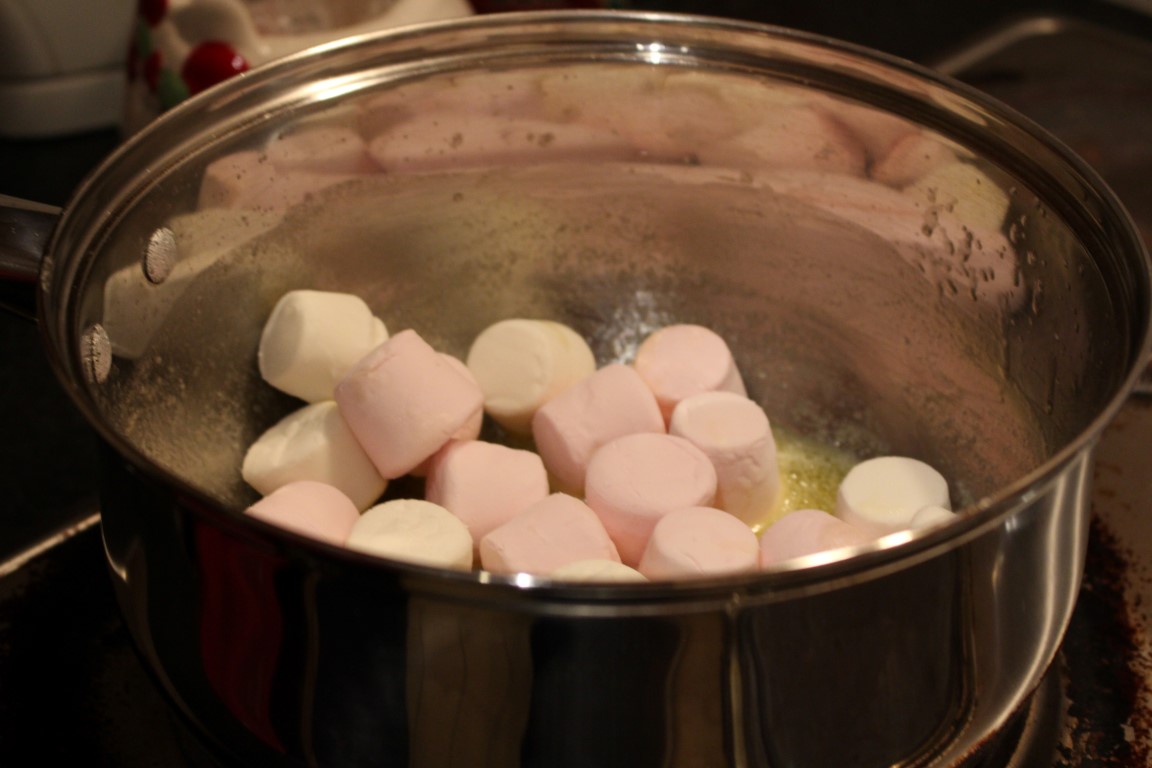
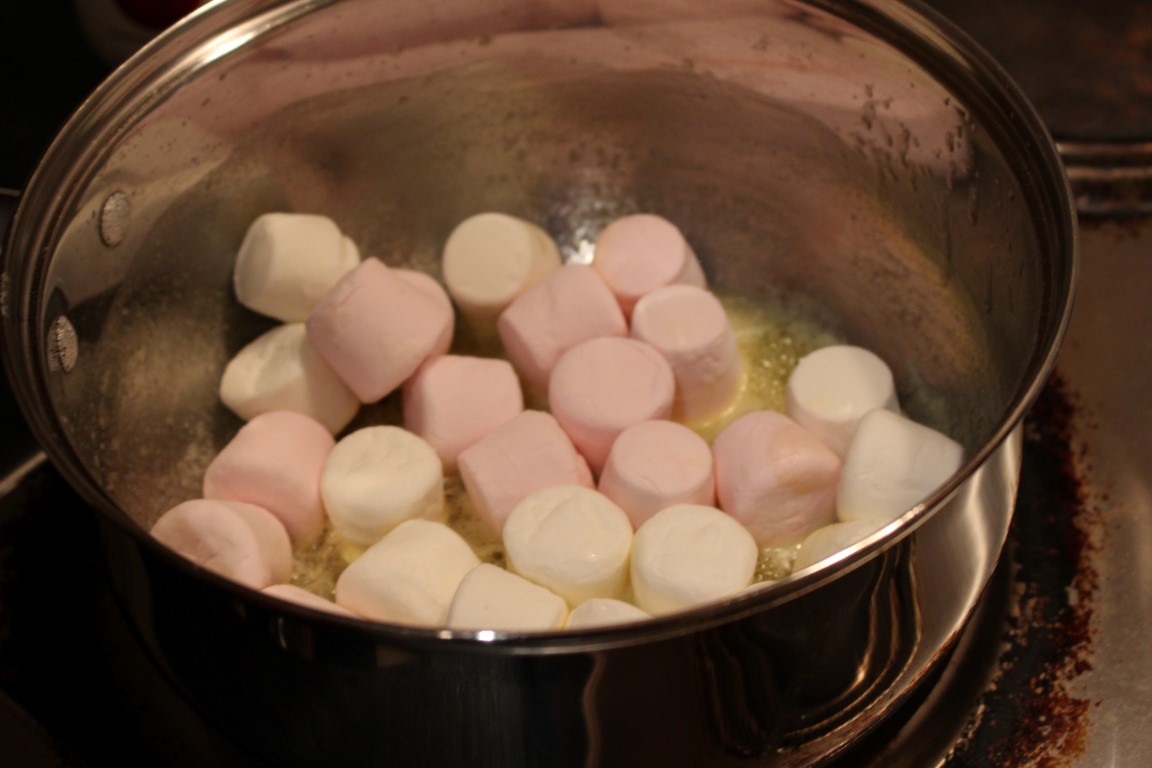
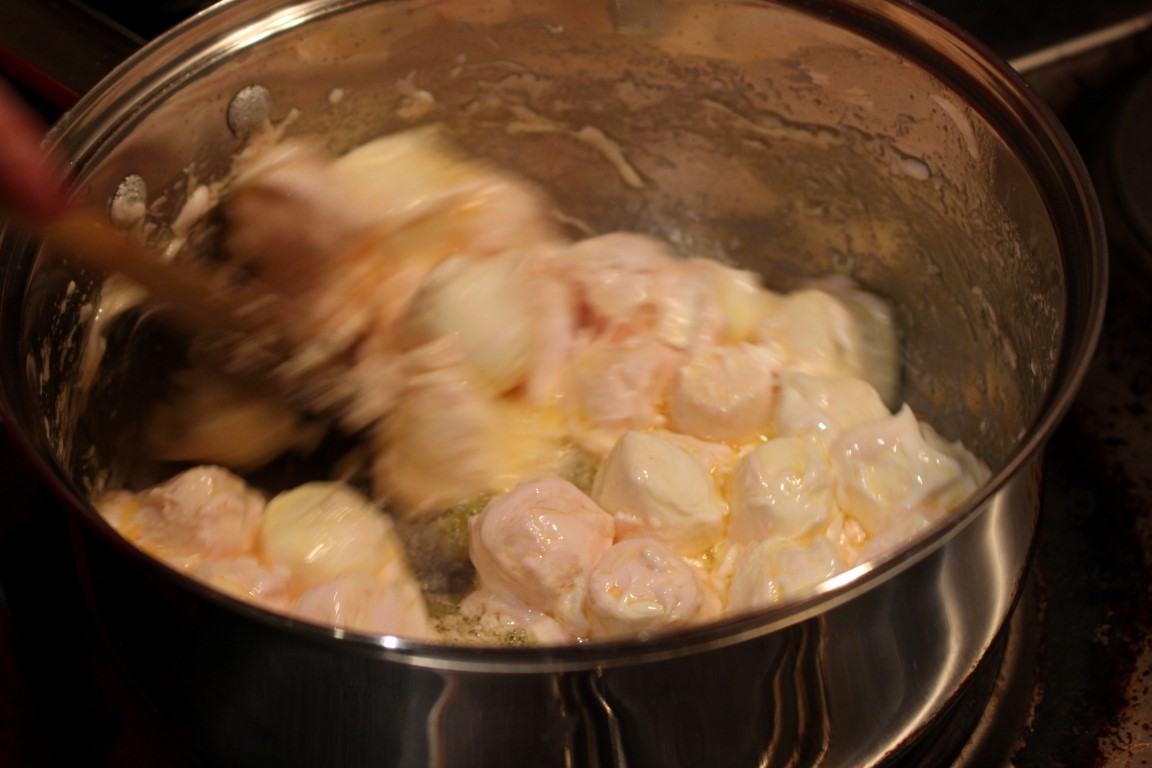
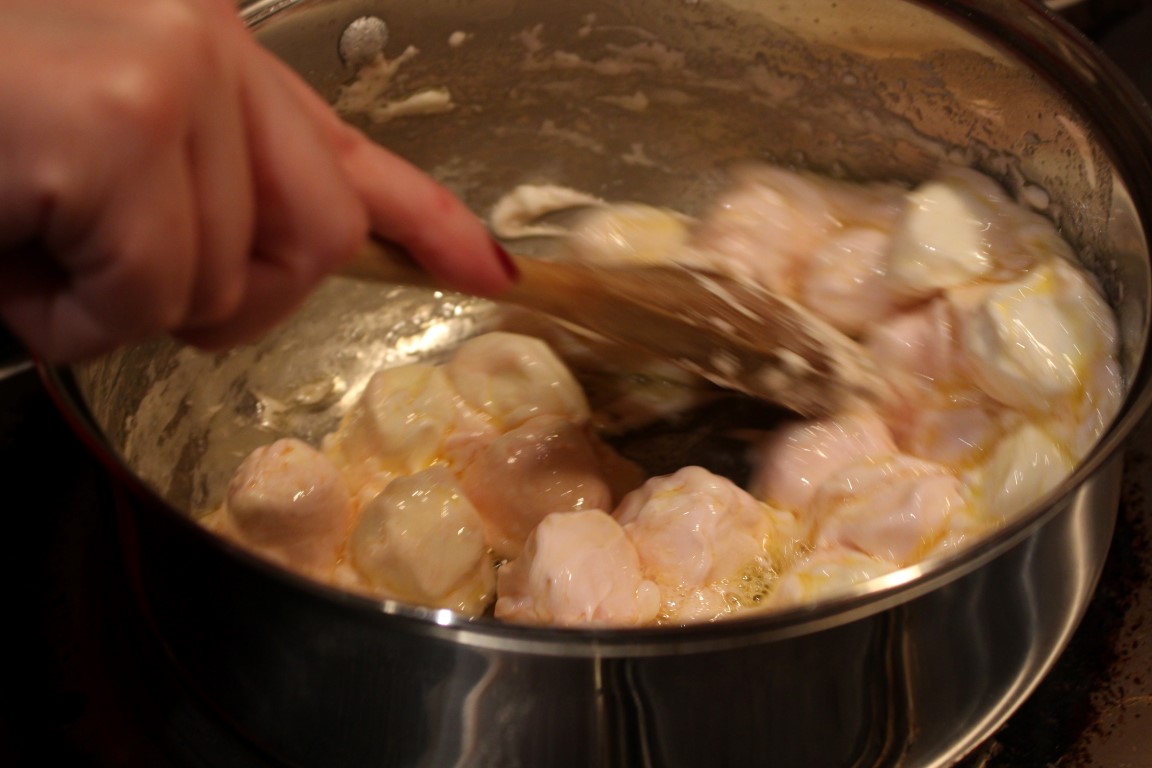
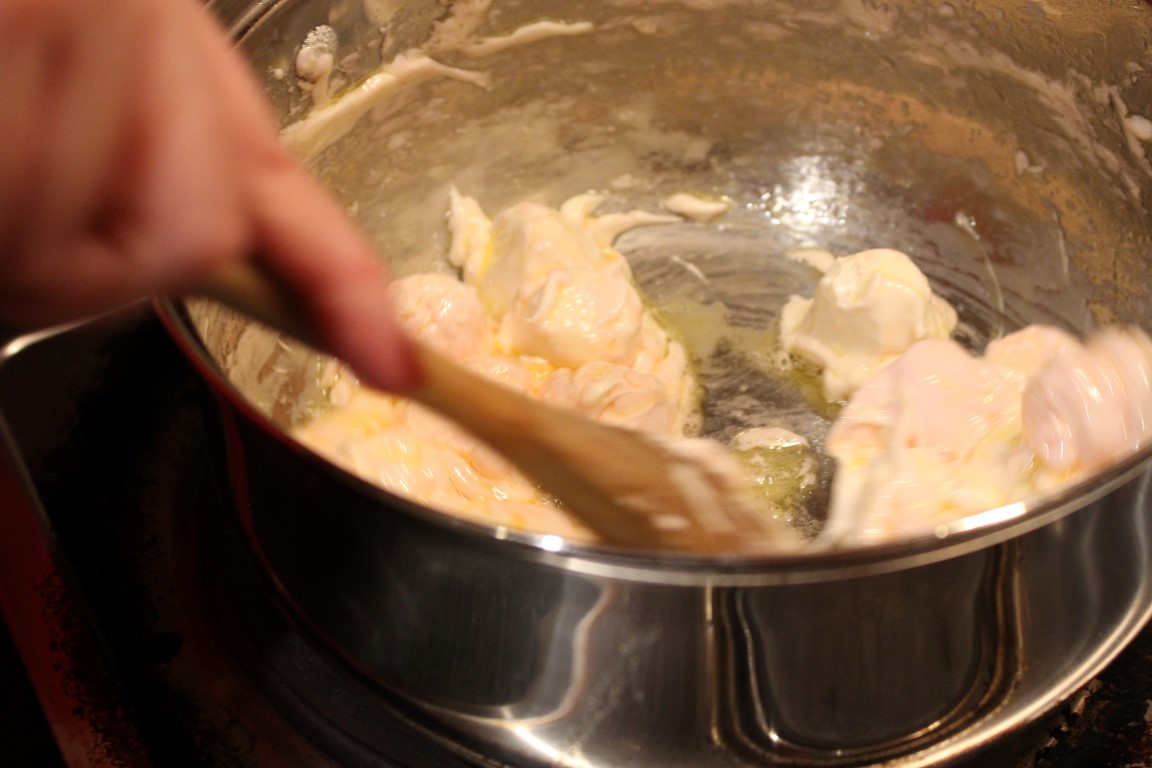
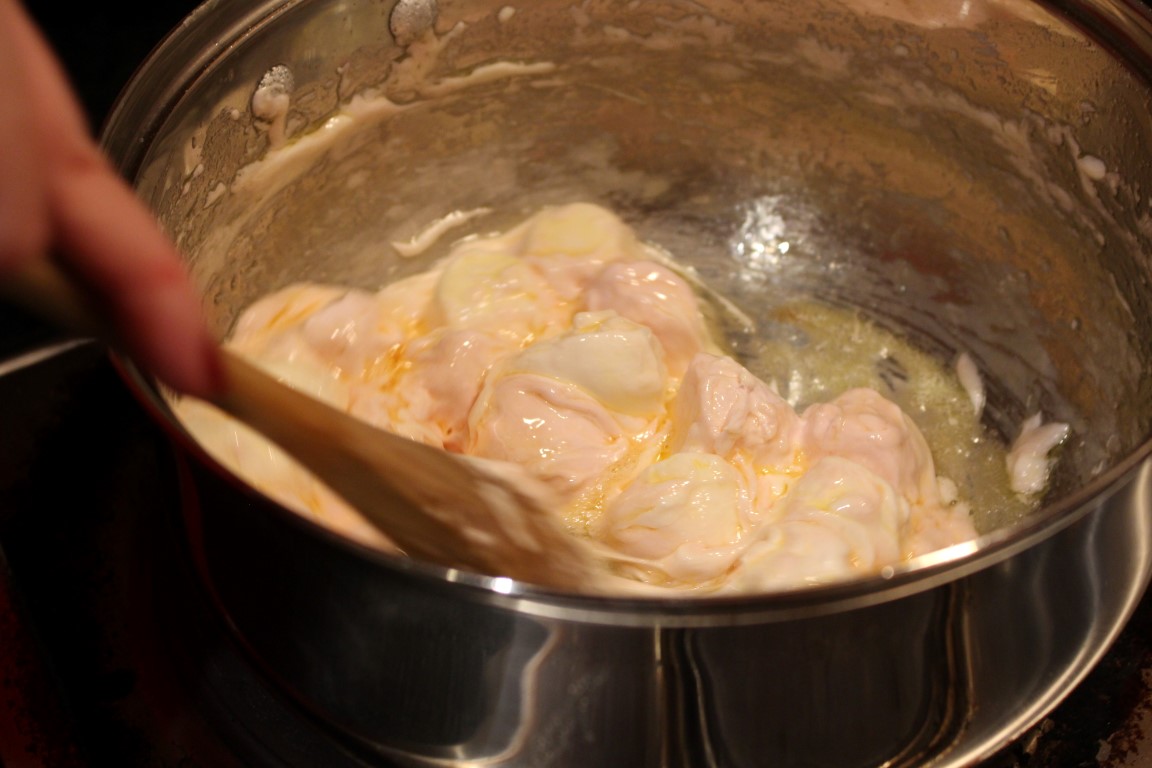
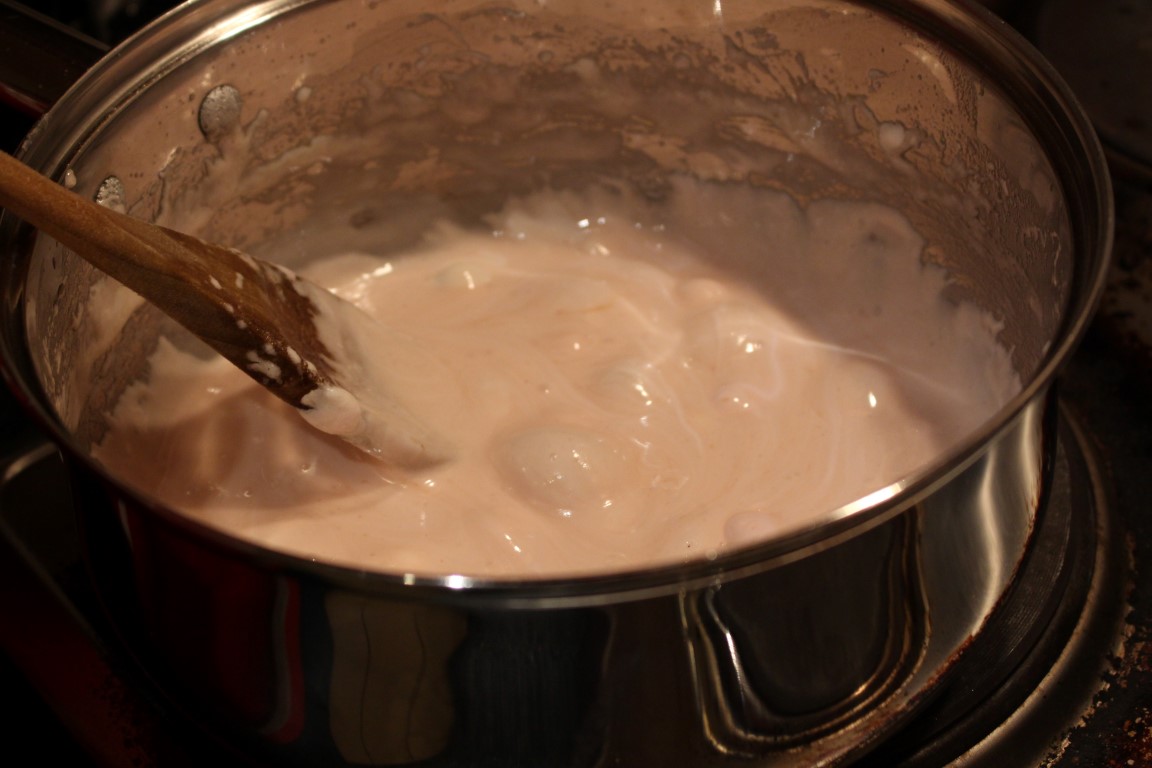
While the chocolate melts, use a spoon to stir your butter, bringing up the sides of the pan, this will prevent the marshmallows sticking to the pain. Add your marshmallows to the melted butter and keep stirring until they’ve melted entirely. You can’t stop stirring at this point as doing so will cause them to stick and burn.
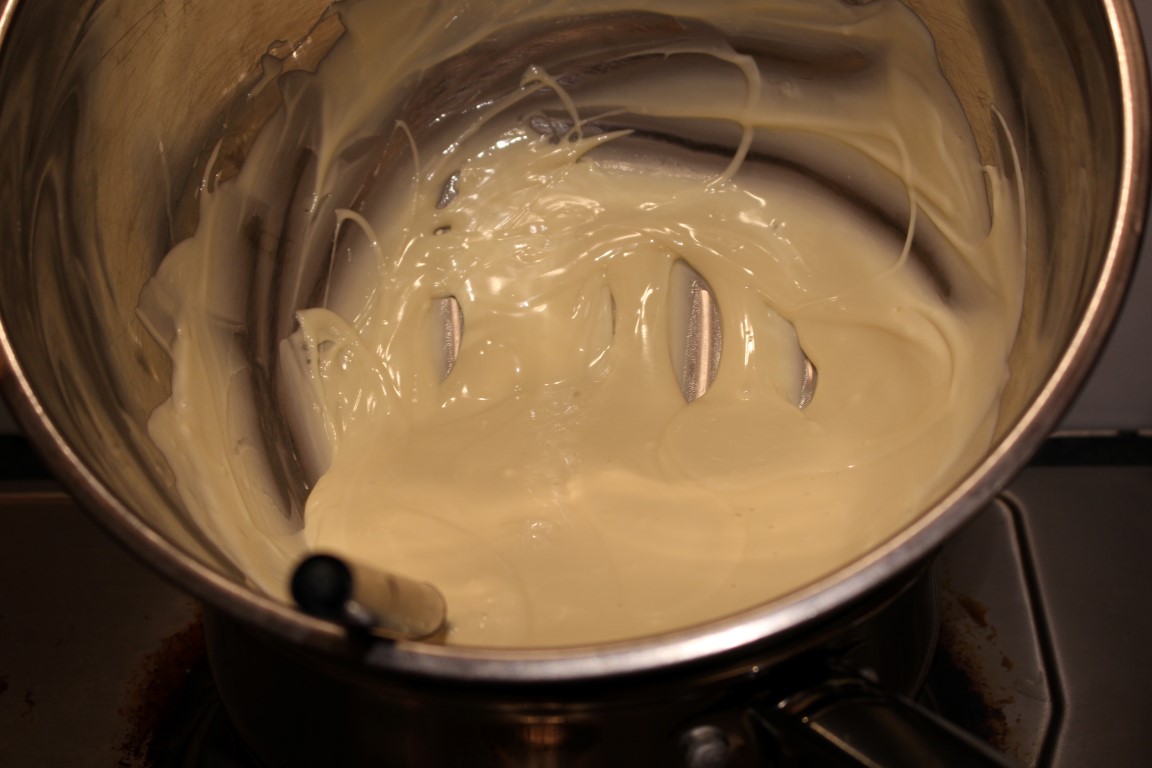
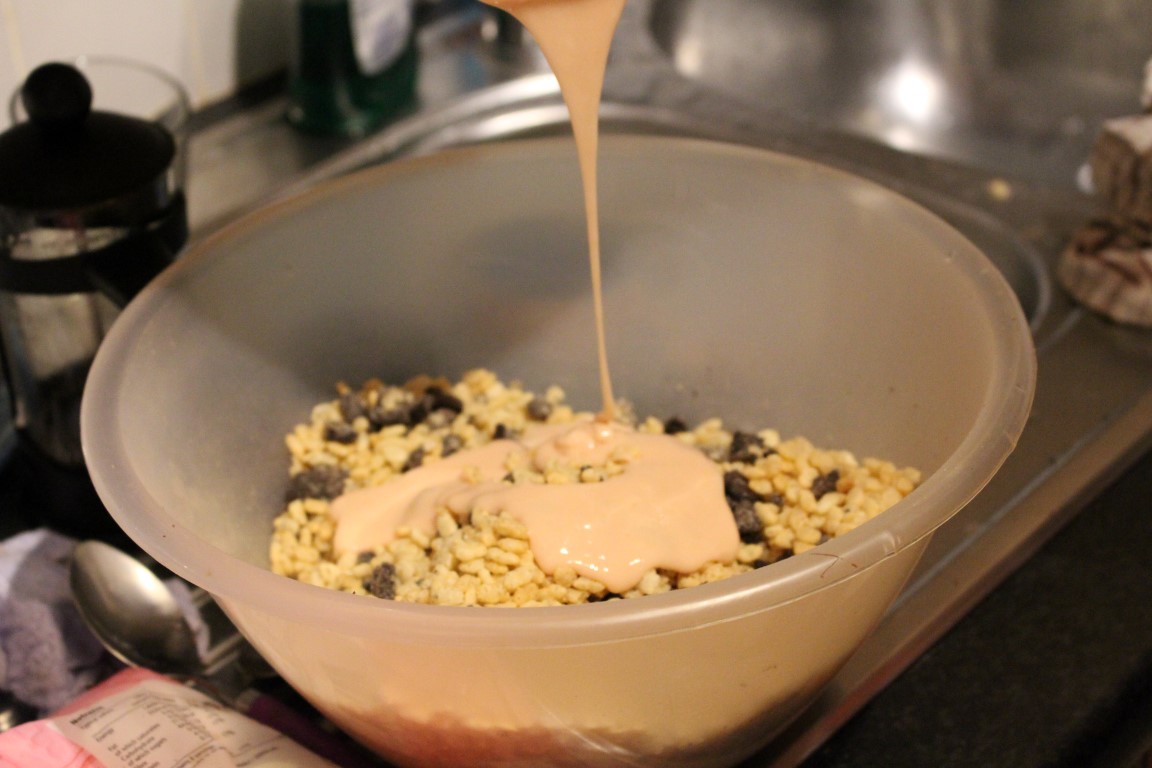
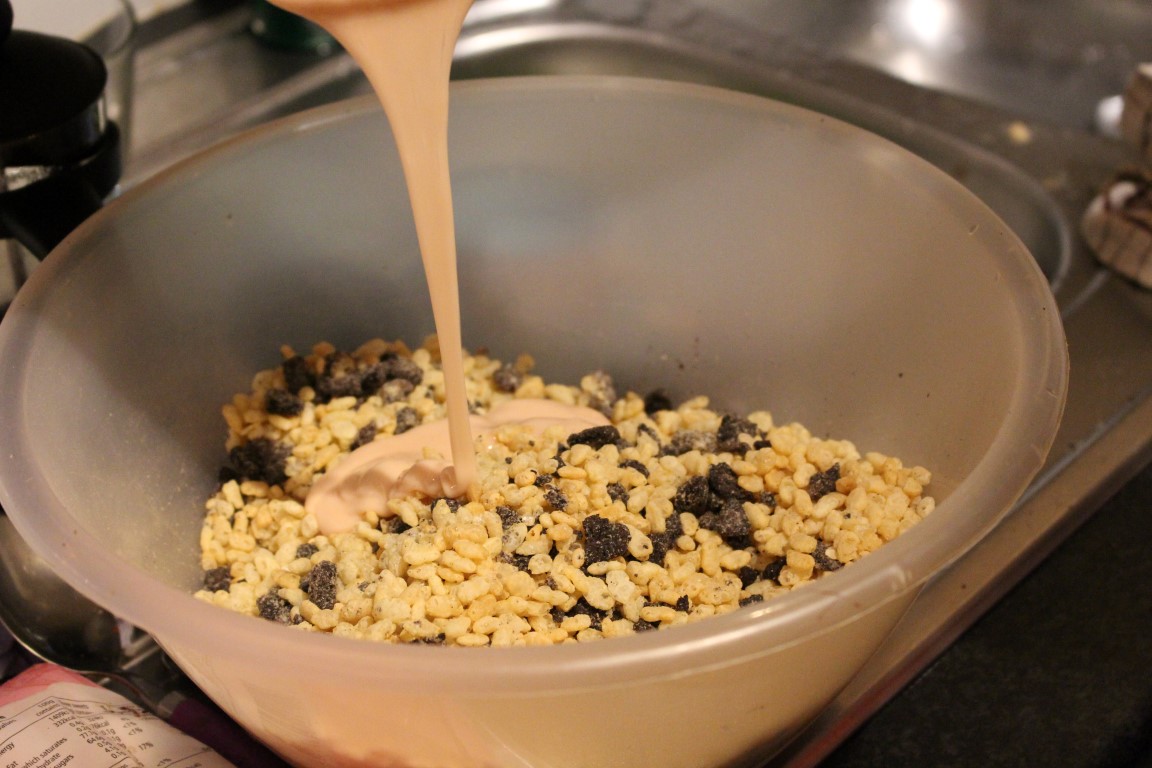
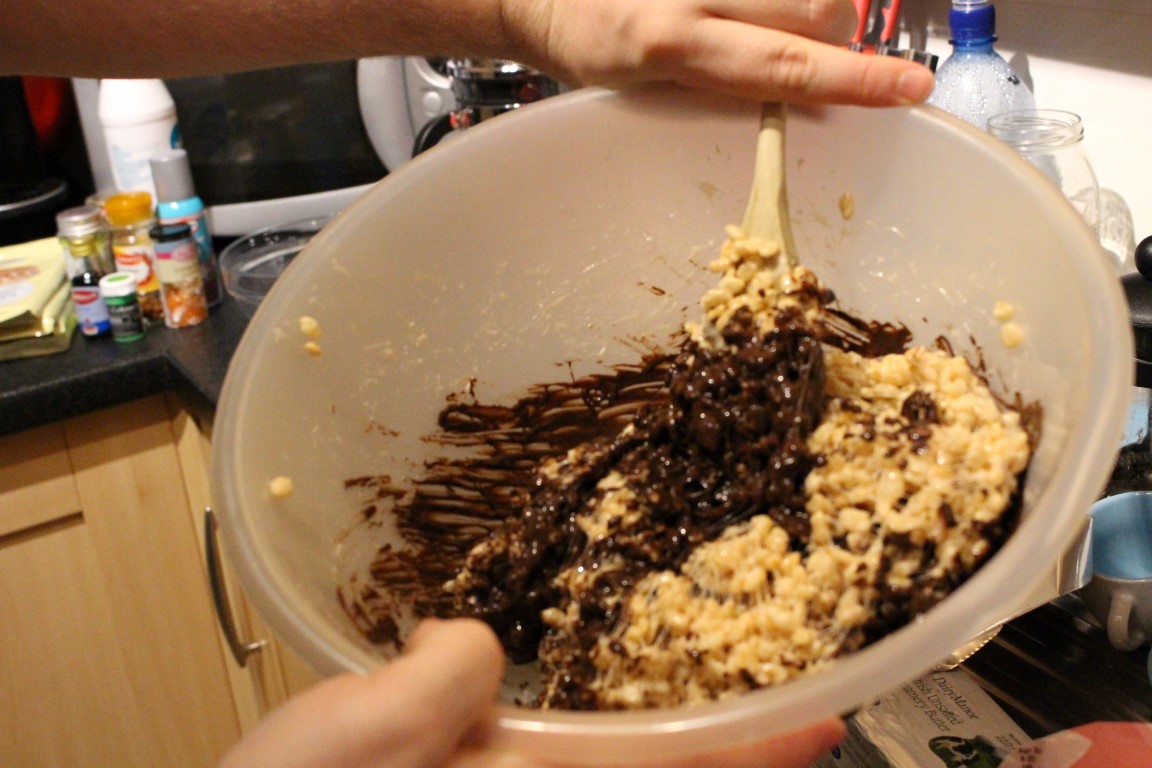
Both the chocolate and marshmallow should be melted at the same time, lift the bowl with chocolate from the heat and set aside. Then pour the melted marshmallow over the dry ingredients, stirring it in and making sure all the krispies get a good coating. Next you’ll pour the melted white chocolate into the bowl, keep some to use for colouring the grass, and again make sure that they get a good coating of chocolate.
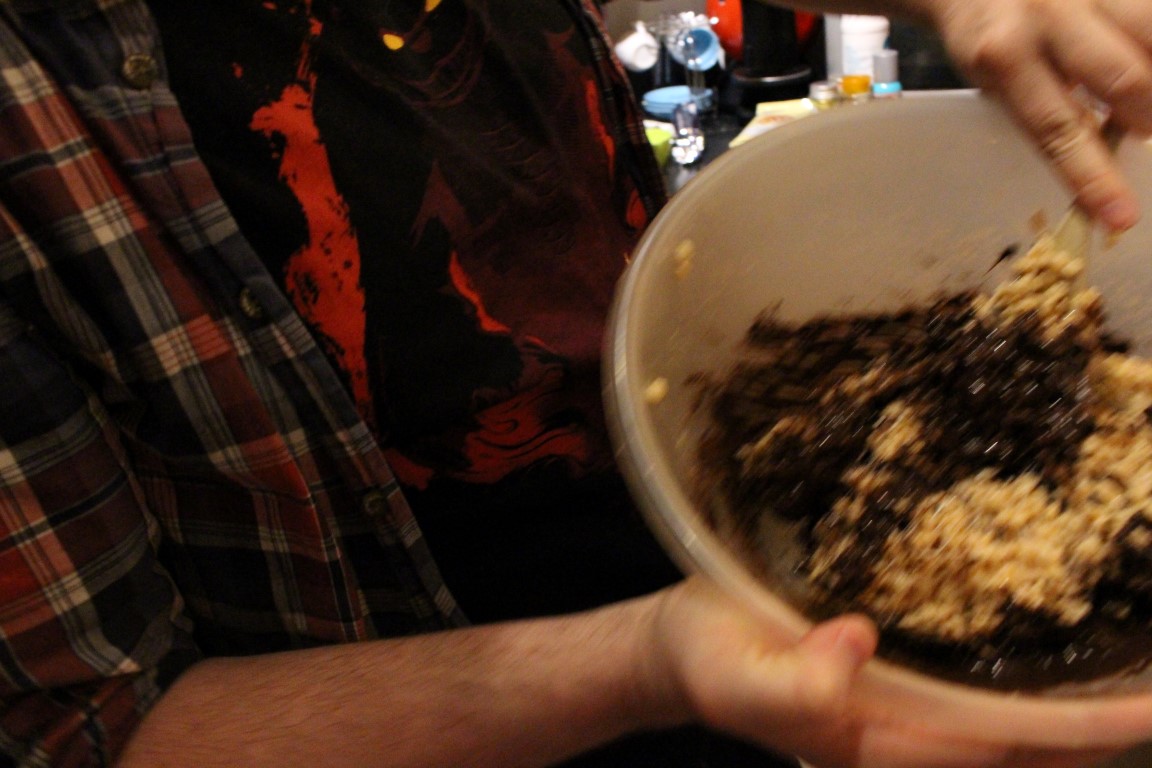
Using a big spoon lift heavy dollops of the mixture and place into the containers pressing it into the shape of the container. If you’re working with kids and you want to get a little more hands on, take some butter and rub into your hands, then they can pick up handfuls of the mixture and press into any shape they want. As a rather big child myself, I prefer this method!
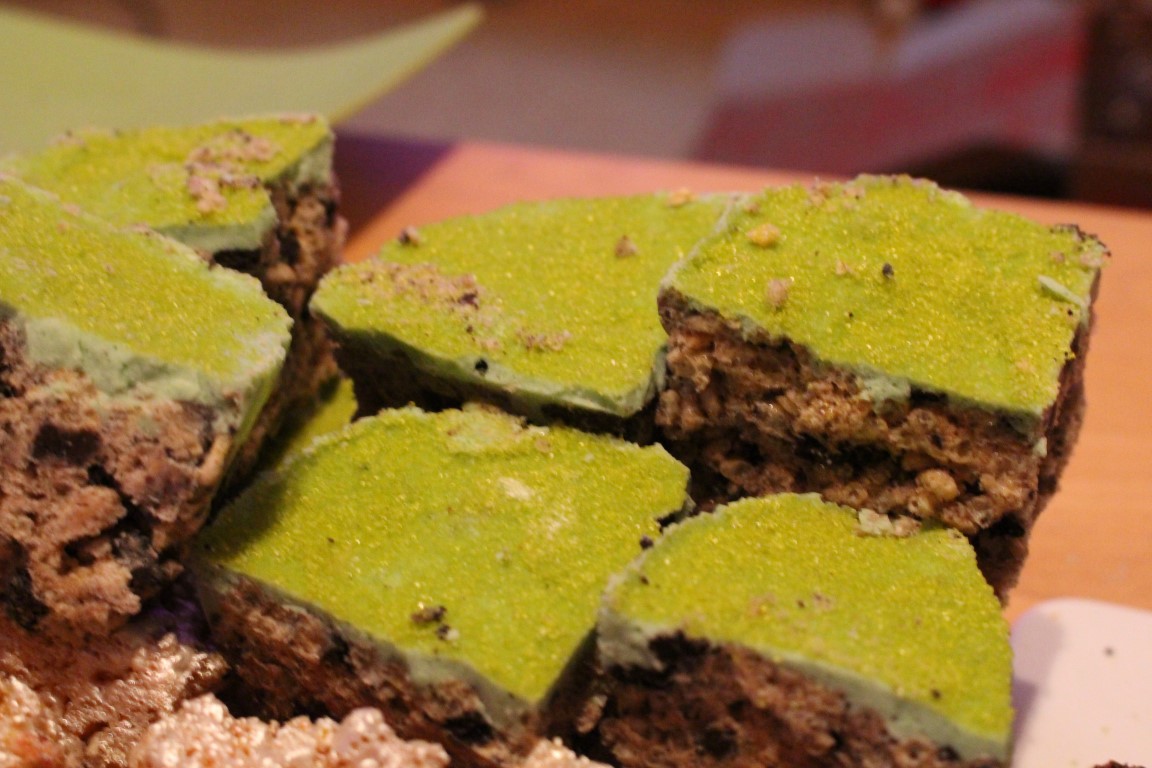
To decorate, use a little green food colouring, I prefer gels but the Goodalls green food colouring works well too. Less is more though so add a little at a time to get the desired colour. Pour the chocolate over the krispies and let set.
The mixture will set in the bowls and hold their shape, you can speed this up by placing them in the fridge.
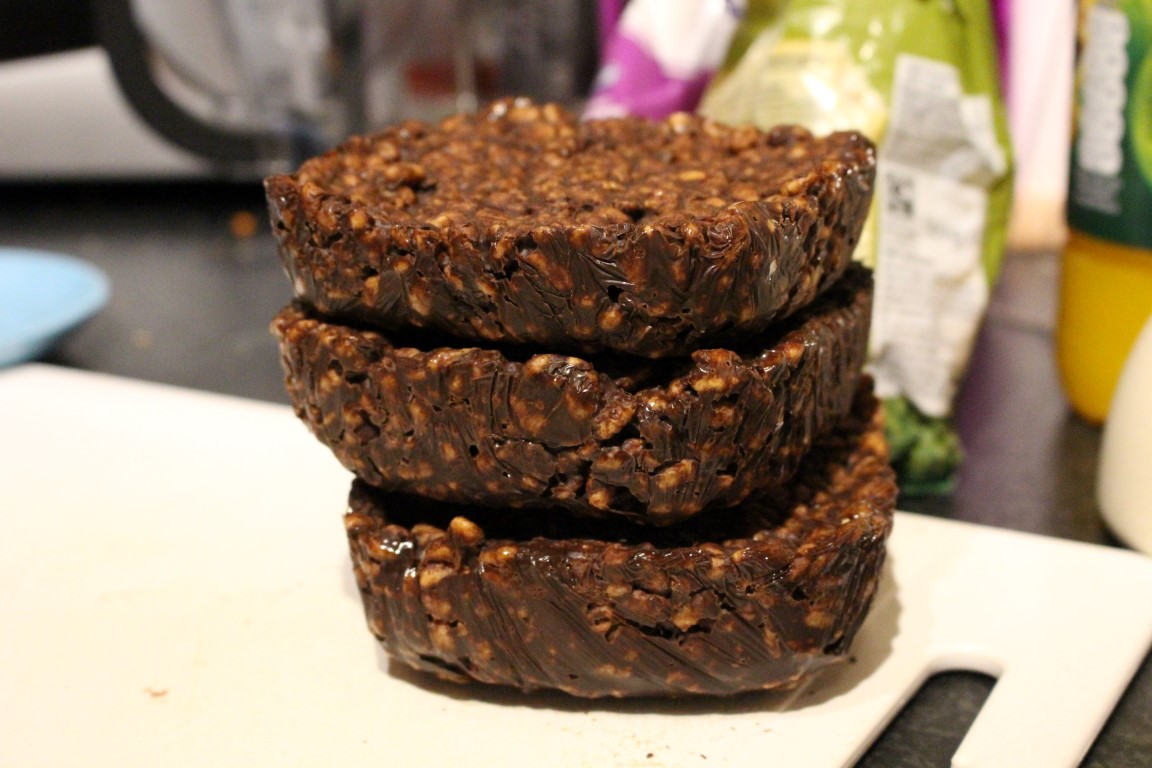
Now these were huge when I took them out so I used a large kitchen knife to quarter the blocks and make bitesize pieces!
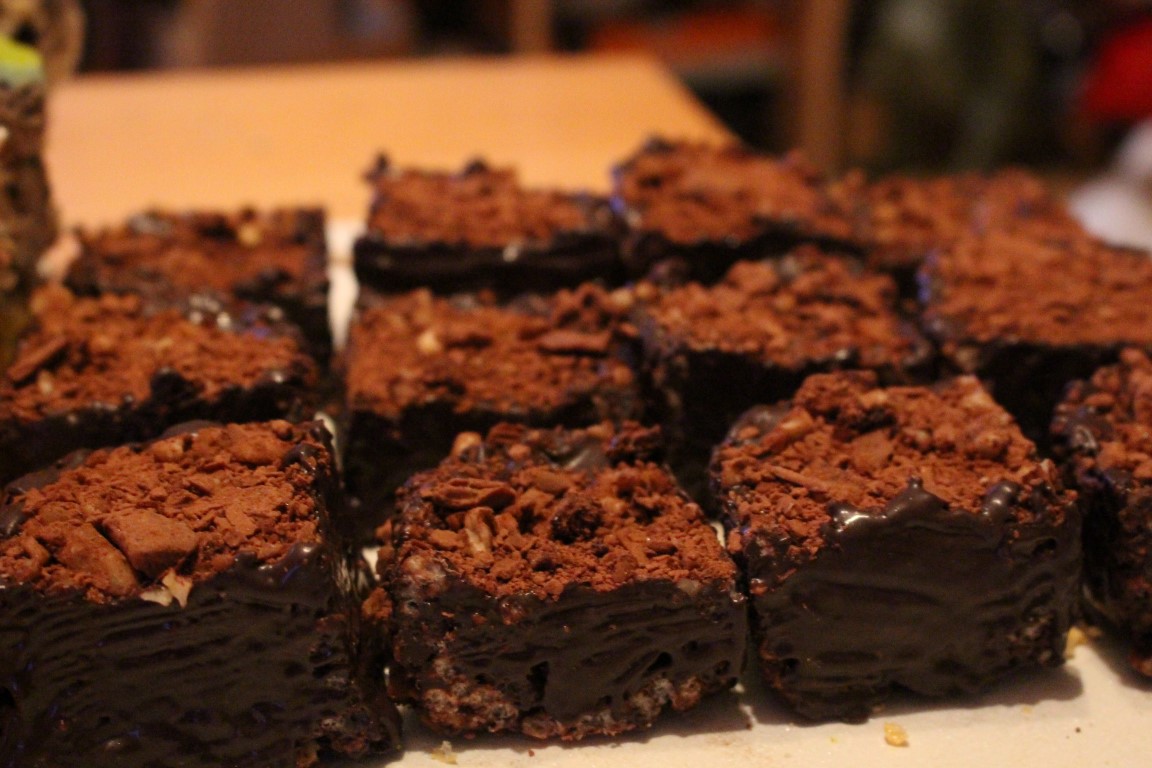
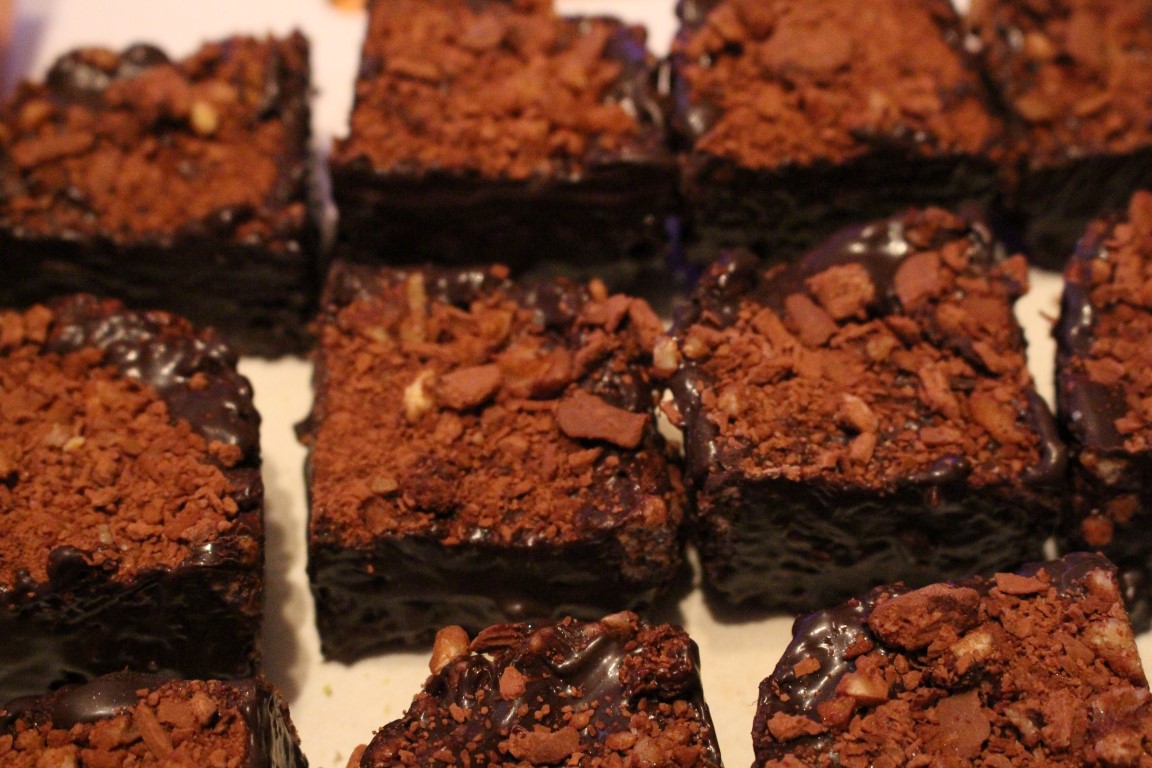
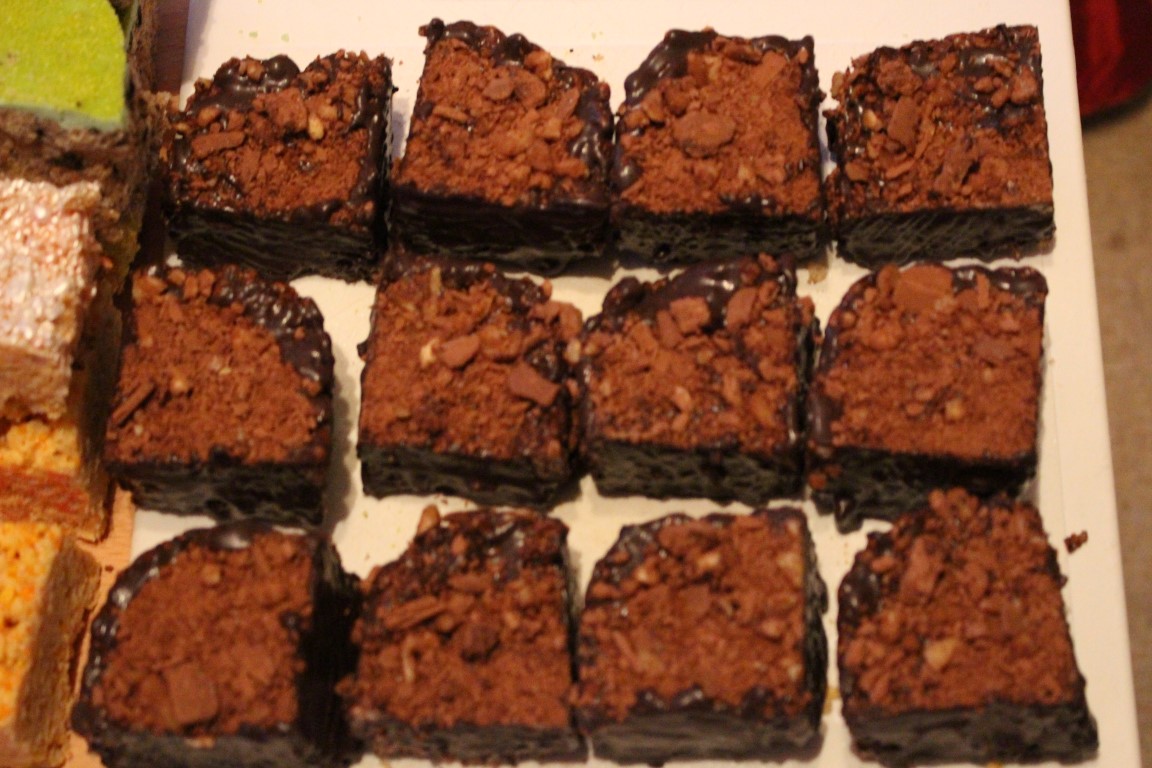
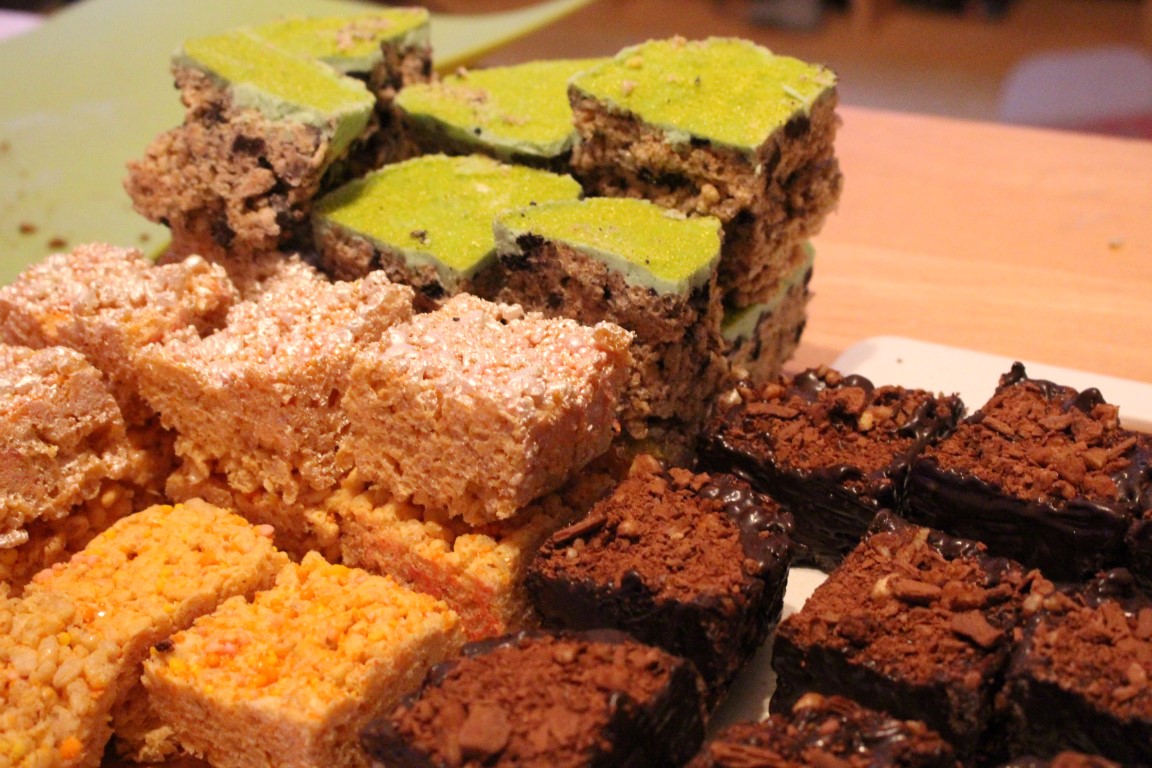
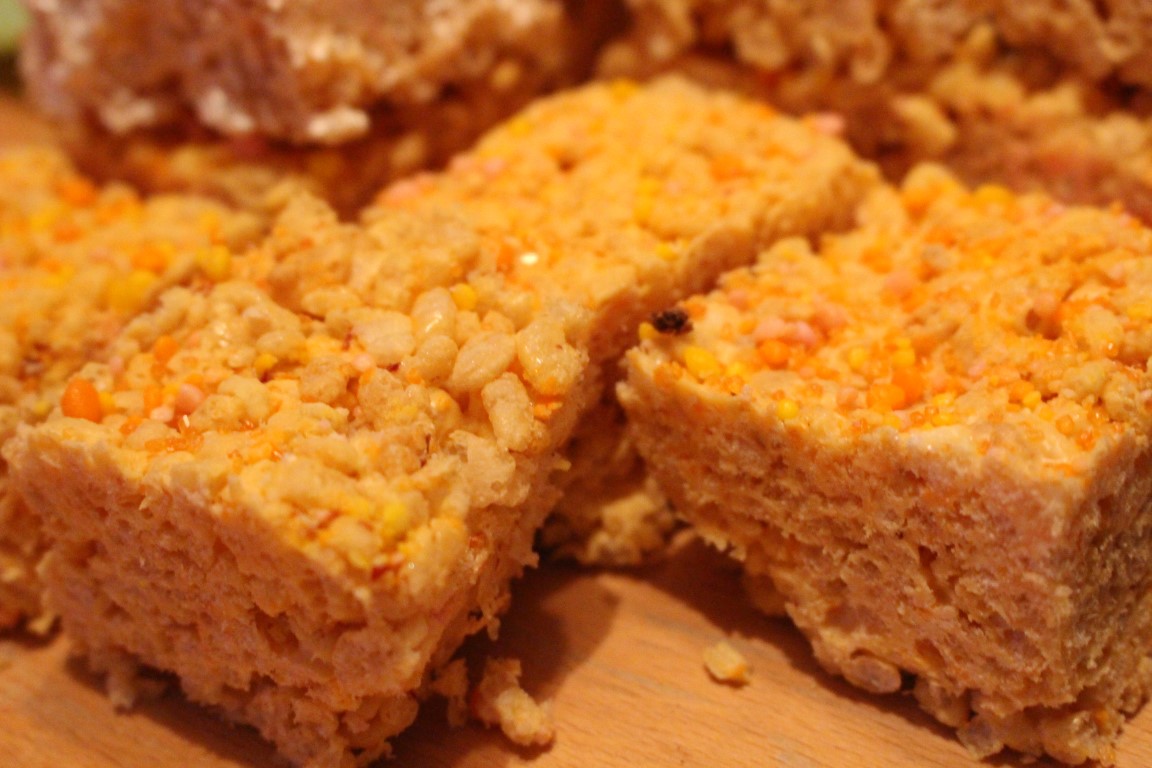
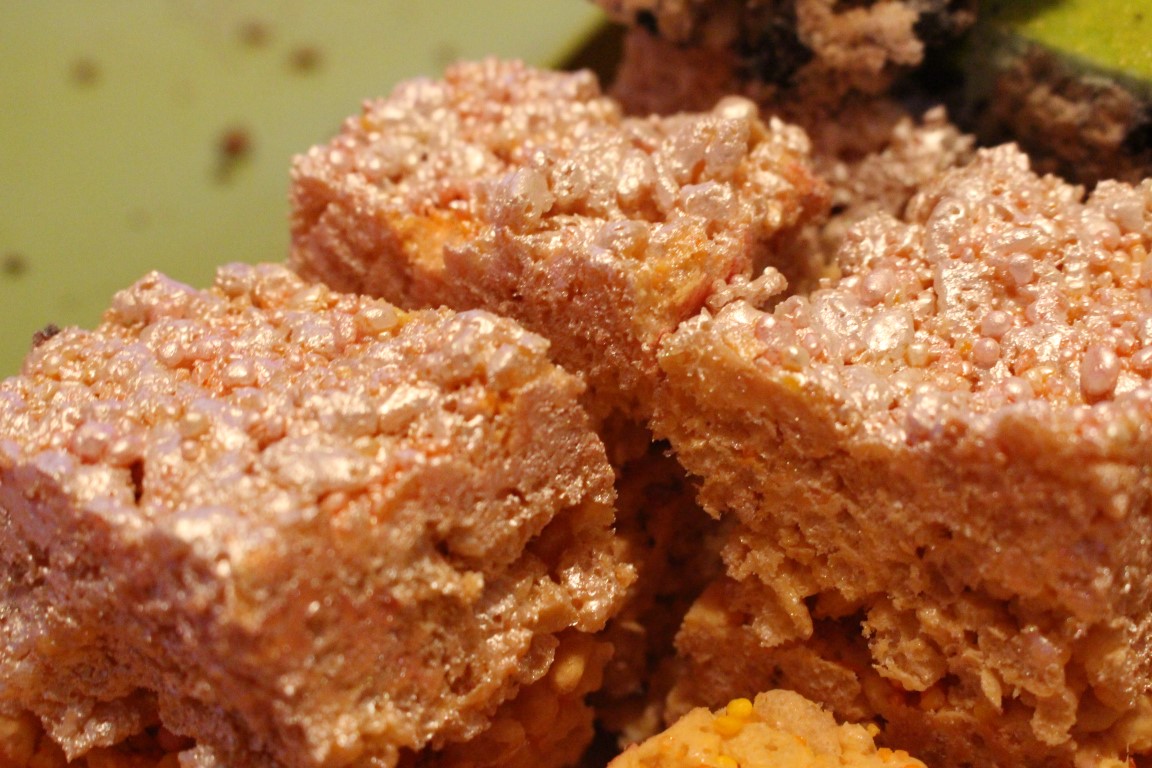
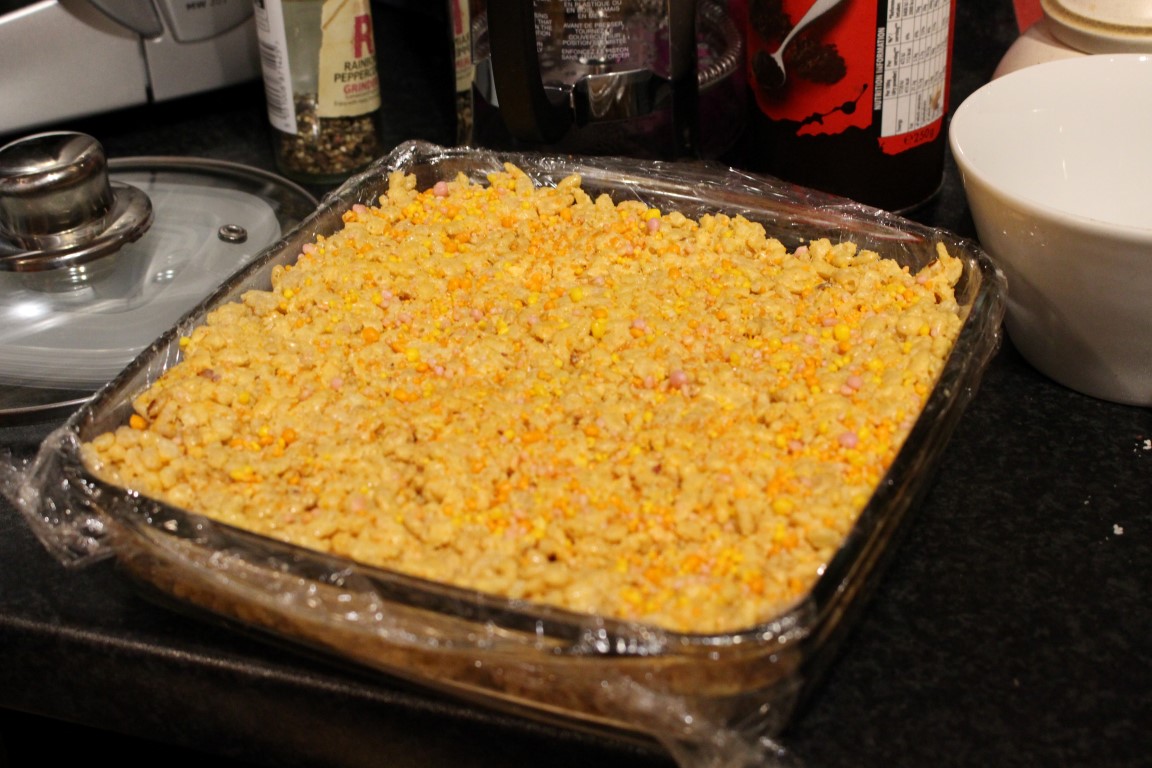
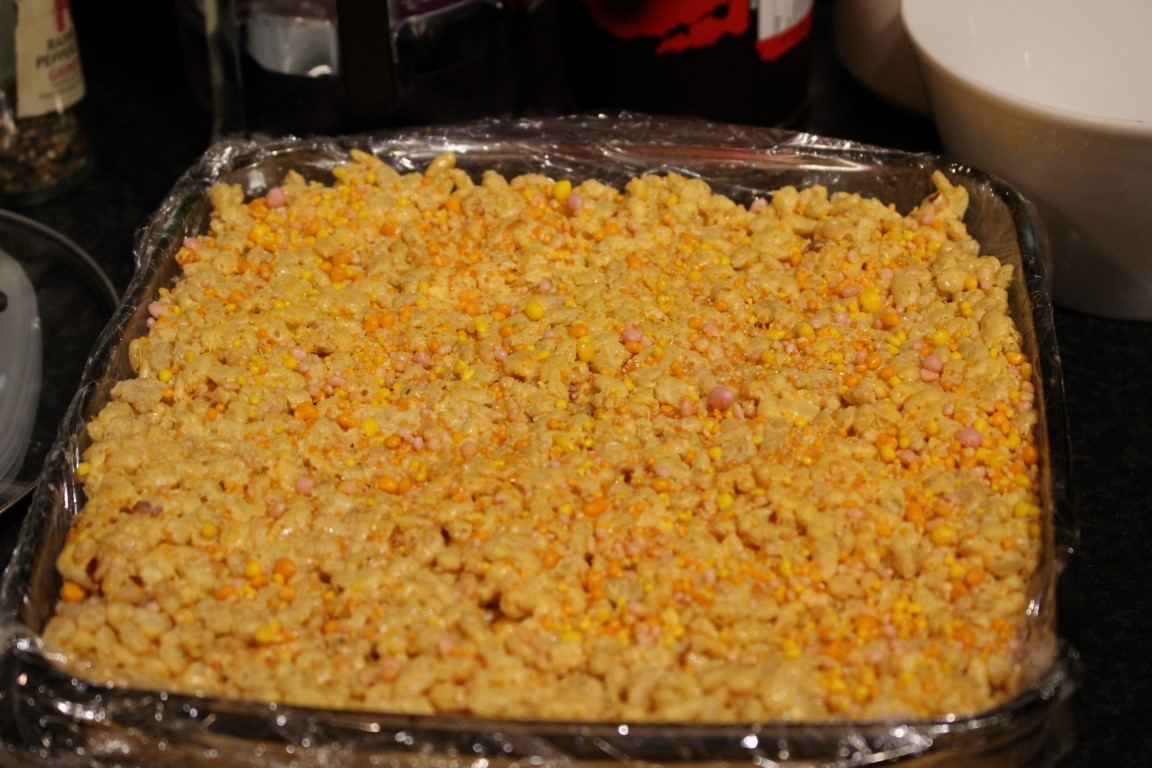
These make for the perfect sweet snack but if you want to mix things up you can make blocks to match your favourite materials! I mixed popping candy, chili flakes and a little yellow food colouring mixed into the mallows (and a little red into the white chocolate) to make lava bricks. Using a little peppermint essence and silver food spray you can make cool steel bricks! Dip the set brickes in dark chocolate, roll in chopped walnuts and milk chocolate to make wooden blocks.
Beware though! When making delicious Minecraft blocks, you’re going to attract the attention of Creepers!
Editor-in-Chief, part-time super villain and hoarder of cats. If you can’t find me writing, I’m probably in the kitchen!